Difference between revisions of "DSS/V8/DSS Express/Instruction/DSS Upgrade"
Norman.Ning (talk | contribs) (→Step by Step Instructions) |
Norman.Ning (talk | contribs) (→Step by Step Instructions) |
||
| Line 9: | Line 9: | ||
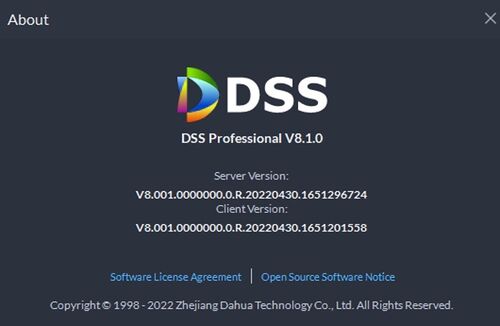
'''Step 0: Check the Current DSS Version''' | '''Step 0: Check the Current DSS Version''' | ||
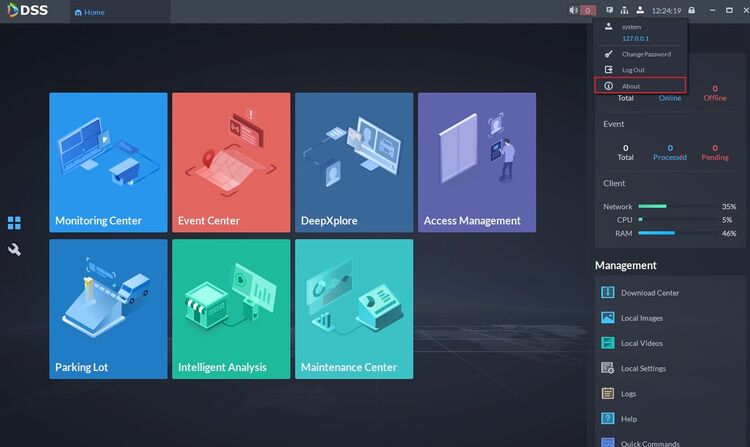
| − | [[File:DSSV8Upgrade01.jpg| | + | [[File:DSSV8Upgrade01.jpg|750px]] |
Log into DSS Client and select [About] | Log into DSS Client and select [About] | ||
Revision as of 05:22, 21 December 2022
Cautions and Disclaimers
- This document shows how to update from DSS V8.0.4 to DSS V8.1
- Please note that the following instructions only apply to DSS Baseline. If you are using a customized version of DSS, that will be a case-by-case discussion if you want the update. Please consult Tech Support for more information
- Only Baseline DSS Express and DSS Professional can be upgraded in this way
- Because DSS is Server-client structure, you need to upgrade DSS Server and then upgrade DSS Client
Step by Step Instructions
Step 0: Check the Current DSS Version
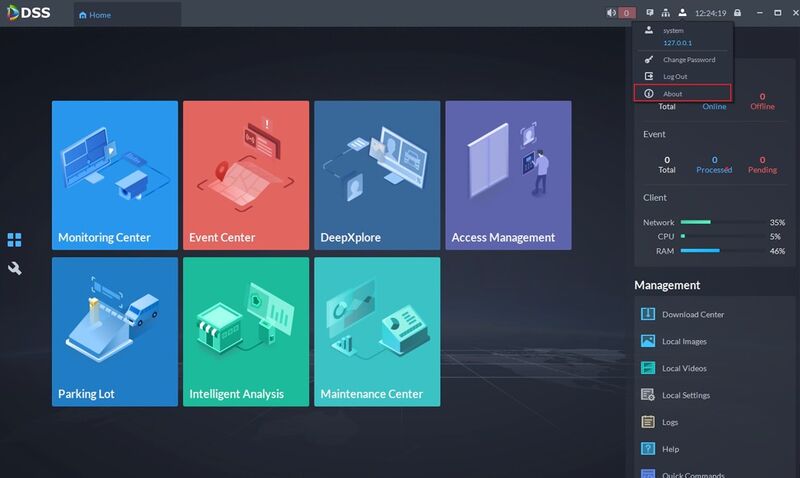
Log into DSS Client and select [About]
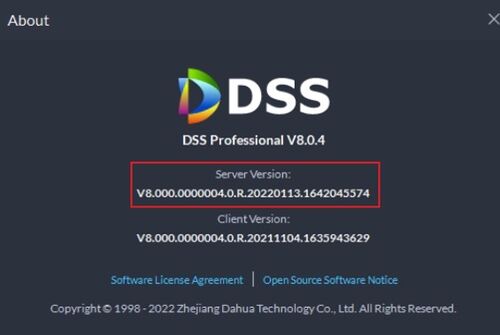
Here you can see the DSS Server Version. Make sure the Installation Package is later than this version.
Step 1: Back up the current system Database – this will prevent data loss in case of update failure
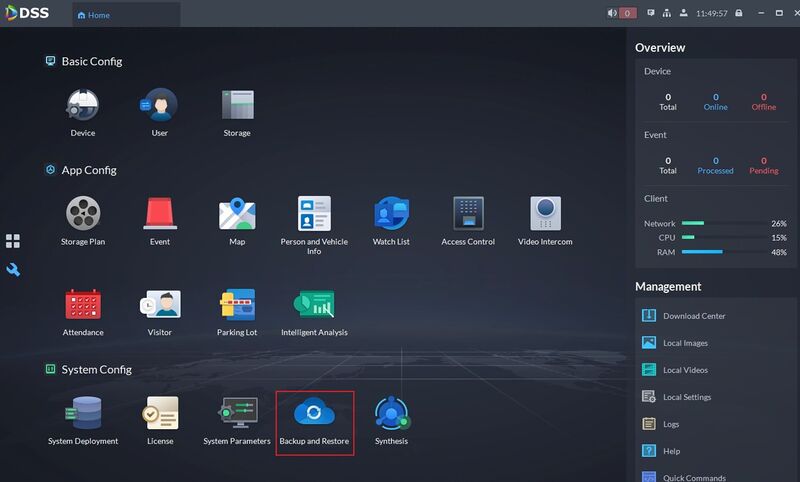
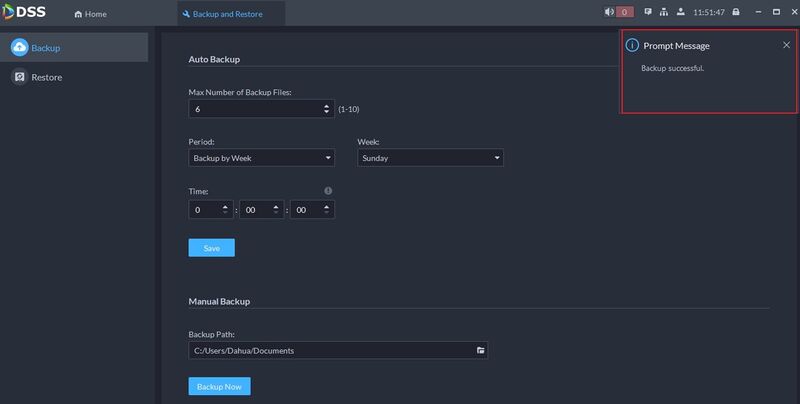
Go to the Home menu of DSS – Select [Backup and Restore]
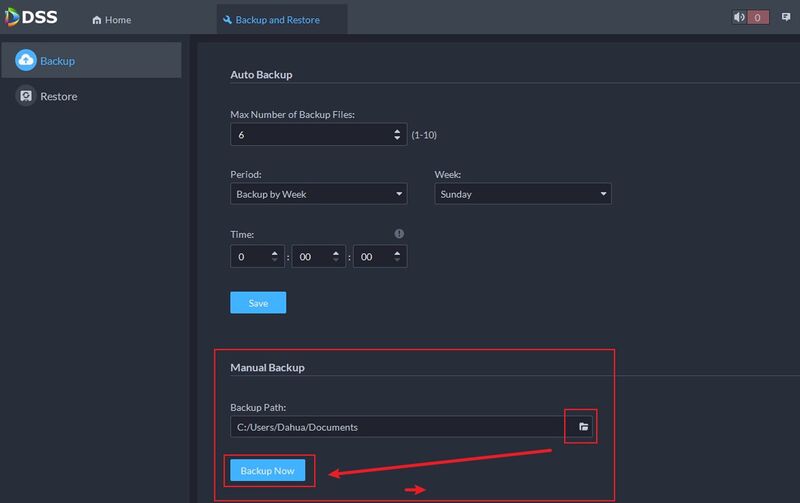
Click on the folder icon to select the directory where you want to save the backup file. Then, click on [Backup Now]
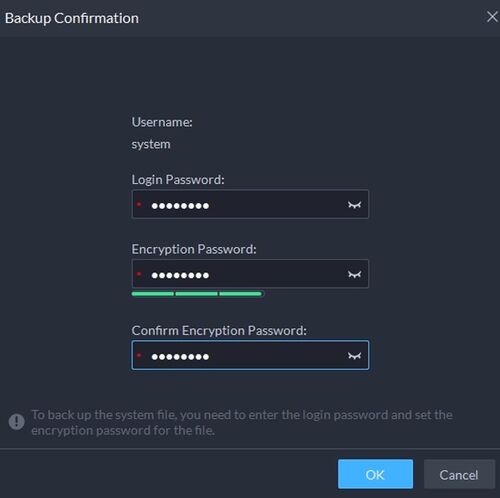
Insert the Login Password of DSS Client and Encryption Password twice.
In the end, Click on OK and DSS will export the Backup File automatically.
When DSS finishes exporting the Backup File, you will receive a prompt message saying Backup successful
Step 2: Upgrade DSS Server
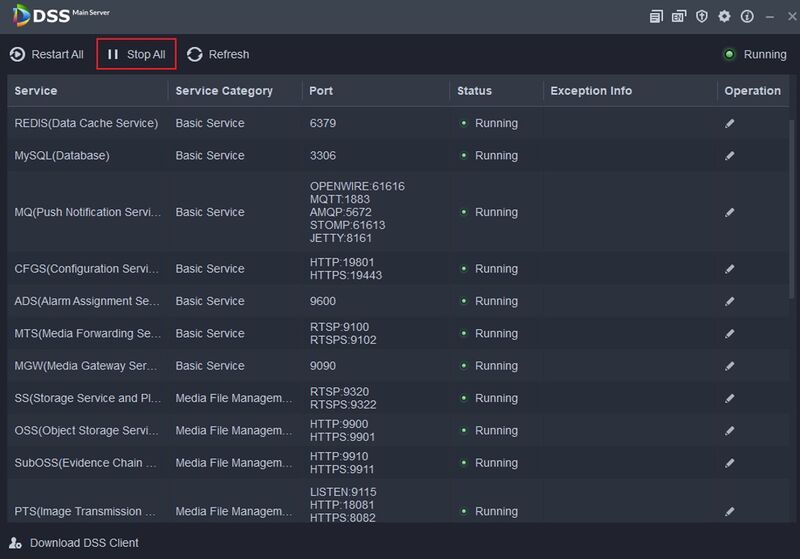
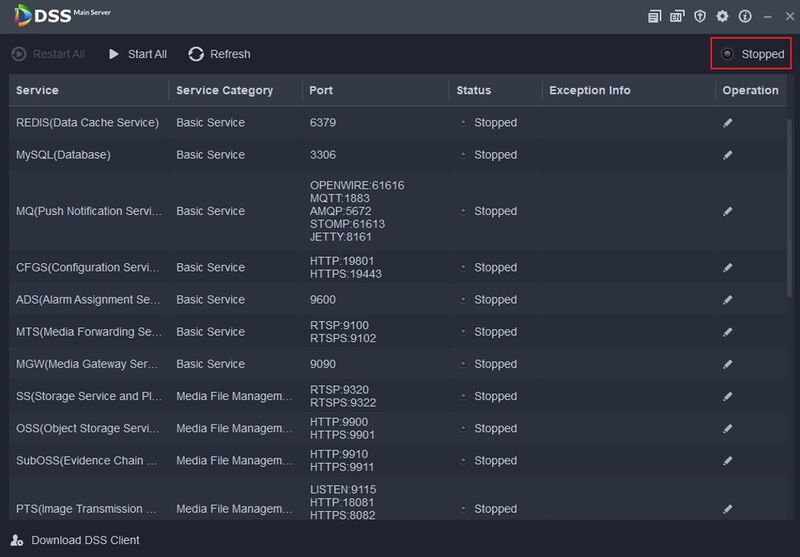
Go to DSS Service Manager and click on [Stop All] to temporarily pause DSS Services.
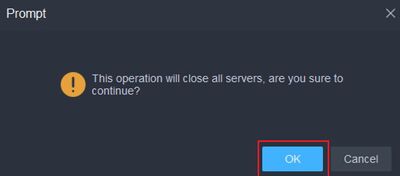
Click on [OK] to continue
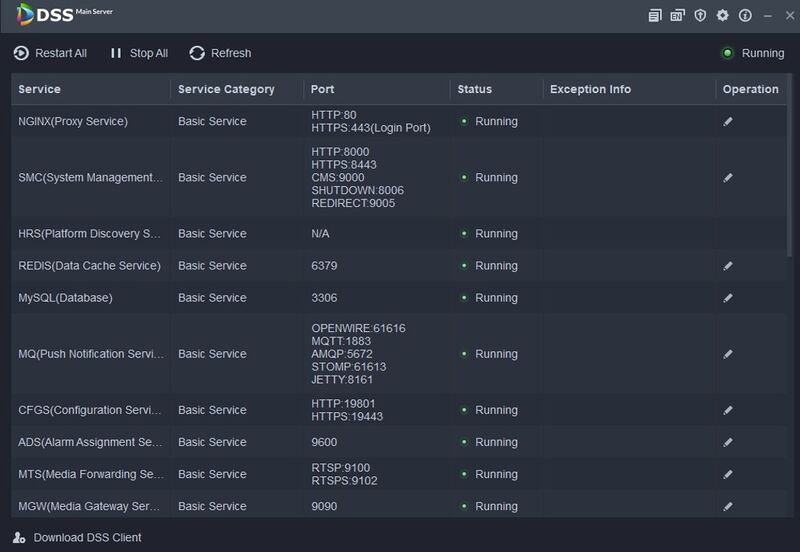
Make sure DSS Services are stopped
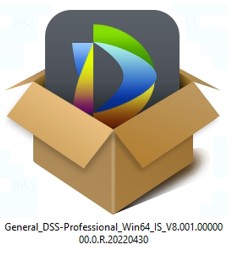
Double click to run the newer version of DSS Installation Package
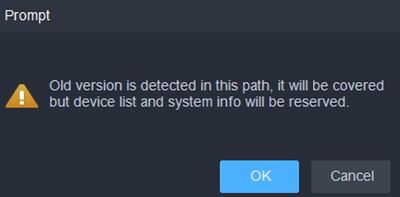
DSS Package will automatically detect the older version and overwrite the current directory. Click on [OK] to continue
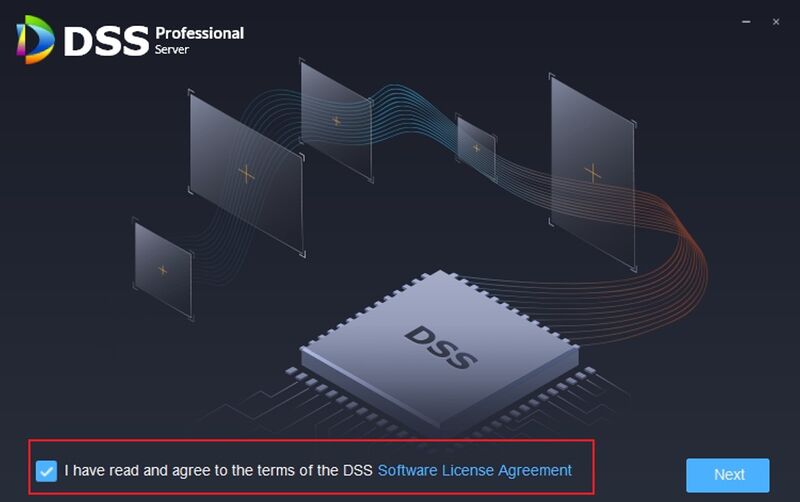
Select [Agree] and click on [Next]
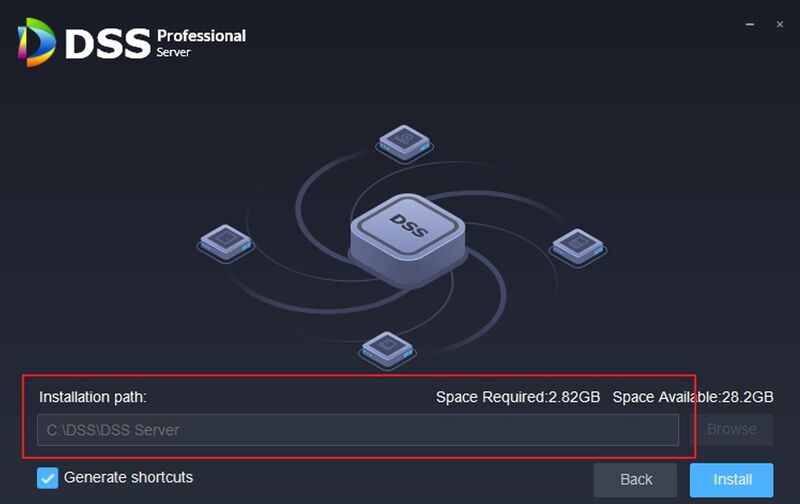
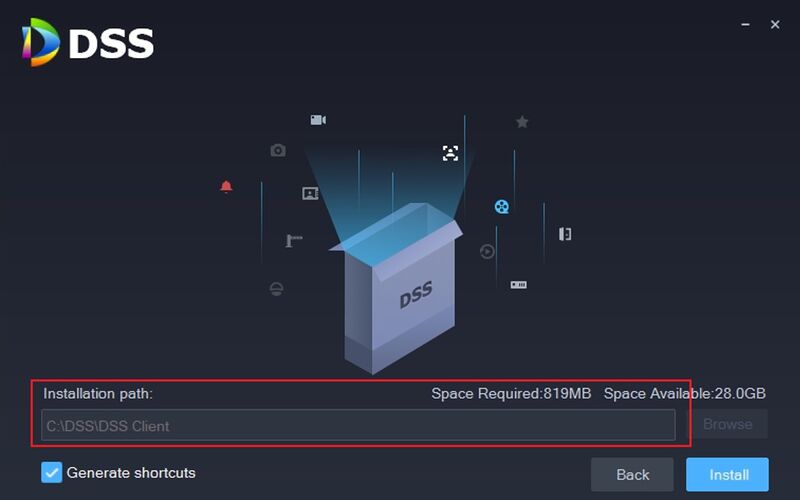
As you can see, you cannot manually change the installation path, because DSS Installation Package will automatically detect and overwrite the existing directory of DSS Server
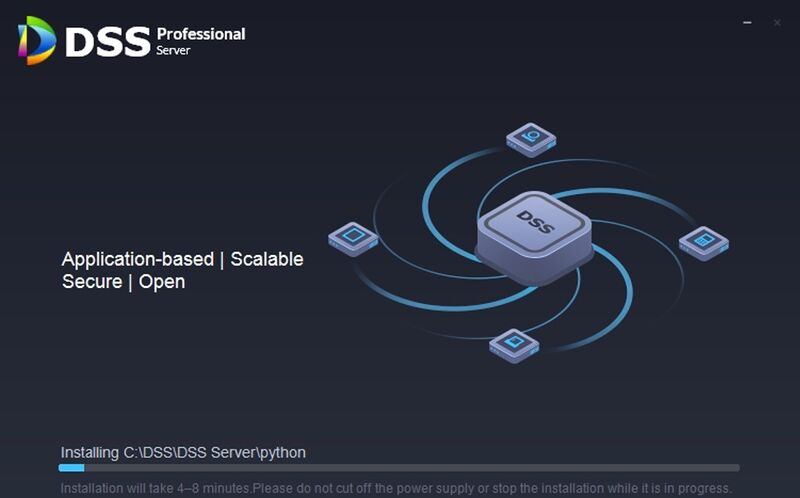
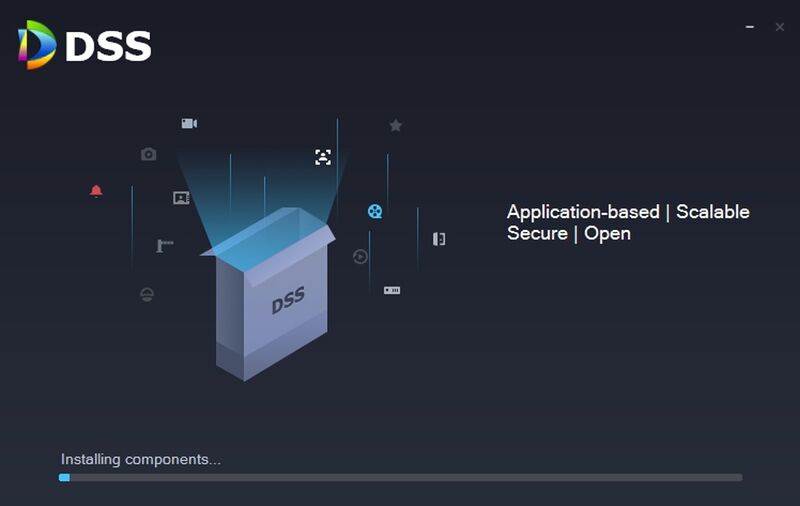
Click on Install and wait for the Upgrade to complete
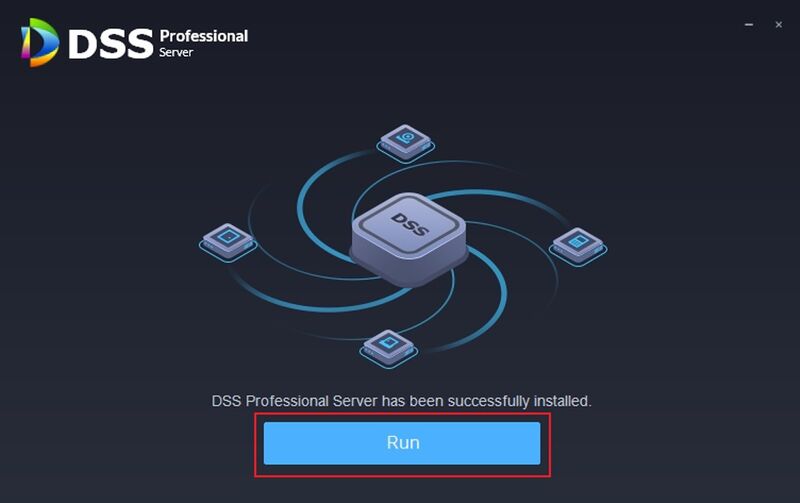
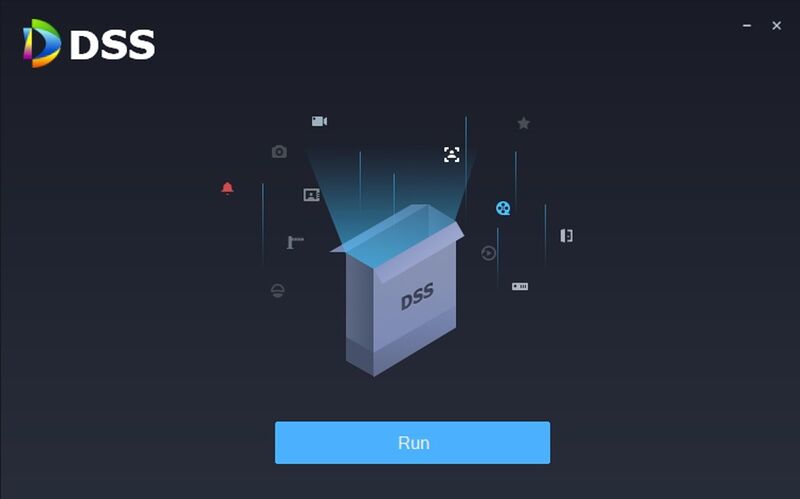
Click on [Run] and wait for DSS Services to restart
!Note: It may take some time for SMC Service to start, depending on the hardware of the Server
Step 3: Upgrade DSS Client
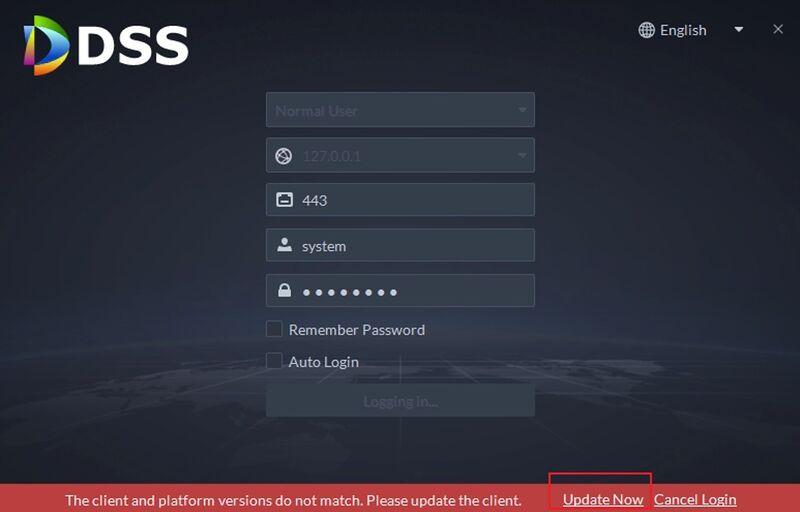
Run DSS Client as usual, and log in.
Then DSS Client will tell you to do an Update. Click on [Update Now]
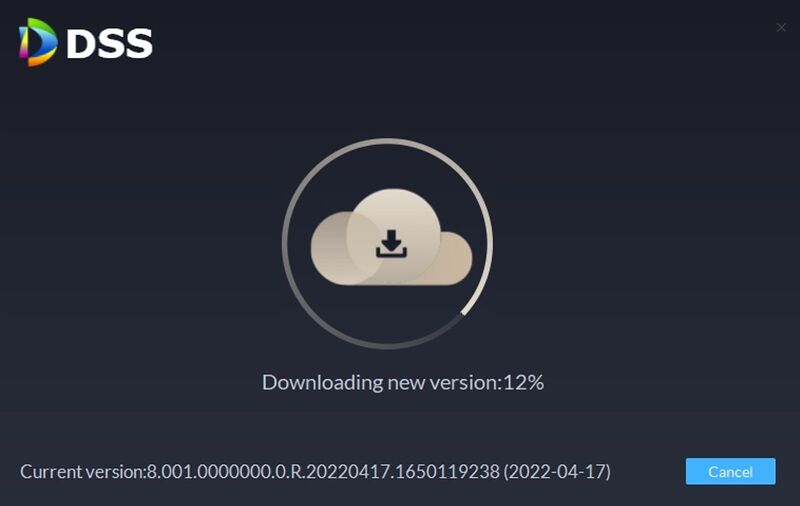
DSS Client will automatically download the newer package
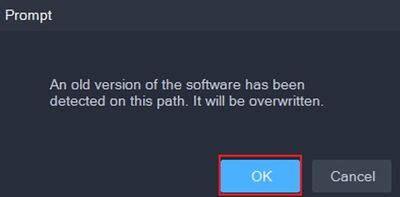
Then the upgrade will start. DSS Client Installation Package will detect the older version of DSS Client and overwrite it. Click on [OK] to continue
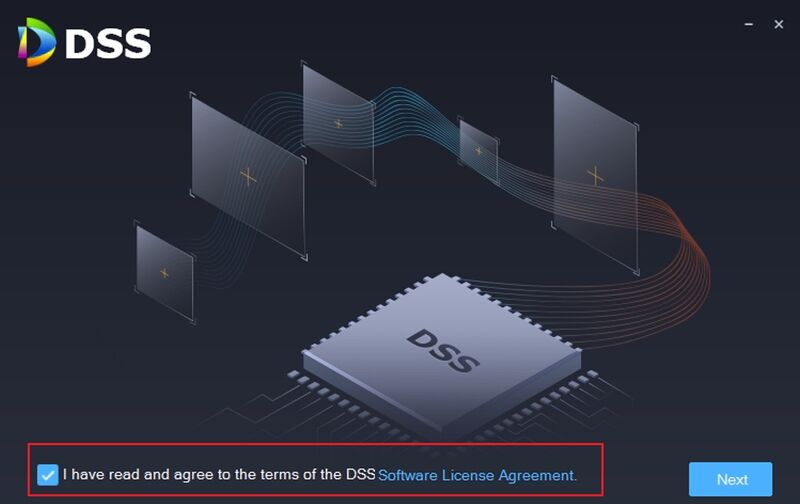
Select [Agree] and [Next]
As you can see, DSS Client Installation Package detects the existing DSS Client Directory and is ready to overwrite it
Click on [Install] and wait for the update to complete
In the end, click on run, log in and use DSS as usual.
You can go to [About] to check the current version of DSS
