3rd Party VMS/uVMS/Initial Setup
Contents
uVMS Initial Setup
Description
These instructions will show you how to install uVMS, configure IIS, and add a Dahua recorder or IP camera to uVMS.
Prerequisites
- Windows Server 2008 / 2012 R2 / 2016
- IIS (Internet Information Services)
- A Working RTSP URL-Instructions Here
- Microsoft SQL Server (free or commercial)
- A copy of uVMS
Step by Step Instructions
SQL Server Setup
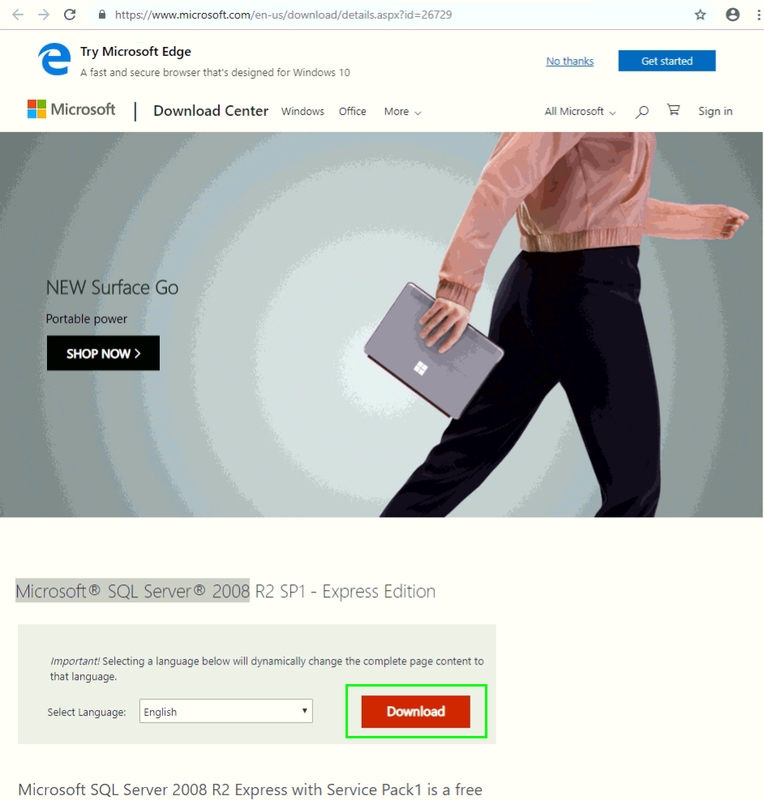
1. Download and install Microsoft® SQL Server® 2008 from this link.
IIS Setup Part 1
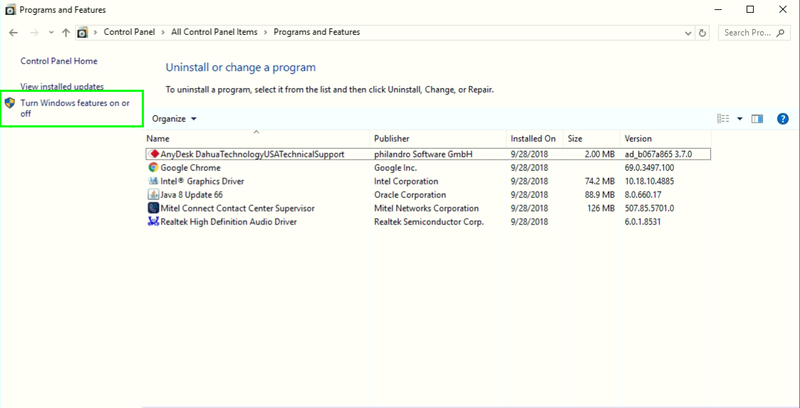
1. Go to Control Panel -> Programs and Features -> Turn Windows features on or off
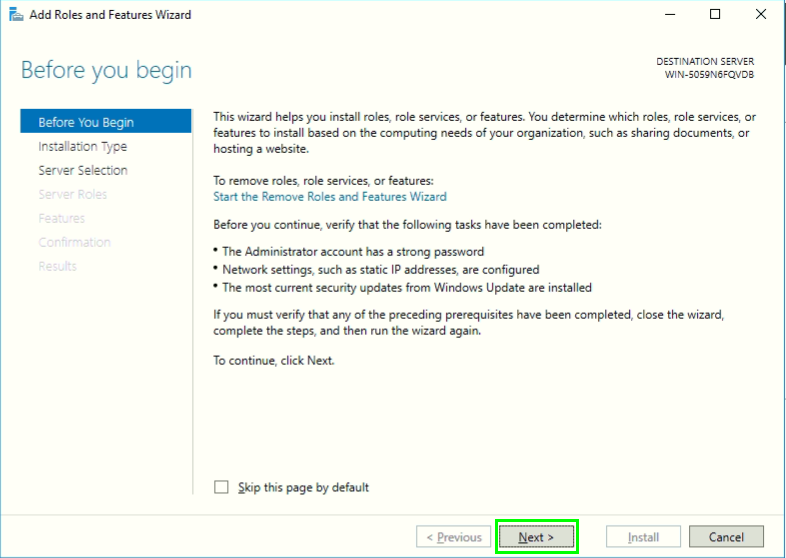
2. Click, "Next"
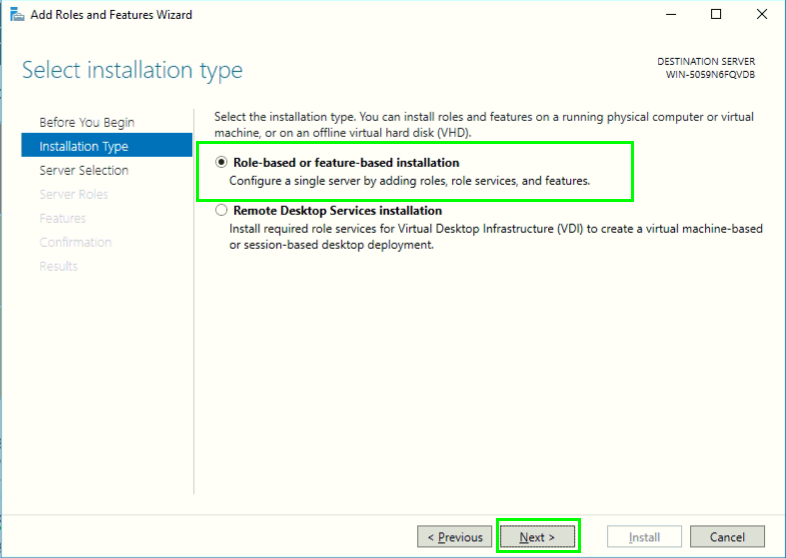
3. Select, "Role-based or feature-based installation" and then, "Next"
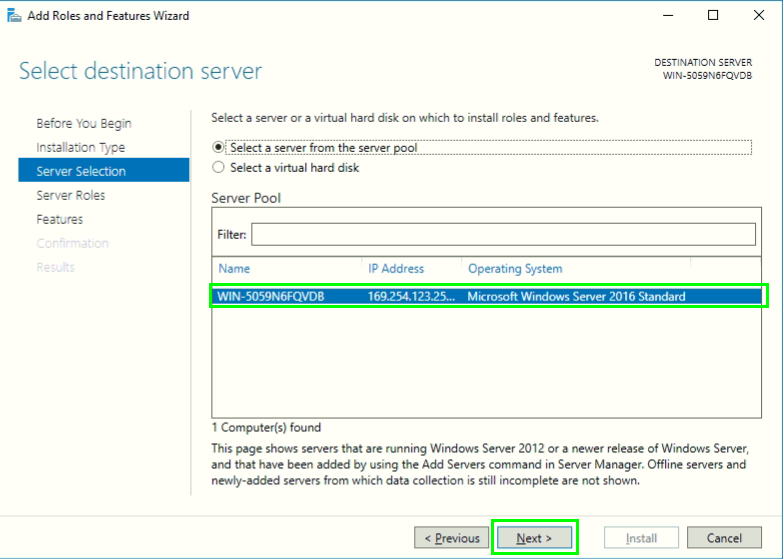
4. Select your server, and click, "Next"
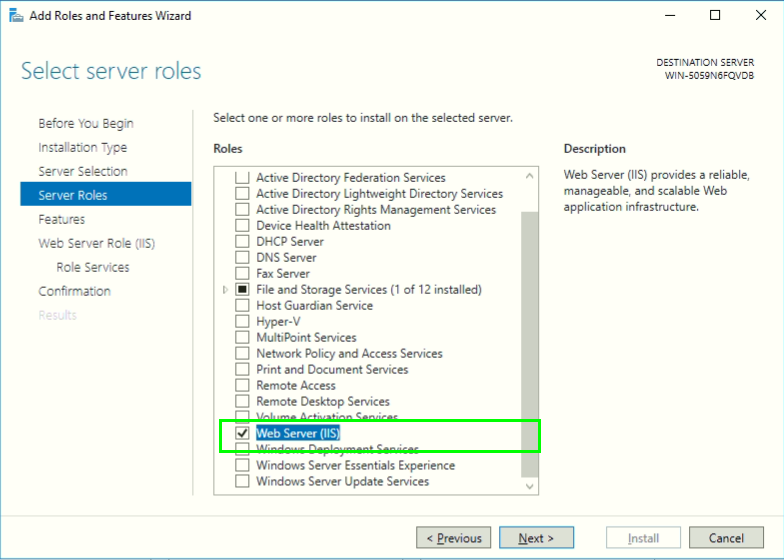
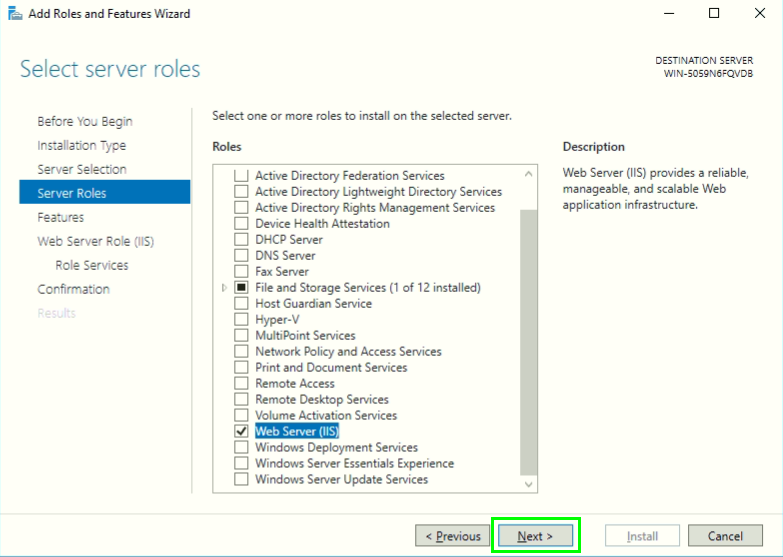
5. Click the box to the left of, "Web Server (IIS)" and then, "Add Features"
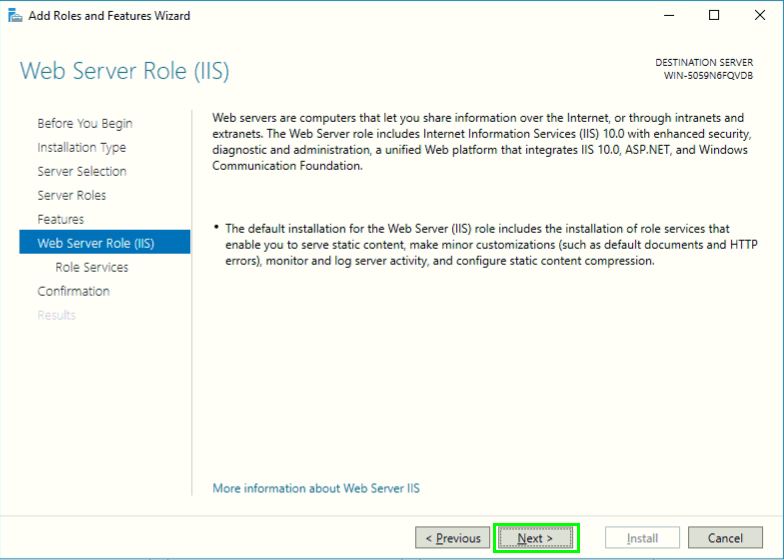
6. Ensure that the following are checked, and click, "Next"
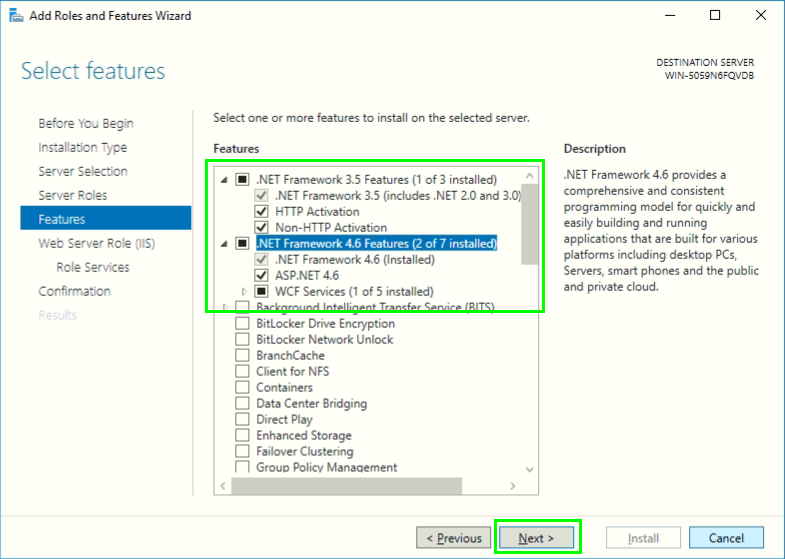
7. Ensure that the following are checked, and click, "Next"
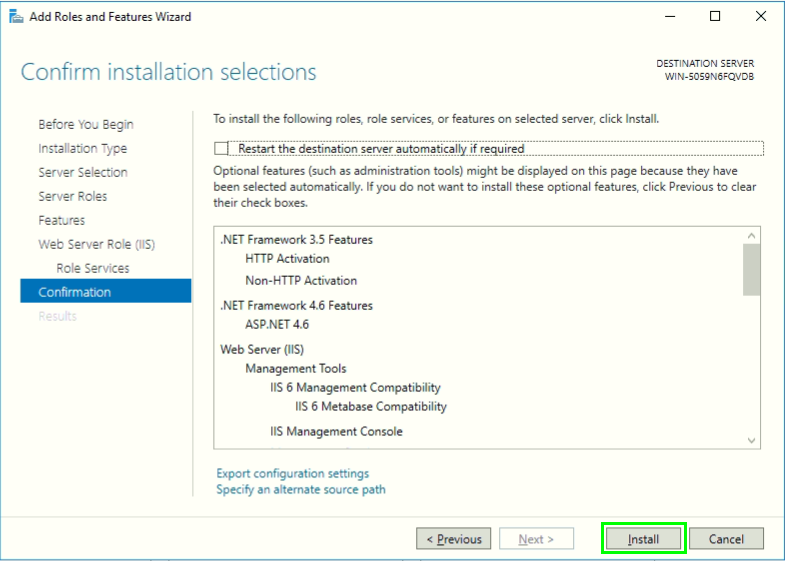
8. Click, "Install"
9. Reboot the server.
uVMS Install
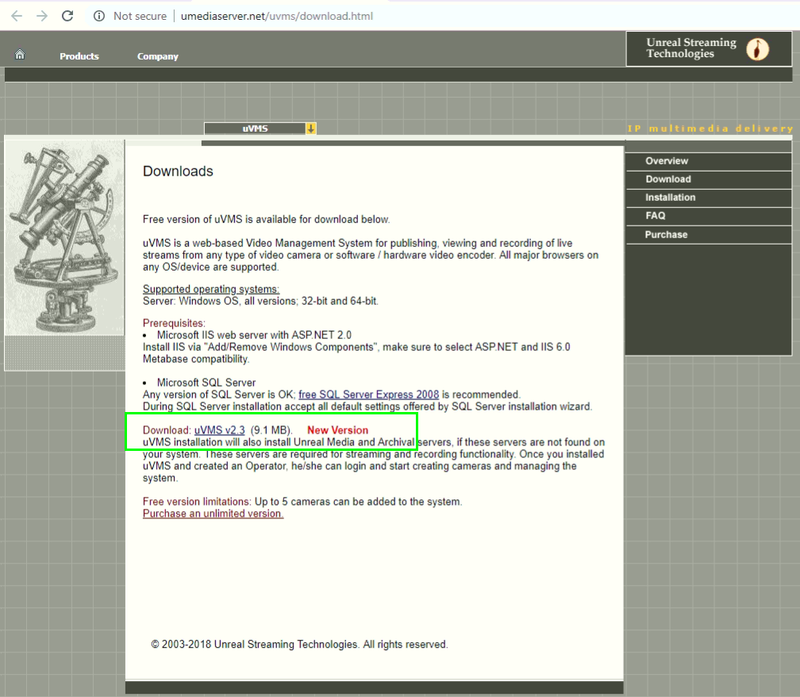
1. Click This Link or navigate your web browser to this page, and click, "uVMS v2.3"
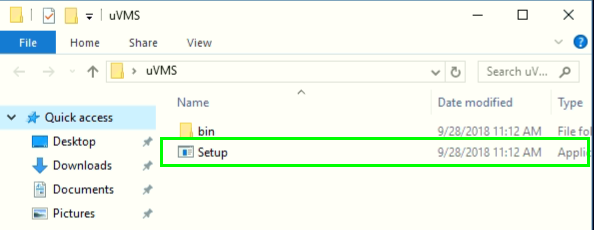
2. Create a folder on the desktop called, "uVMS" and extract the contents of, "uVMS.zip" to that folder.
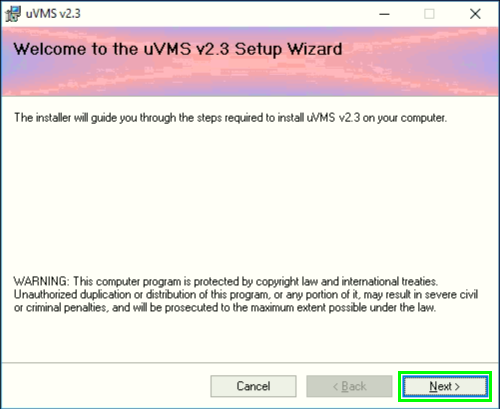
3. Double click, "Setup" to begin installing uVMS.
4. Click, "Install" and then, "Next"
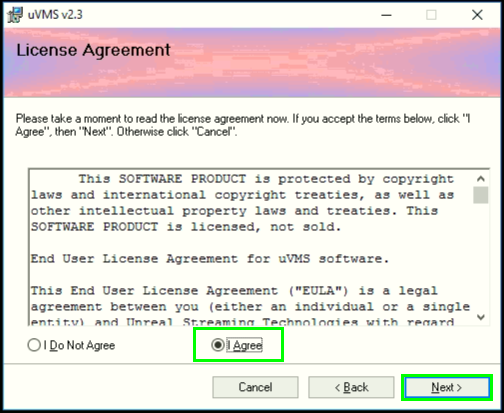
5. Click, "I agree" and then, "Next"
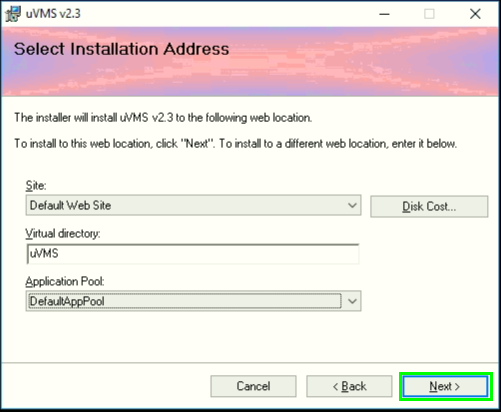
6. Select your Site, Virtual Directory, and Application Pool. Then click, "Next"
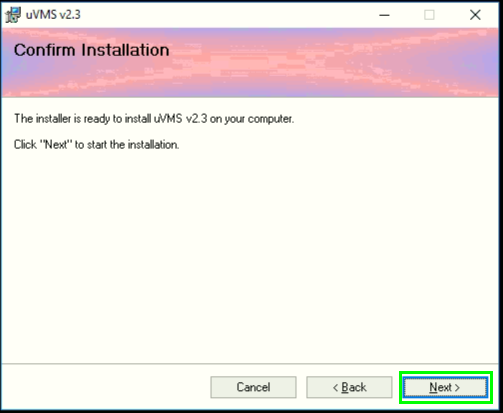
7. Click, "Next"
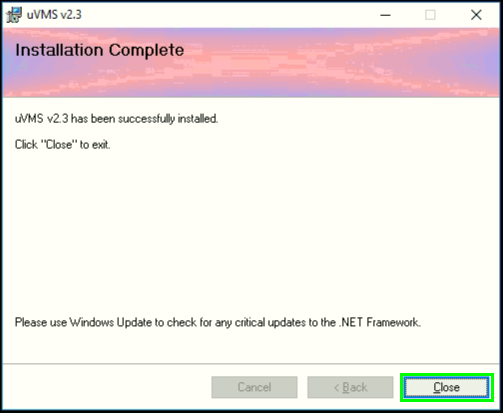
8. Once complete, click, "Close"
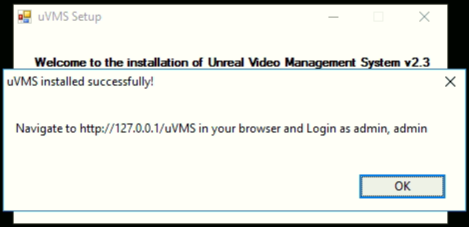
9. You should see this message when complete:
uVMS Modify: HTTP Response Headers
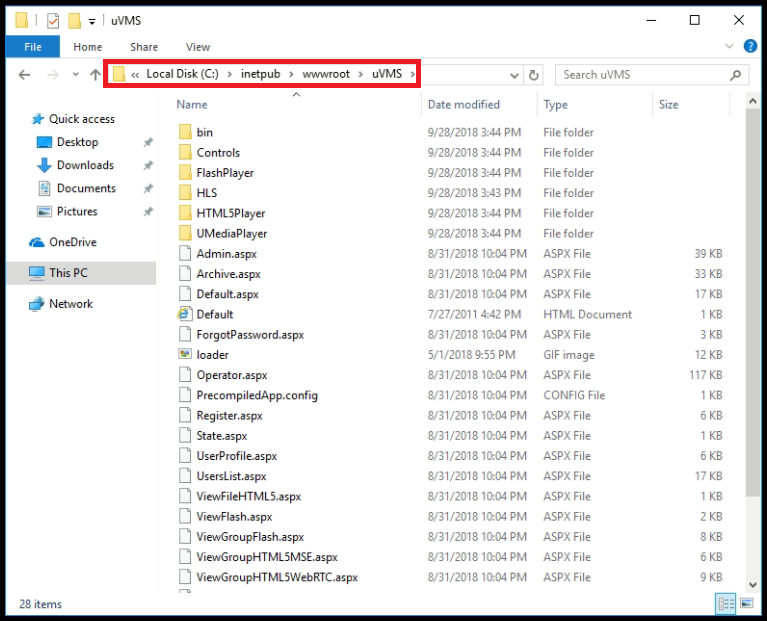
1. Locate your webfolder for uVMS. Example: C:\inetpub\wwwroot\uVMS\
NOTE: This is not usually located under "Program Files" or "Program Files x86"
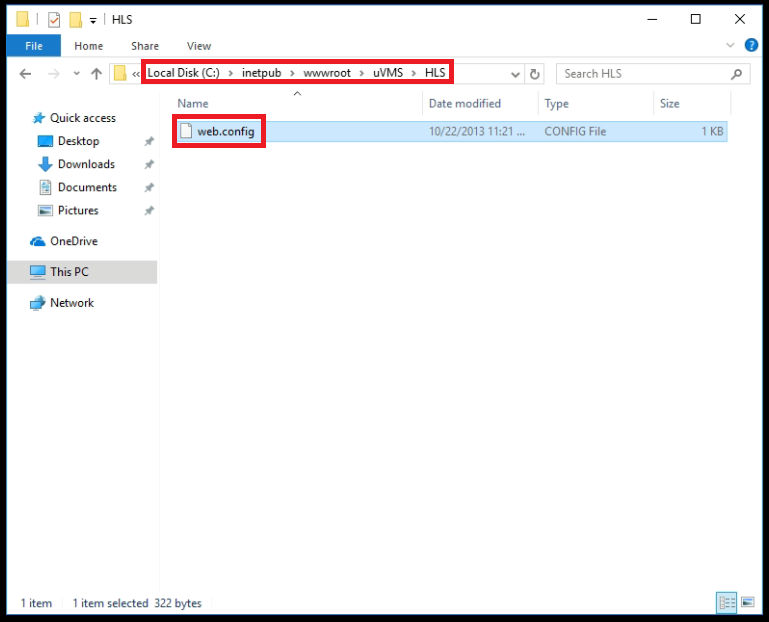
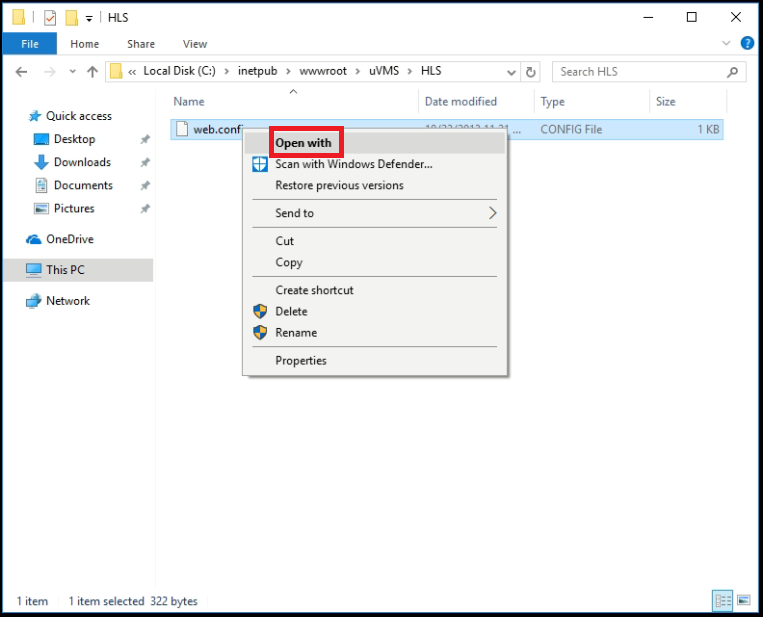
2. Open the folder titled, "HLS" inside that folder should be a file named, "web.config"
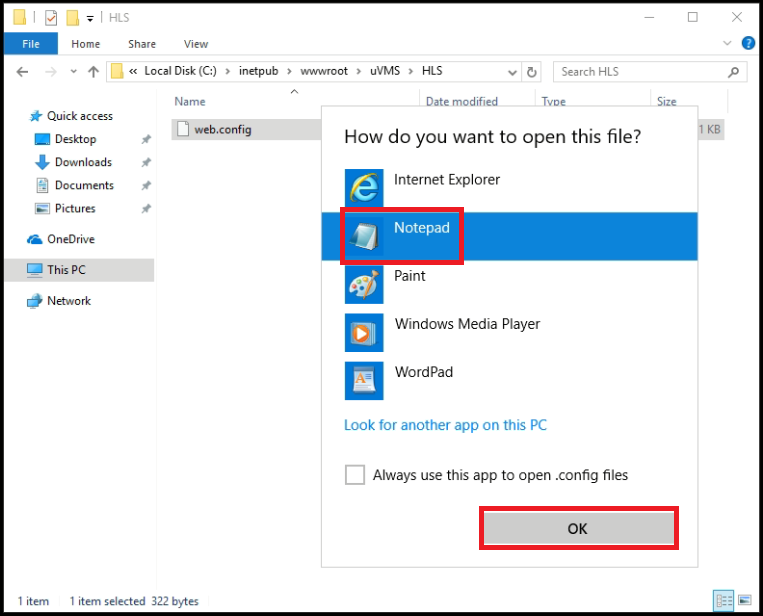
3. Open, "web.config" with Notepad.
4. Remove either the 5th or 6th line, save the notepad document, and close notepad.
Example 1:
<?xml version="1.0" encoding="UTF-8"?>
<configuration>
   <system.webServer>
       <staticContent>
           <mimeMap fileExtension=".ts" mimeType="video/MP2T" />
       </staticContent>
   </system.webServer>
</configuration>
Example 2:
<?xml version="1.0" encoding="UTF-8"?>
<configuration>
   <system.webServer>
       <staticContent>
           <mimeMap fileExtension=".m3u8" mimeType="application/x-mpegURL" />
       </staticContent>
   </system.webServer>
</configuration>
Windows Firewall Setup
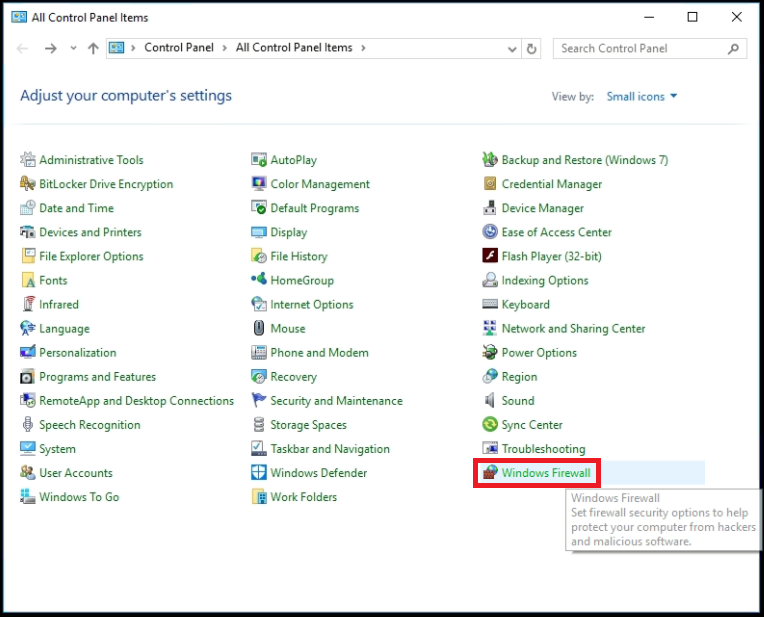
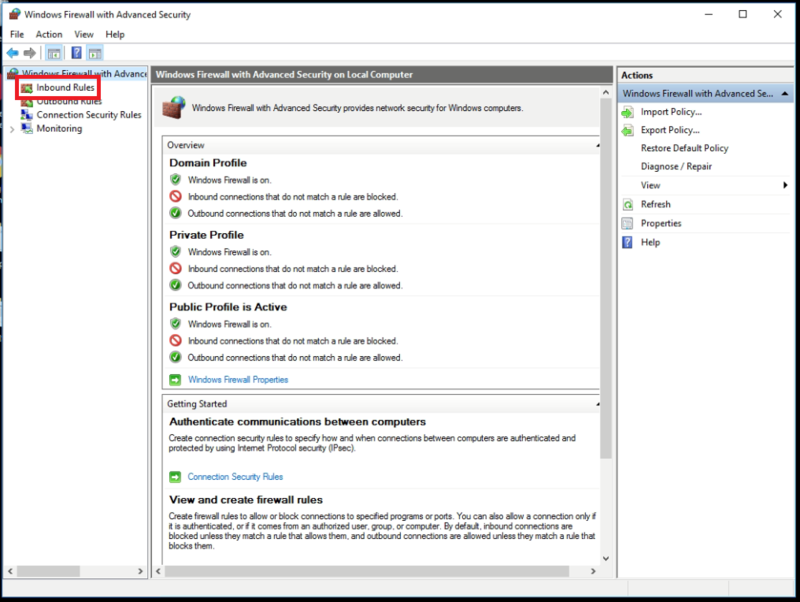
1. Go to Control Panel -> Windows Firewall
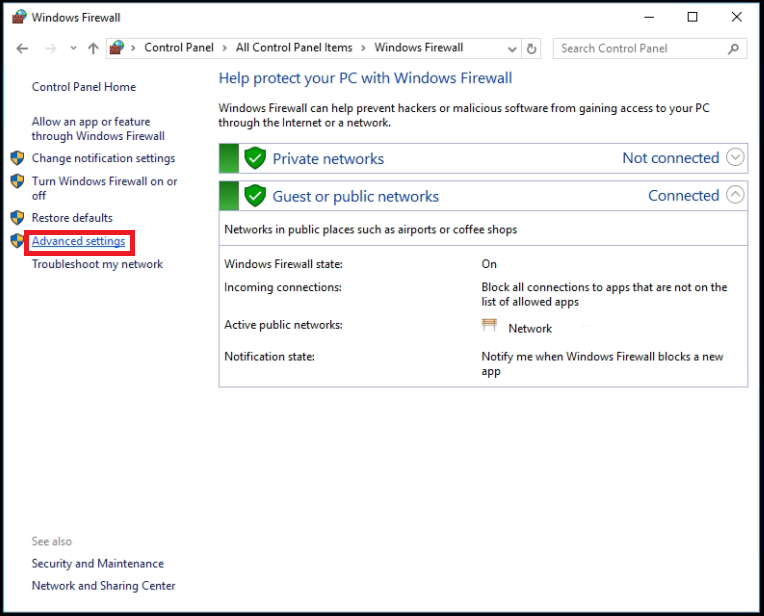
2. Select, "Advanced settings"
3. Click, "Inbound Rule"
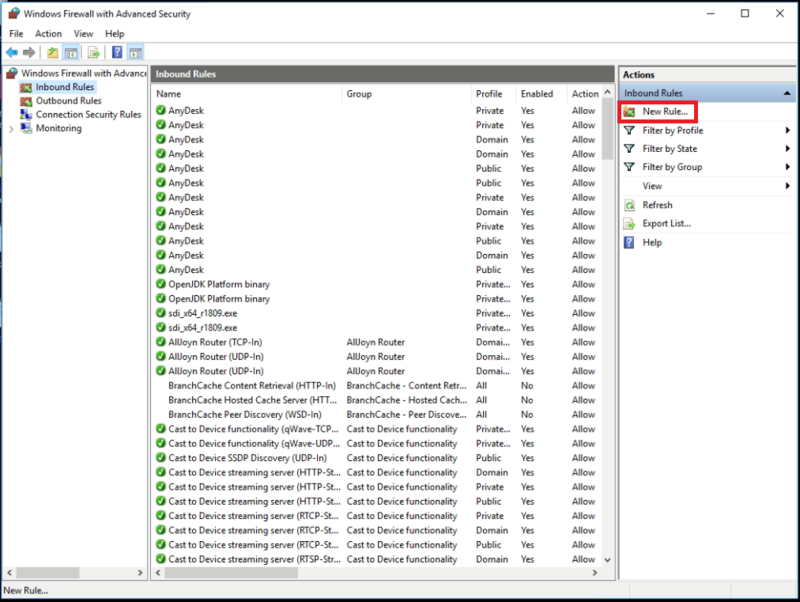
4. Click, "New Rule"
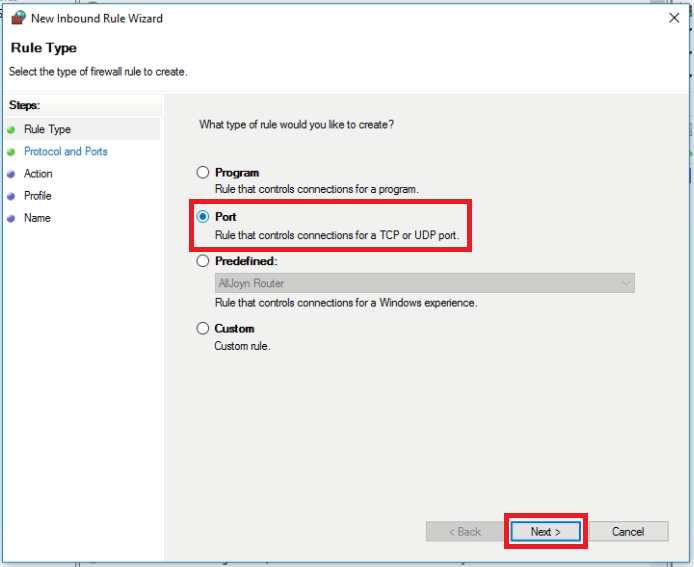
5. Select, "Port" and click, "Next"
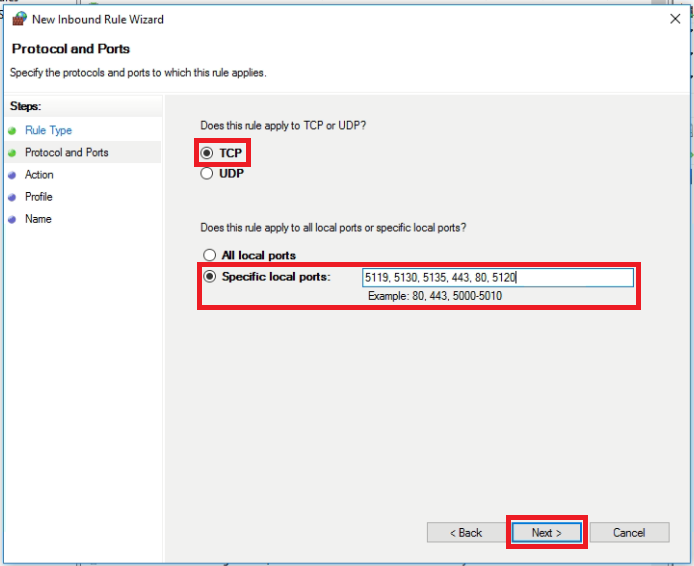
6. Select, "TCP" and, "Specific local ports" then input the following: 5119, 5130, 5135, 443, 80, 5120.
Click "Next"
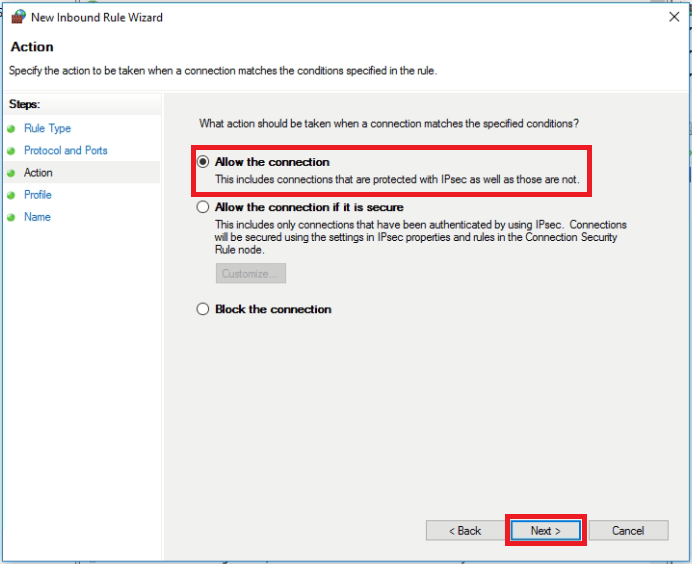
7. Select, "Allow the connection" and click, "Next"
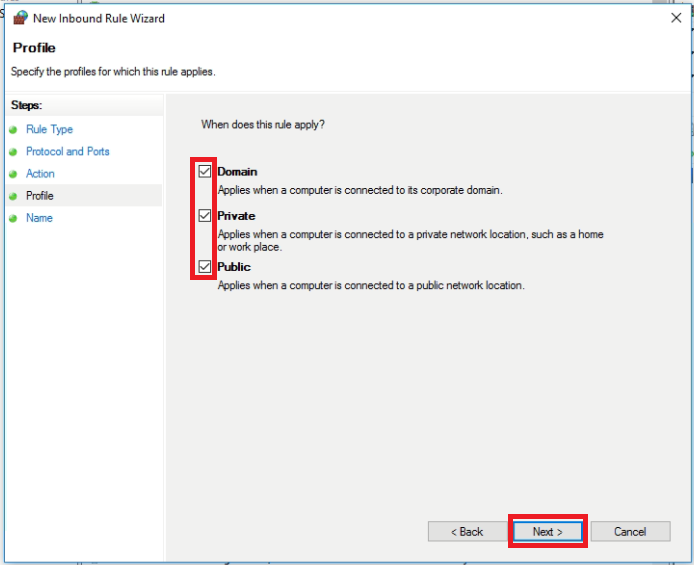
8. Ensure all 3 boxes are checked, and click, "Next"
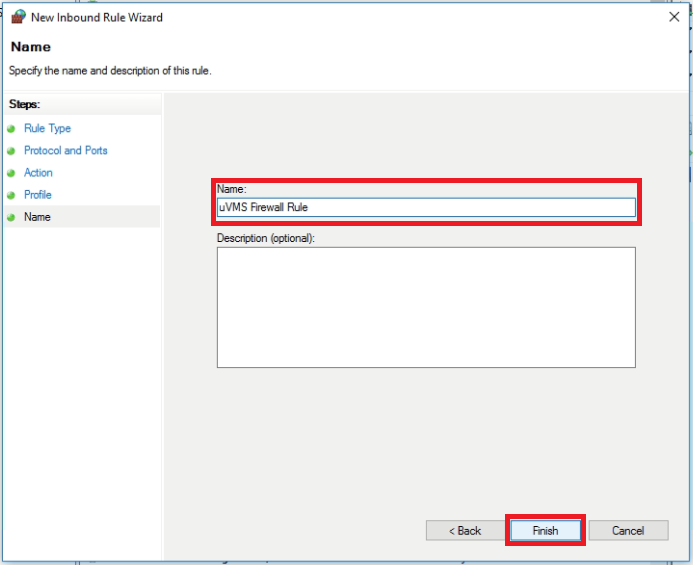
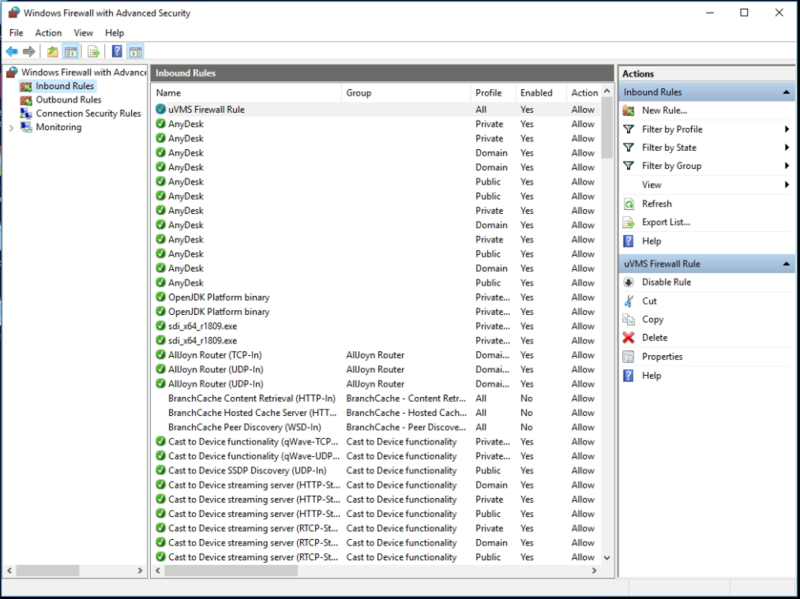
9. Input a name for the Firewall Rule, and click, "Finish"
IIS Setup Part 2
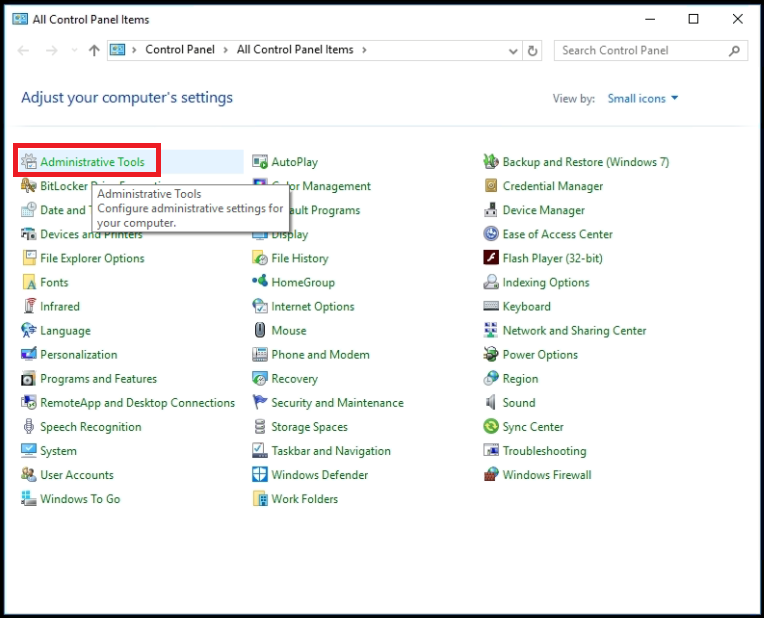
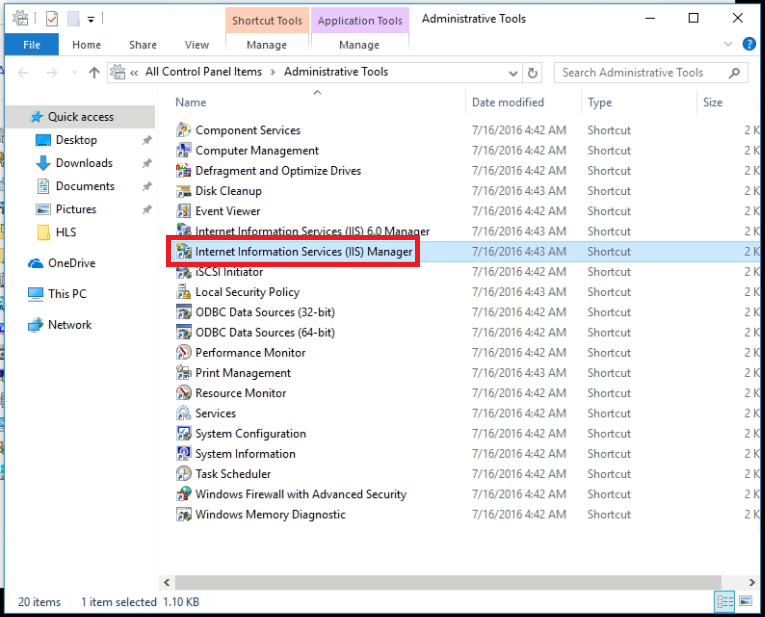
1. Go to Control Panel -> Administrative Tools -> Internet Information Services (IIS) Manager
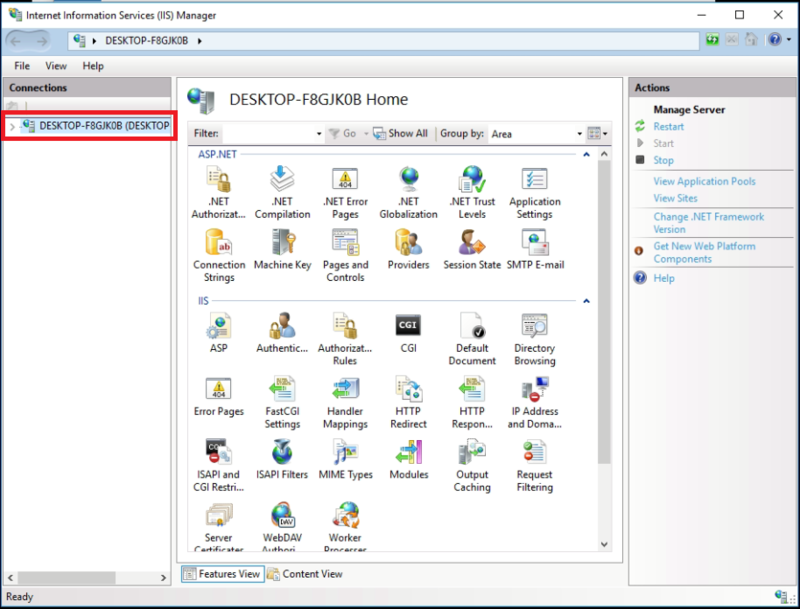
2. Expand the server in the Connections list on the left
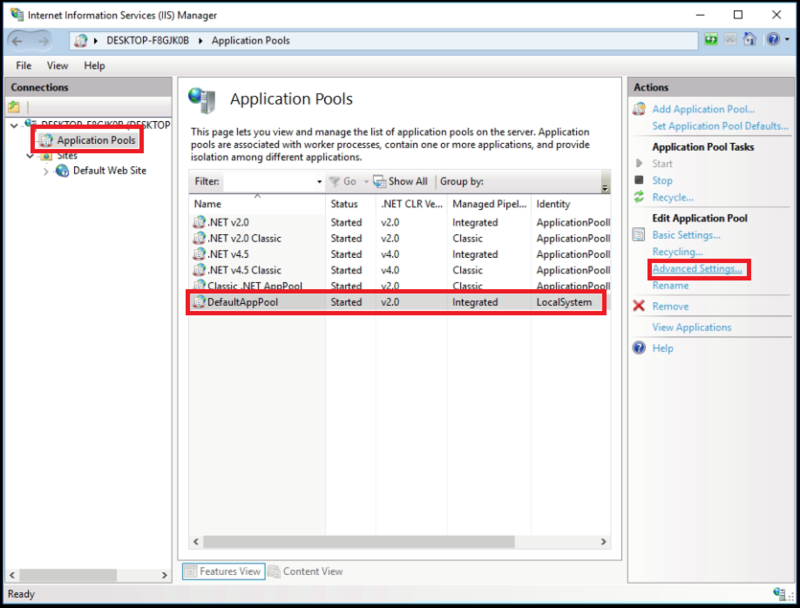
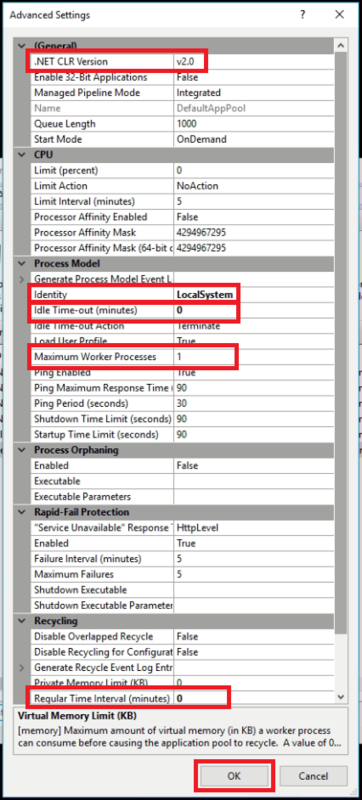
3. Click on "Application Pools", then select "DefaultAppPool", and then select "Advanced Settings..."
4. Adjust the following settings:
.NET CLR version: v2.0; Identity: LocalSystem; Idle Time-out (minutes): 0; Maximium Worker Processes: 1; Regular Time Interval (minutes): 0
Click "OK"
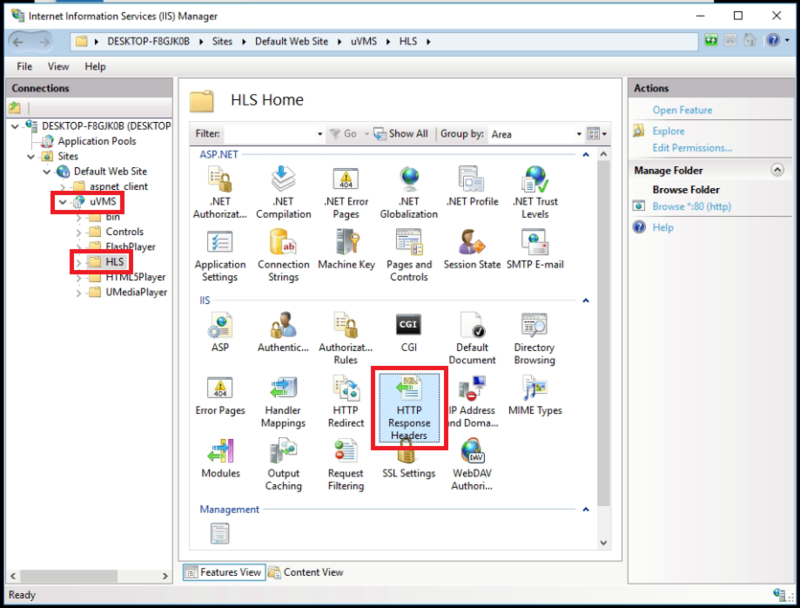
5. Next, go to "uVMS" under "Sites", then "HLS". Then double-click on "HTTP Response Headers"
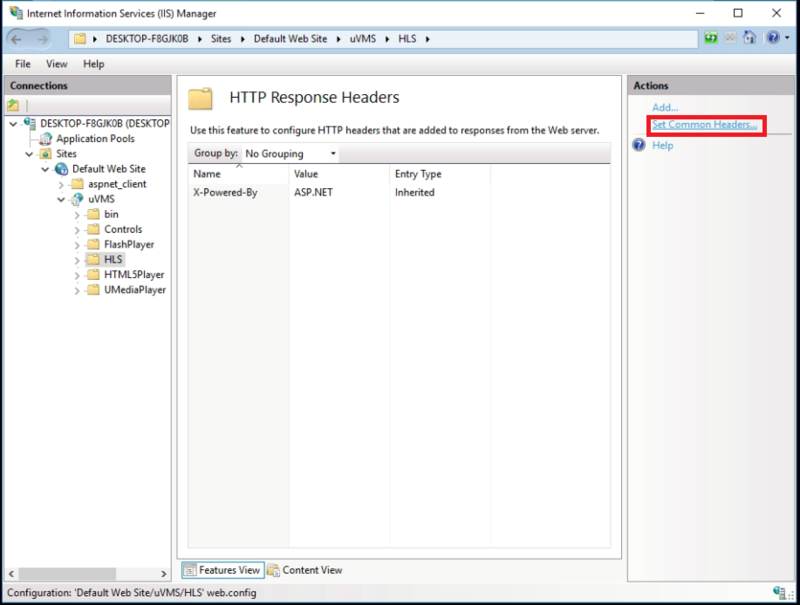
6. Click on "Set Common Headers..."
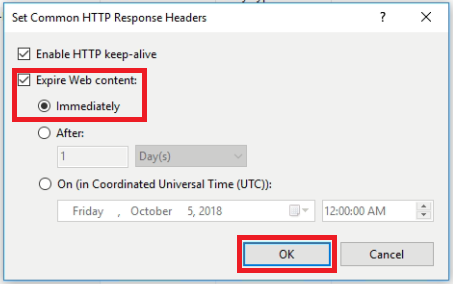
7. Click the check box for "Expire Web Content" and select "Immediately". Then click "OK"
uVMS: First Login & Create Operator
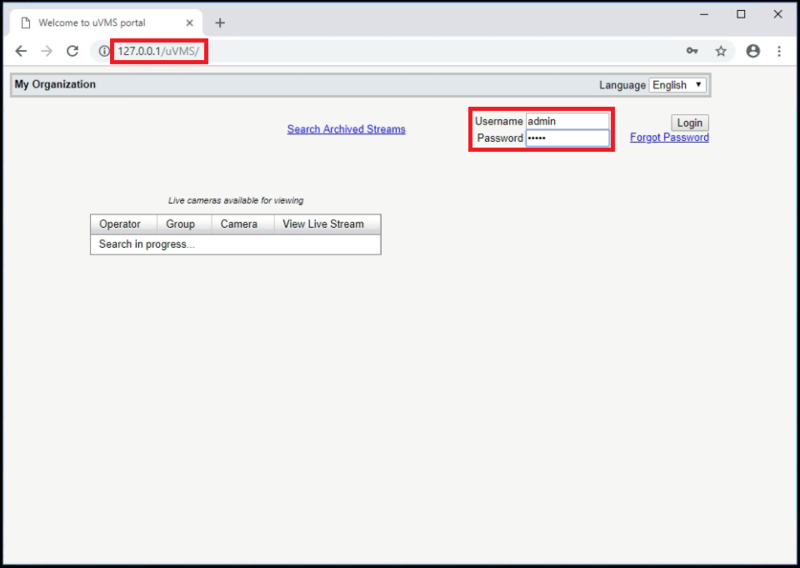
1. Open a web browser and navigate to http://127.0.0.1/uVMS or http://localIPAddress/uVMS and log in with Username "admin", Password "admin"
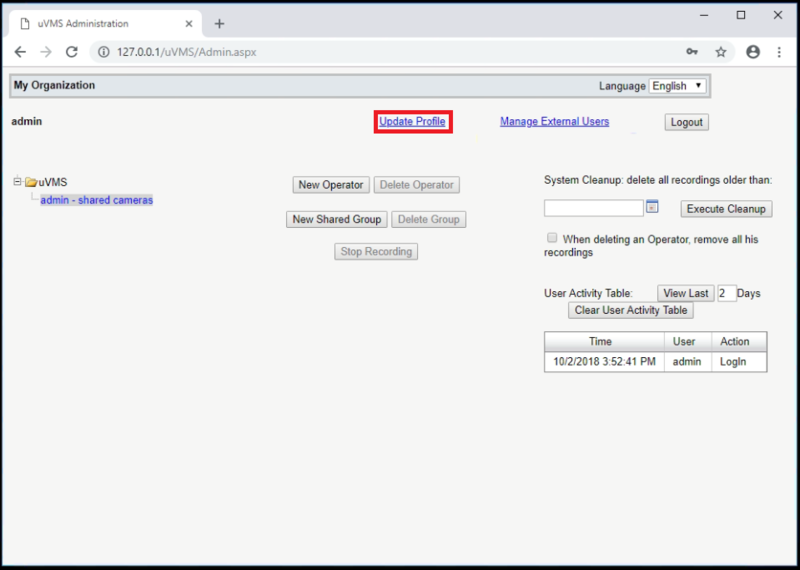
2. Click on "Update Profile"
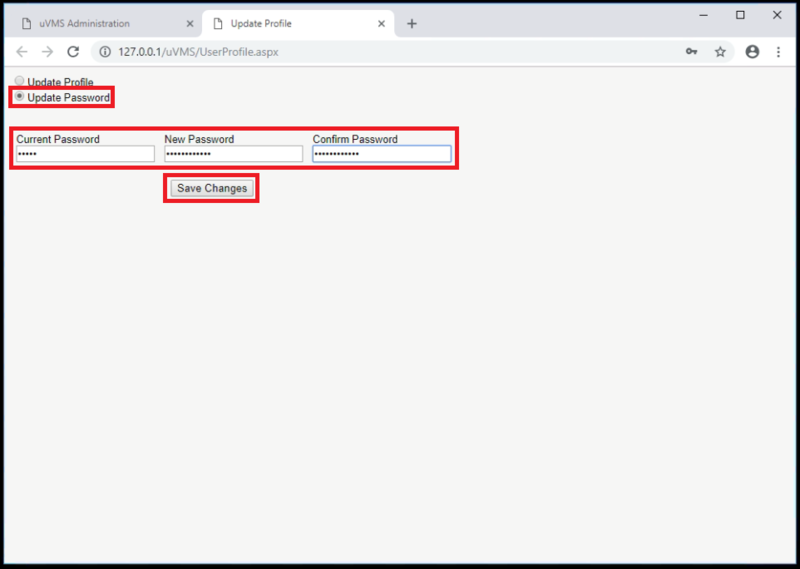
3. Click on "Update Password". Type in "admin" for "Current Password" and then type in a newp password you will remember under "New Password" and "Confirm Password"
Select "Save Changes"
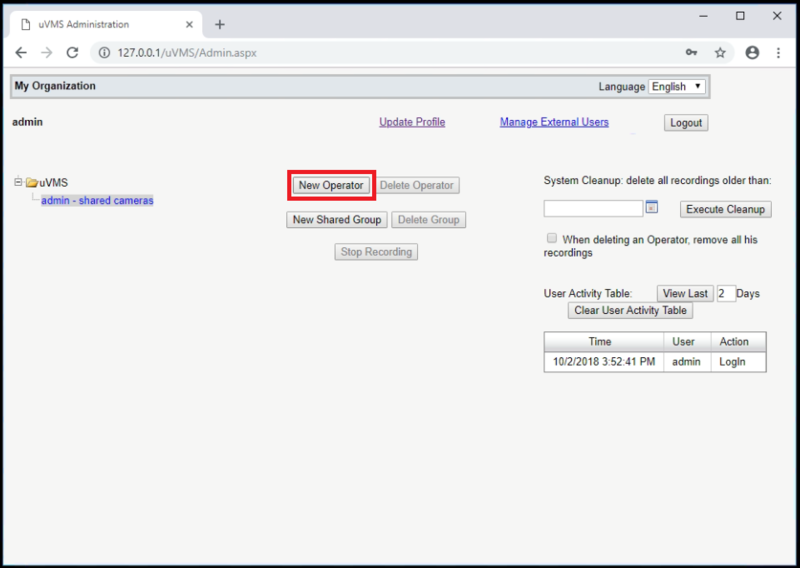
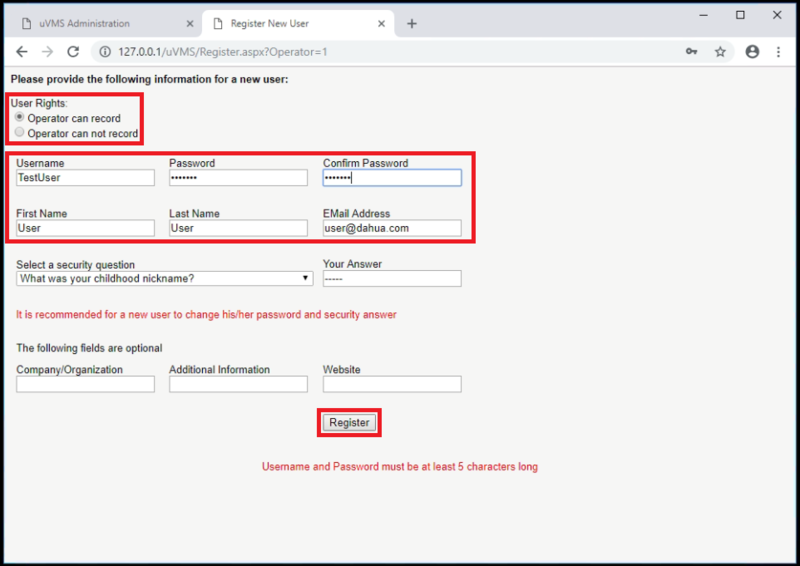
4. Click on "New Operator"
5. Select either "Operator can record" or "Operator can not record" based on if you want this operator to be able to record video
Fill in the "Username", "Password", "Confirm Password", "First Name", "Last Name", and "Email Address" with the appropriate information for this new Operator account
Select "Register"
uVMS: Add Cameras
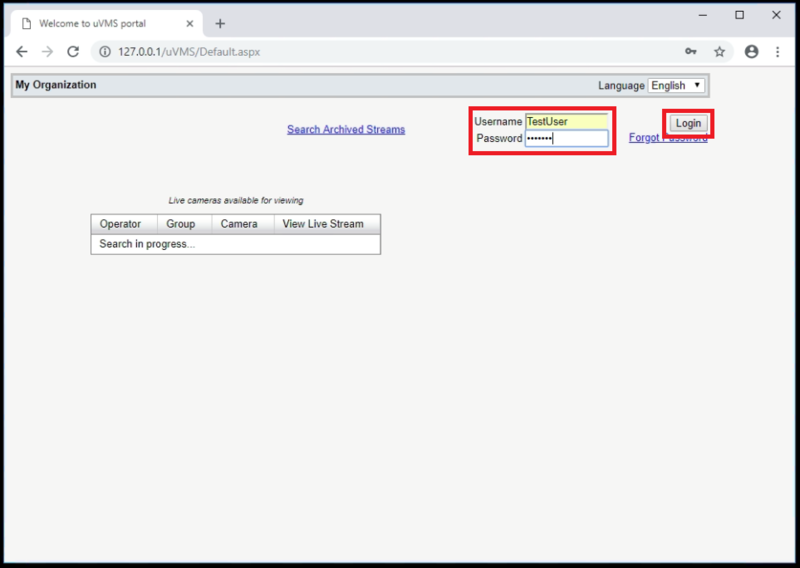
1. Logout of the administrator account and then log in with the operator account you just created
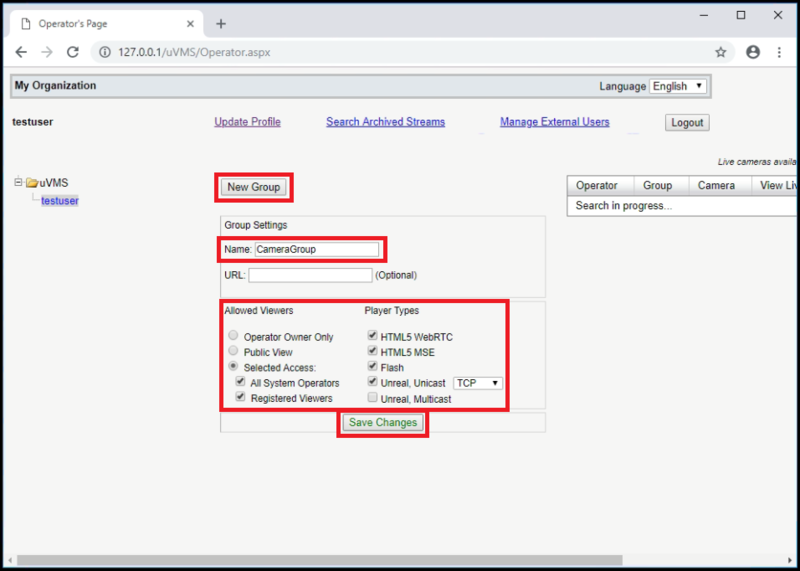
2. Select "New Group". Then give the group a name next to "Name", select who has access under "Allowed Viewers", and select the available stream types under "Player Types"
Select "Save Changes"
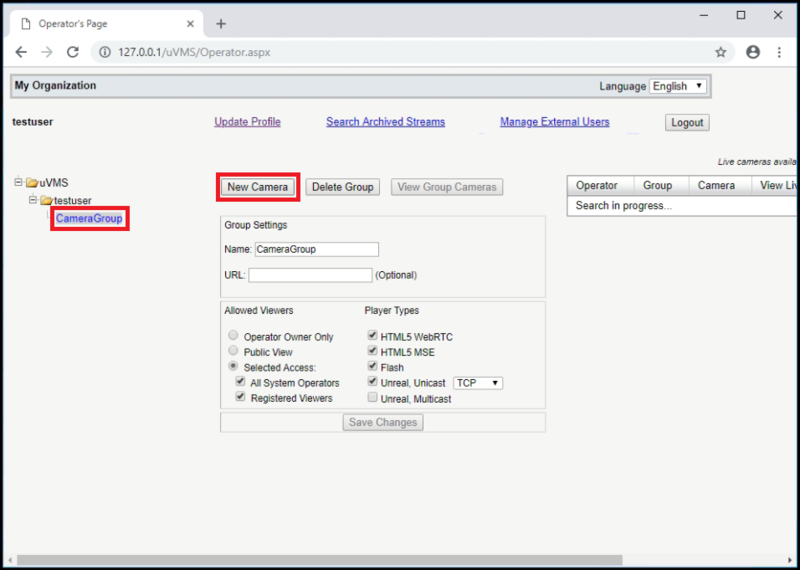
3. Click on the name of your newly created camera group on the left, then select "New Camera"
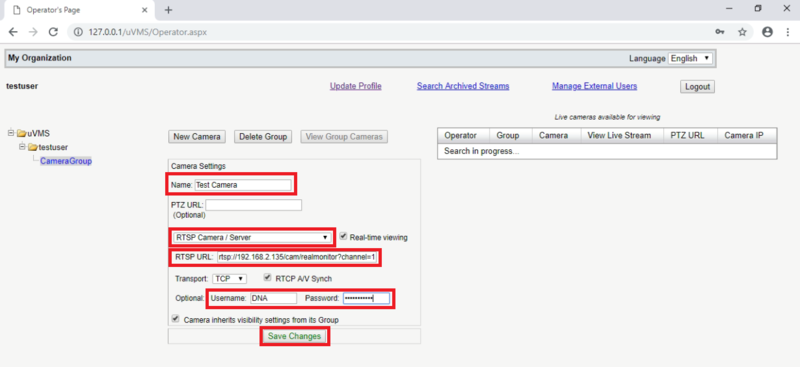
4. Enter the name of the camera next to "Name", then select "RTSP Camera/Server" from the drop down list
Type in the rtsp stream feed of the camera, for example rtsp://192.168.2.135/cam/realmonitor?channel=1&subtype=1
Input the username and password of the camera in the "Username" and "Password" fields
Select "Save Changes"
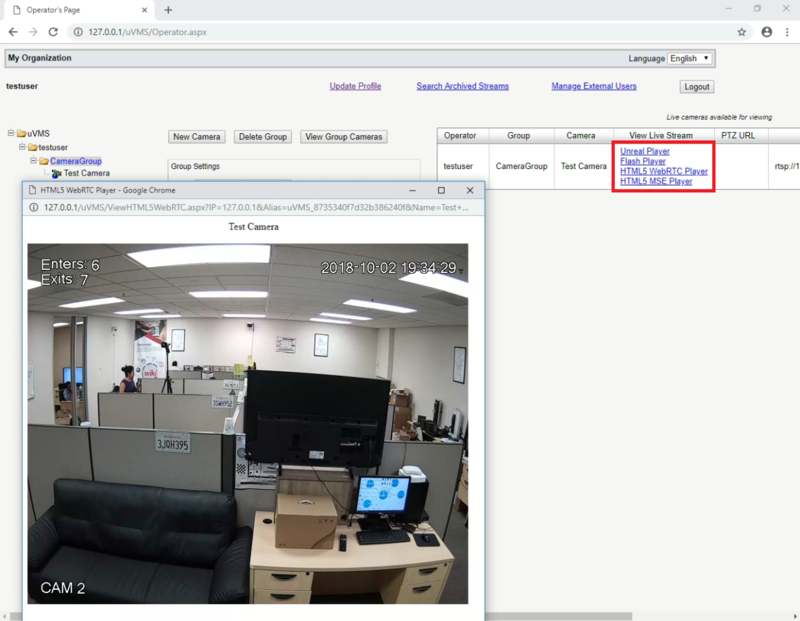
5. You should see the newly added camera on the list on the right
Select the stream type you want to view by selecting an option under "View Live Stream"
If everything was configured properly, you should see a pop-up window with a live stream of your camera.
