Add Device Lorex
Add Device to Lorex
1. To add a device to the Lorex app, first insure that the app is installed and that necessary permissions have been granted. Launch the app and using the icon in the top right open the Device list and select Add Device.
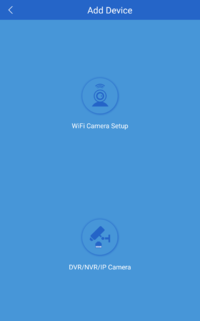
2. Under Add Device, select the option that corresponds to the device type being added.
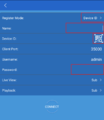
3. At the next screen the connection information for the device will need to be added.
Register Mode: How the device is being added, either by IP/Domain (using either the external IP address of a DDNS created for the device.) or by Device ID. Once all the information has been filled in hit connect to save.
Name: Identifier for the unit, name can be anything.
Device ID: ID number printed on the unit with a QR code. Can be scanned in or manually entered.
Address: Only available if IP/Domain is selected. External or local IP address for the system. Local address only works in same network.
Client Port: Only available if IP/Domain is selected. Client port defined in the system settings. Default is 35000.
Username: A valid username to login to the device. Valid usernames are usernames saved on the system.
Password: The password used to login with the provided username.
Live View/Playback: The video stream being pulled for the defined video source. Sub is recommended.
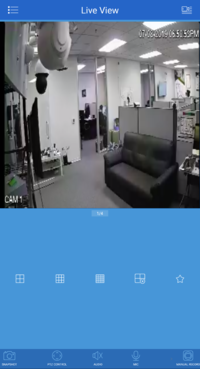
4. Provided all information is correct, the live view of the added device should appear on the screen.


