DSS S2/User Portal/Add Device Using Auto Register
Contents
Add Device Using Auto Register
Description
Adding remote devices to DSS is convenient and can be done easily via the auto register. Auto Register function works similarly to P2P, it allows for remote access to the remote devices without doing port forwarding.
Prerequisites
- Remote device with "Register" function enabled
- Add the remote device on DSS using "Auto Register"
- Specify the host IP address, Registration ID, login credential of the remote device
Video Instructions
Step by Step Instructions
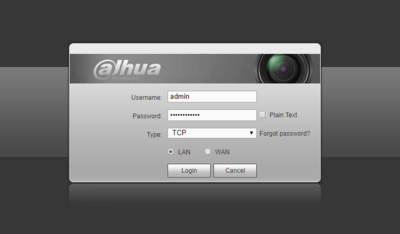
1. Login to the remote device.
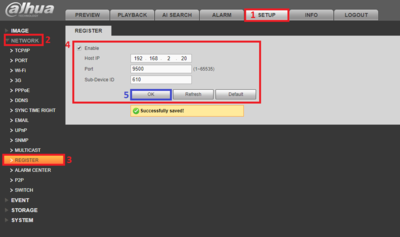
2. Navigate to Setup->Network->Register. Fill in the Host IP of the DSS, 9500 (default port), and sub-Device ID (user-defined)
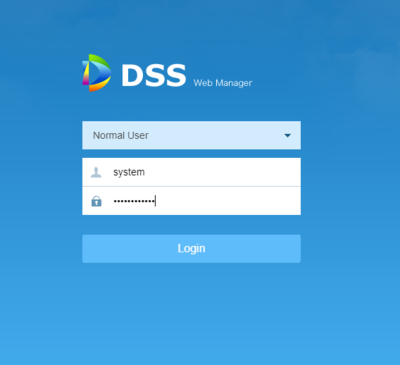
3. Login to the DSS on web UI.
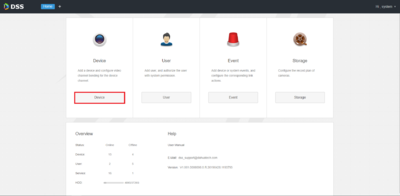
4. Click on "Device" to enable a pop-up window for adding the remote device to the DSS.
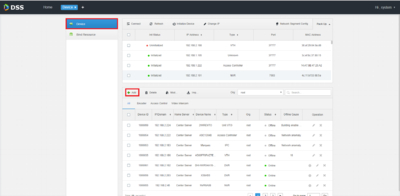
5. Under Device, click on "Add".
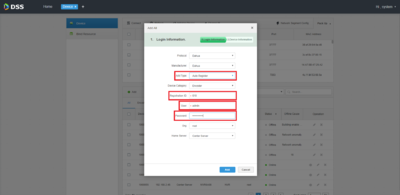
6. Do the following:
Under "Add Type", choose "Auto Register".
Under "Registration ID", put in any user-defined value that will be used. For example, we used "610" in the previous screenshot (sub-Device ID).
Under "User", it will be "admin".
Under "Password", it will be the password of the remote device.
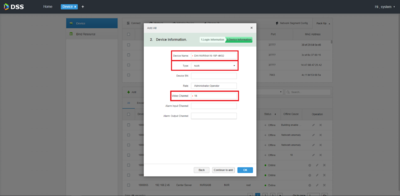
7. Add in the "Device Name" or model number of the remote device.
"Type" will be depending on the devices being added. In this case, it will be a NVR.
"Video Channel" used in this case is 16 channels which also depends on the NVR/DVR if it's able to support.
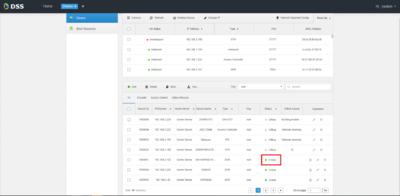
9. Check the status of the remote device on DSS, it should be stated as "online". Please allow some time if it's still stated as "offline" after the remote device is rebooted.
