IPC/How To Mount Camera
Contents
Prerequisites
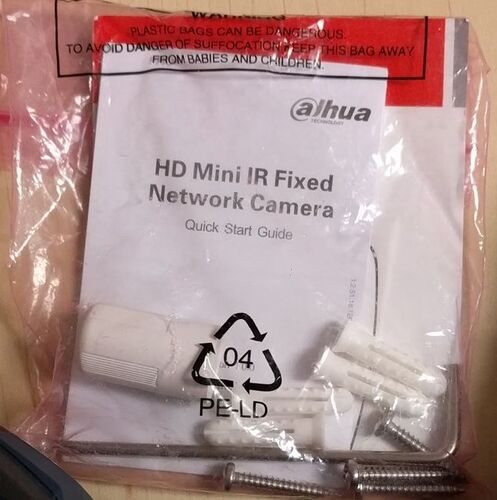
- Camera with install kit (inside box)
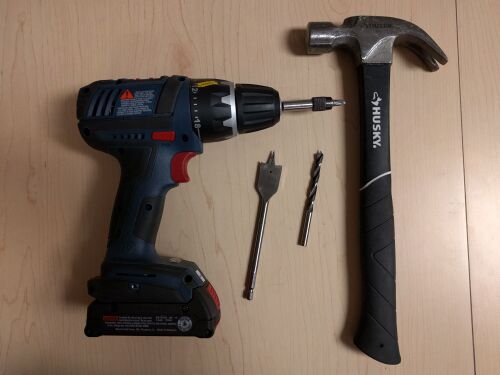
- Spur Point (the size of the plastic plug)
- Spade Bit (for wood) or Masonry Bits (for concrete)
- Drill
- Hammer
How to Mount HFW Cameras
Installation
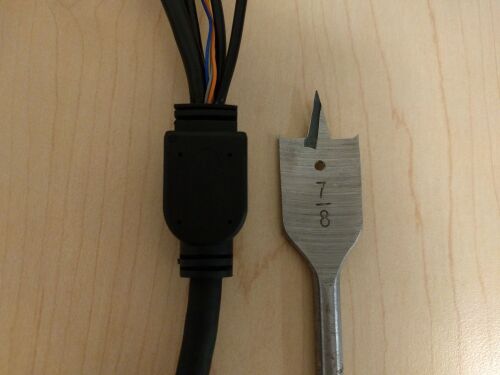
1. Make sure you are using a bit one size up from your biggest plug on the camera's harness.
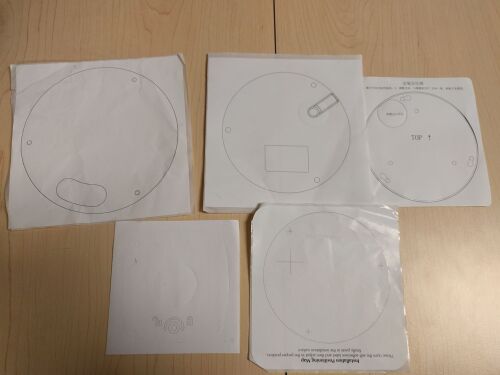
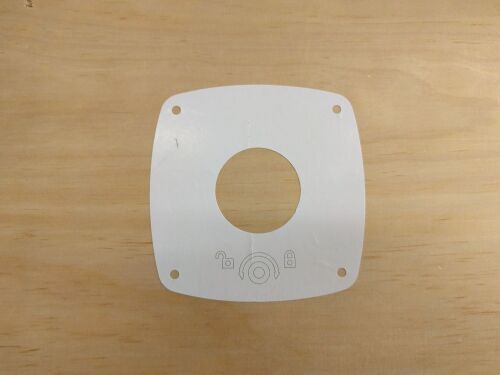
2. Stick the supplied stencil sticker on the surface you are mounting upon. Make sure to use the lock orientation to align the holes. If you are moving a camera and you do not have the stencil, please use the mount and trace around the screw holes and make sure to orient the camera correctly.
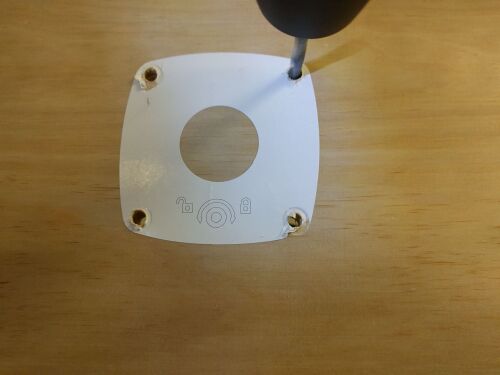
3. Use the stencil to make the appropriate sized drill out. Please use the same size drill bit as the tip of the plastic plugs supplied with the install kit.
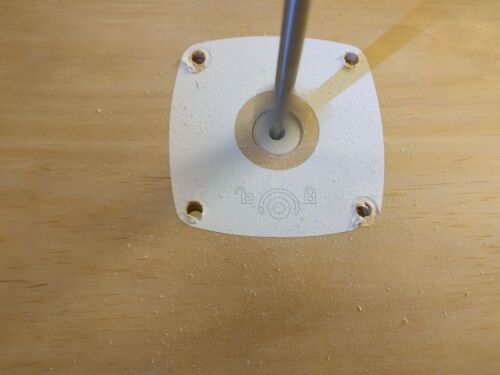
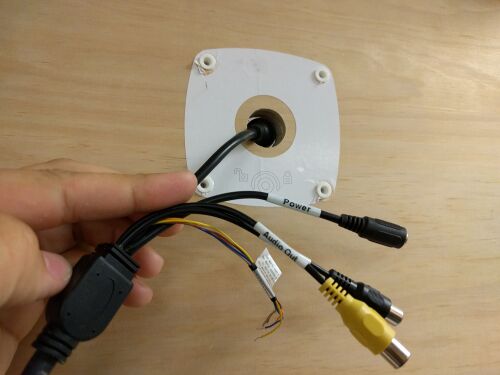
4. Now use the larger bit from step 1 to drill out a hole for cables in the appropriate area.
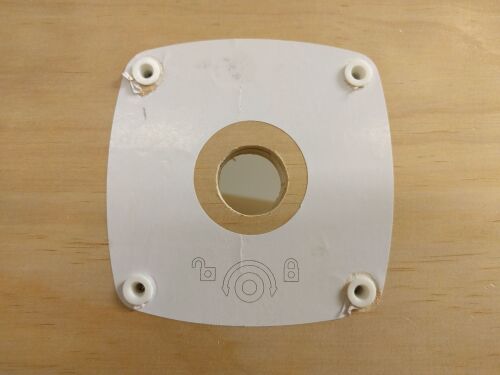
5. Now insert the plastic plugs with a hammer, you should not have to use much force to push them through.
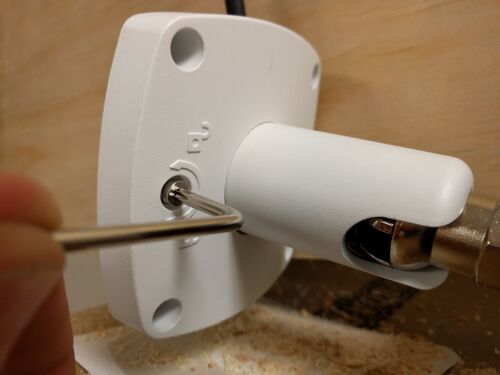
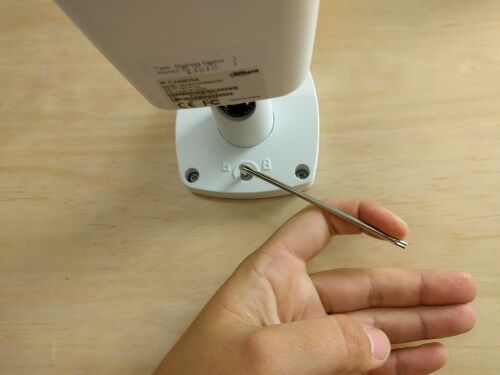
6. Now unlock your camera using the supplied security key so you can clear room for your drill or screw driver.
7. Connect your cables, then push in your cables starting with the biggest one (typically your ethernet plug or BNC plug)
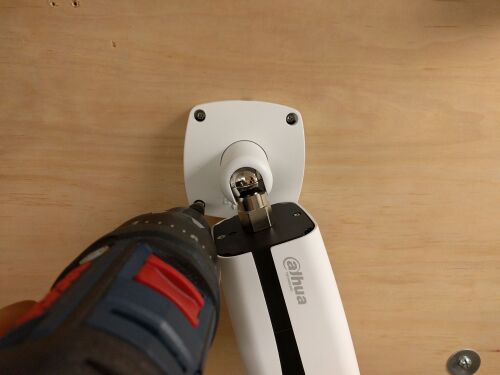
8. Now use a drill or screwdriver to install the screws into the plastic plugs.
9. Now position the camera into the appropriate position, and use the lock key to lock it down into position. If you are using a dome camera lock down the dome cap.
How to Mount HDBW Cameras
Installation
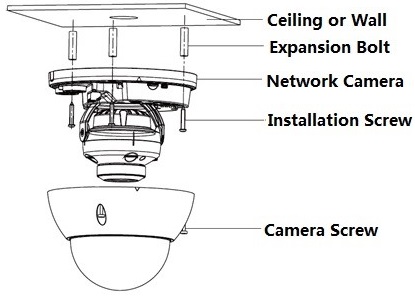
1. Click Use star-shaped wrench in the accessories bag to unscrew the three star-shaped screws on the dome enclosure, and then open the dome enclosure.
2. Please take out the installation position map in the accessories bag, and then paste it on the ceiling or the wall according to your monitor area requirements.
3. Find “cross” signs on the map, and dig three plastic expansion bolts holes on the installation surface and then insert three expansion bolts into the holes. Secure these three bolts firmly
4. Adjust the device installation pedestal to the proper position and then pull cable through the exit hole on the installation surface. Line up the three screw holes in the device pedestal to the three plastic expansion bolt holes in the installation position. Put the three installation screws into the three plastic expansion bolts and secure them firmly. Fix the pedestal on the installation surface.
5. Adjust the lens to the needed angle according to the application requirements of the location. Hold the screw location of the rotation bracket on both sides, turn the rotation bracket horizontally, adjust the lens direction horizontally to the targeted position; unscrew the two locking screws on both sides (do not remove them completely, just make them loose), hold the IR light decoration cover to make the lens rotate vertically, adjust the vertical direction of lens to a proper monitoring angle, then tighten the locking screws on both sides; Hold the IR light decoration cover to rotate horizontally, adjust the image and adjust the lens horizontal direction to the targeted location; Range of adjusting lens angle: vertical (0°~+65°), horizontal (0°~+355°).
- Side Wiring Take up the dome enclosure; aim the location of side cable exit and cover the enclosure, use inner hex wrench to secure three camera screws firmly. So far, the installation is completed. When cable installation adopts side wiring, it needs to pull out the plastic decoration plug on the lateral side of the device pedestal, and then the cable can be pulled out through the lateral side of the pedestal.
- Cable Connection The device reserves two wiring holes, and supports the plug whose outer diameter is less than 15mm.
The device is equipped with two waterproof sealing plugs. The waterproof sealing plug can be used to block wiring hole and threading, which supports the cable whose diameter is between 4.0mm ~ 6.0mm to pass. It enables it convenient for the users to operate waterproof work for leading wire by themselves. Take out the waterproof sealing plug, and pull the cable with 4.0mm~6.0mm diameter through the sealing plug. Install the cable with waterproof sealing plug on the pedestal through the installation hole under the device pedestal, and assemble the cable pin. Connect the pin accessed with cable to the device,then install the device according to the normal steps.
