IVS2.0:WebUI/Heatmap
Heat Map Setup
Description
This article will show you how to use the Heat Map feature on a supported device using the WebUI / Web interface / Internet Explorer
Prerequisites
- Intelligent Network Camera or an HDCVI Camera that is connected to a HDCVI DVR that has intelligent features.
- Updated firmware that supports intelligent features.
- Internet Explorer.
Step By Step Instructions
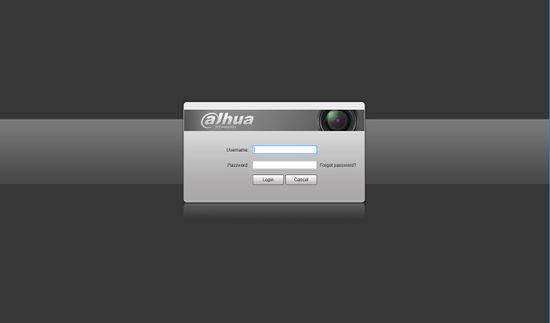
1.Log into device using the Web Service.
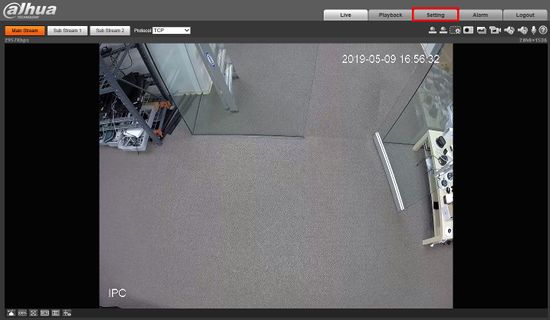
2. Click Setting
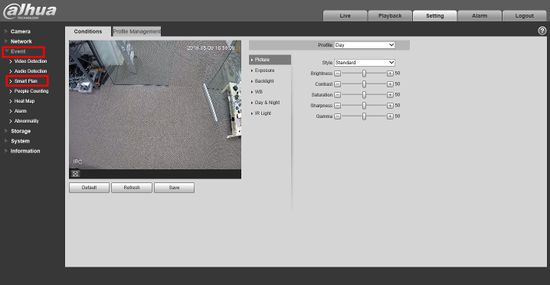
3. Click Event > Smart Plan
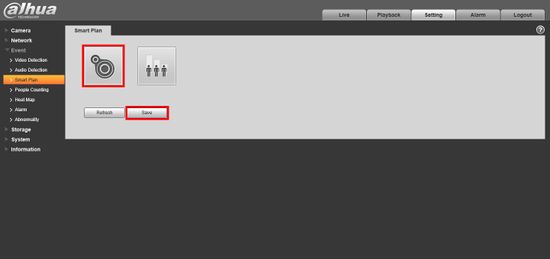
4. Click the Heat Map icon to enable the Smart Plan then click Save
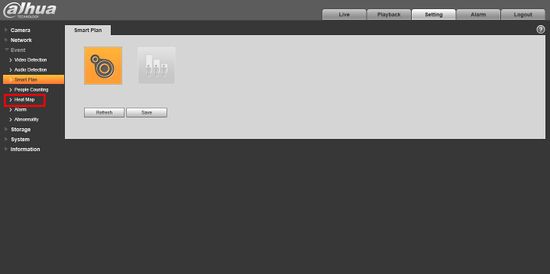
5. Click Heat Map
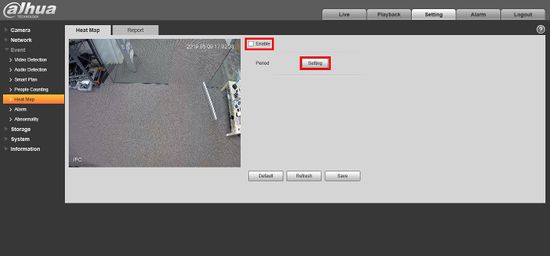
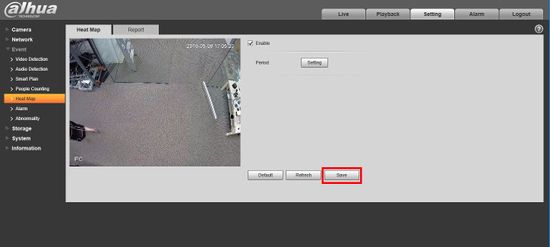
6. Check the box to Enable, then click Setting to set a custom schedule for the Heat Map.
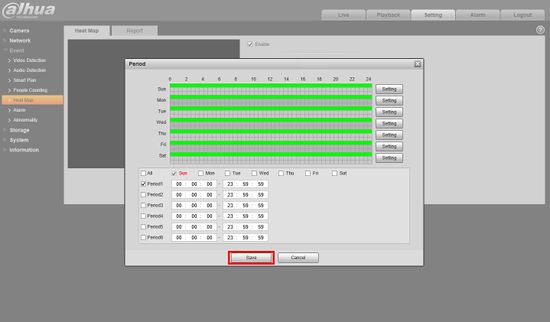
7. Use the menu to set a schedule for the Heat Map function. By default the schedule will be 24/7
8. Click Save
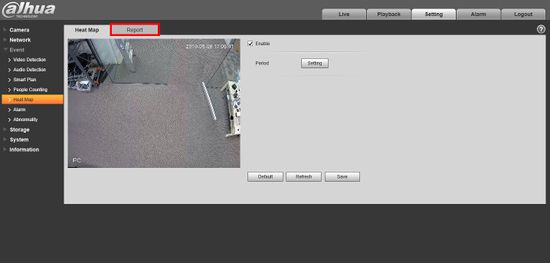
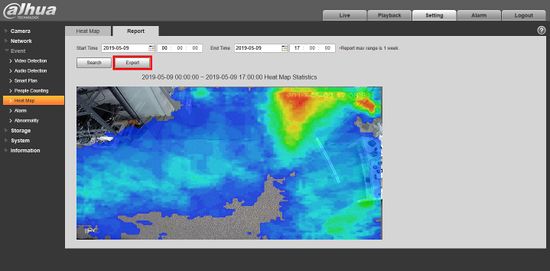
9. Click the Report tab to review the collected data
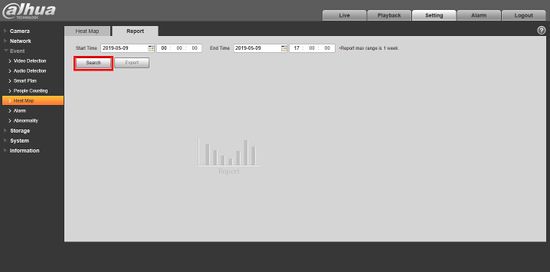
10. Enter a Time/Date range to search for then click Search
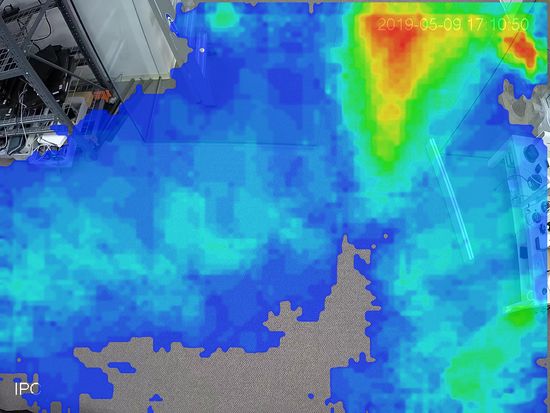
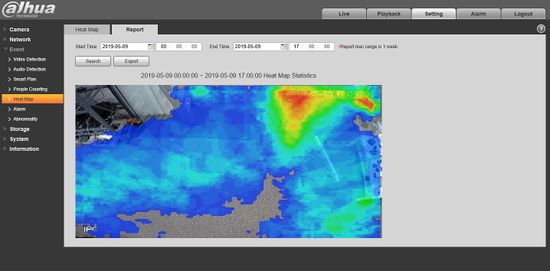
11. The heatmap data will be displayed.
12. Click Export to export the heat map data as a bmp Image
