New GUI/Instructions/Remote Access via Port Forward
Contents
Remote Access via Port Forwarding
Description
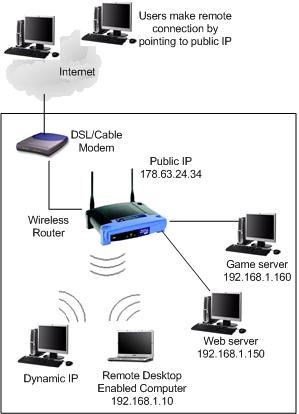
Port forwarding is a function of network routers that allows a user to configure specific communication ports to be routed to devices on an IP (Internet Protocol) network, such as a computer, DVR, or IP camera. In this case for CCTV equipment, it allows the user to view and control CCTV equipment remotely. Follow the step by step instructions and the instructions your manufacturers hardware to setup port forwarding, or try PortForward.com to search for your routers settings.
Prerequisites
- Dahua North America Recorder
- Router that connected to internet
- Computer that connected to the same network as recorder
Video Instructions
Step by Step Instructions
1. Connect Dahua device to network with a network cable.
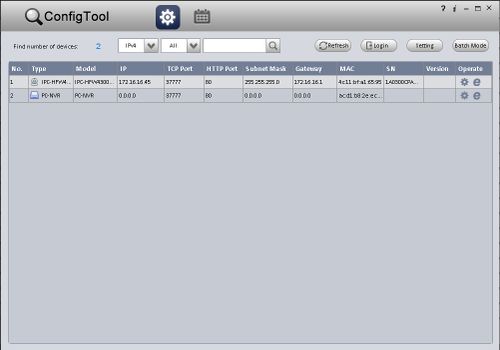
2. Download and install ConfigTool software. You can download this software from this following link: Click Here to Download
3. Run the ConfigTool.
4. The ConfigTool should display all of your Dahua device in the network. Click the ![]() icon to open Internet Explorer and access your device.
icon to open Internet Explorer and access your device.
5. For the first time login, it will prompt you to install the plug in, click on the link provided and run the installation of plugin. After plug in completely installed, there will be a pop up to allow the plug in to run, click Allow.
6. Login to your device by entering the username and password credential.
7. By default, your Main Menu screen will be displayed. Click on Setup > TCP/IP. Modify the default IP address. You can use DHCP mode to get the proper IP address from your router, or you can enter the IP Address, Subnet Mask, and Default Gateway manually.
Note: with port forwarding method, you always want to set your device to static IP address to avoid IP address changed after time.
8. Open another tab on your internet browser and enter the, Default Gateway IP address listed under your device's Network settings. Example: 192.168.1.1, 192.168.0.1, 10.0.10.1
9. Login to your Router and locate the, "Port Forwarding" section.
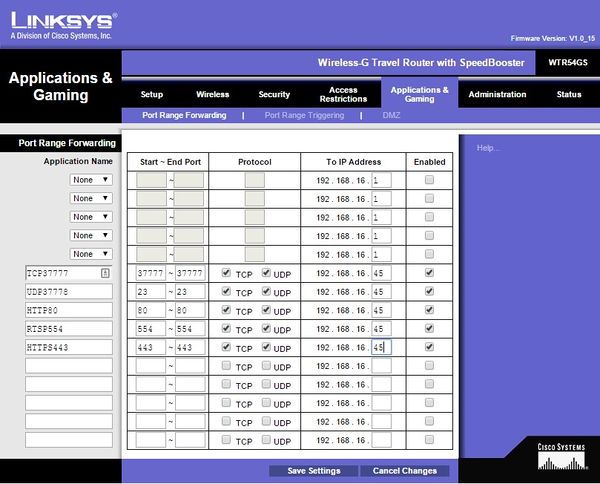
10. Create port forwarding rules for each port you wish to forward for the NVR. (Usually you will only need to forward the HTTP and the TCP port.) Default Ports: TCP: 37777 UDP: 37778 HTTP: 80 RTSP: 554 HTTPS: 443
11. The end result should look like the below image. We used a Cisco router for this example.
12. Click Save on the Router interface.
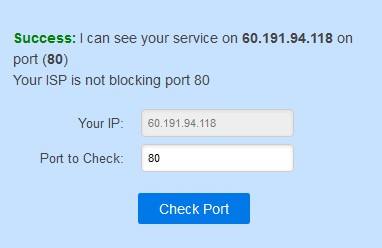
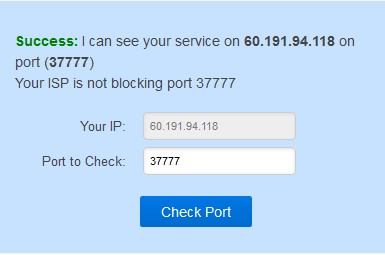
13. Open another tab on your internet browser, and go to "www.canyouseeme.org" and check your port status.
