PTZ/Instructions/Scan
Scan
Description
It is the function that the speed dome can horizontally scan back and forth to display image with a certain speed in a certain range. The speed dome can scan back and forth with a certain speed in a set range after left and right limit and scan speed are set. The function can be realized via OSD as well.
NOTE
Please Note: PTZ Scan is currently not available on the following interface:
- Mobile: iDMSS/gDMSS
Instructions
Description
This article will cover the set up of PTZ scan in the older Dahua user interface.
Prerequisites
- A Pan Tilt Zoom camera.
- Dahua Recorder using the older Dahua UI.
- An attached mouse for the recorder.
Video Instructions
Step by Step Instructions
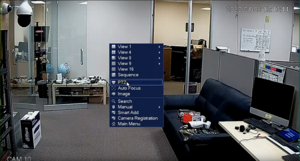
1. Right-click on the live view with the mouse to open up the menu. In the menu, select PTZ to open the PTZ menu.
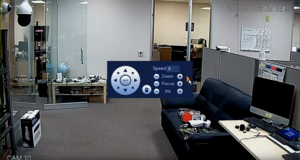
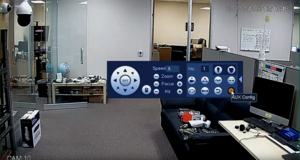
2. From the PTZ menu, select AUX Config to open up configuration option for the PTZ and select Border. The area showing the number 1 can be edited to add an additional scan set up.
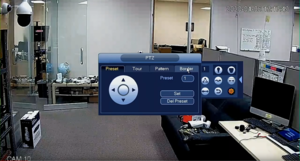
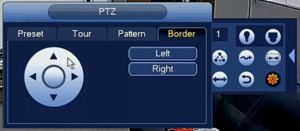
3. Use the Border tab to set the Left and Right limits for the camera. The directional pad can be used to point the camera where the limit should be, then use either Left or Right to set it.

Description
This article will cover how to setup the PTZ Scan function via the System UI with the New GUI
Prerequisites
- Dahua PTZ
- Dahua Recorder with the New GUI, connected to a TV or Monitor
Video Instructions
Step by Step Instructions
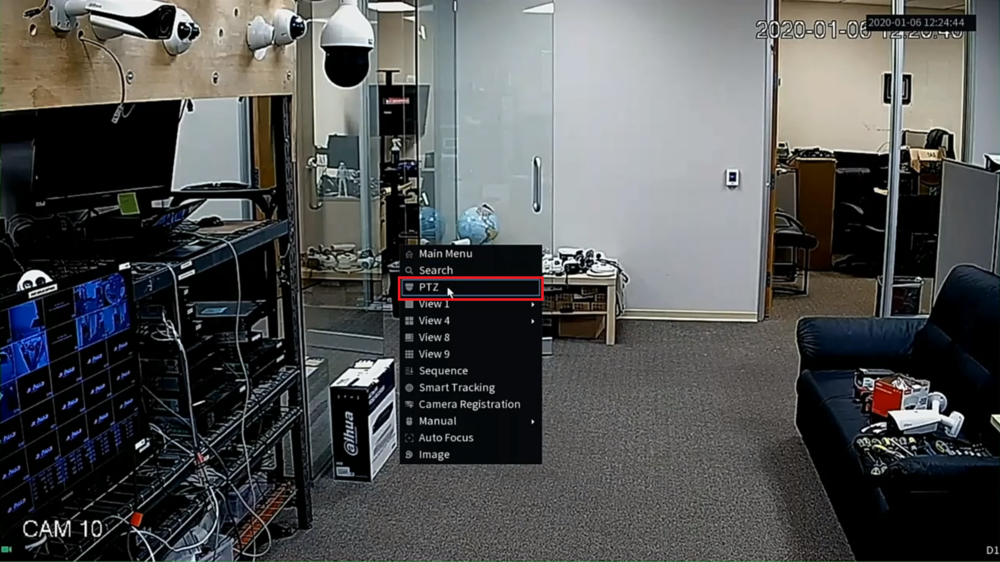
1. Select the PTZ camera's channel live view on the main screen of the recorder. (A green box should appear around the live view of that camera)
Right-click and select "PTZ" from the drop-down menu
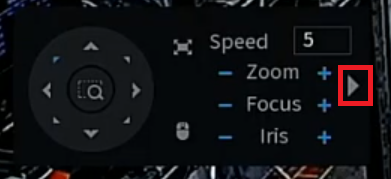
2. Click the arrow pointing right on the right-hand side of the PTZ control window
3. Click the gear icon on the bottom right
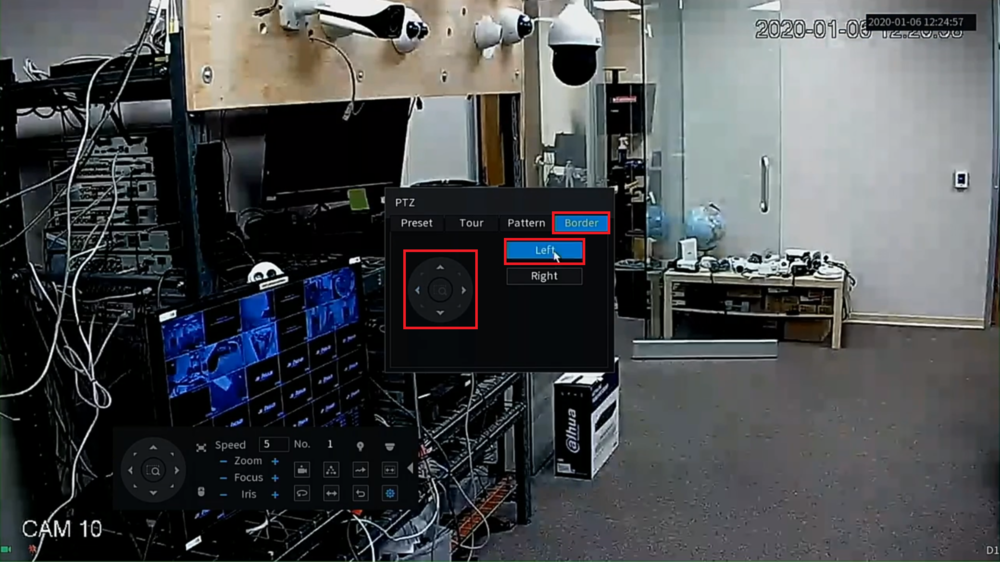
4. Select "Border" at the top.
Then use the arrow controls on the left to move the PTZ camera to aim at where you want the left-most location of the scan to be.
Then select the "Left" button to set that postion as the left edge of the scan
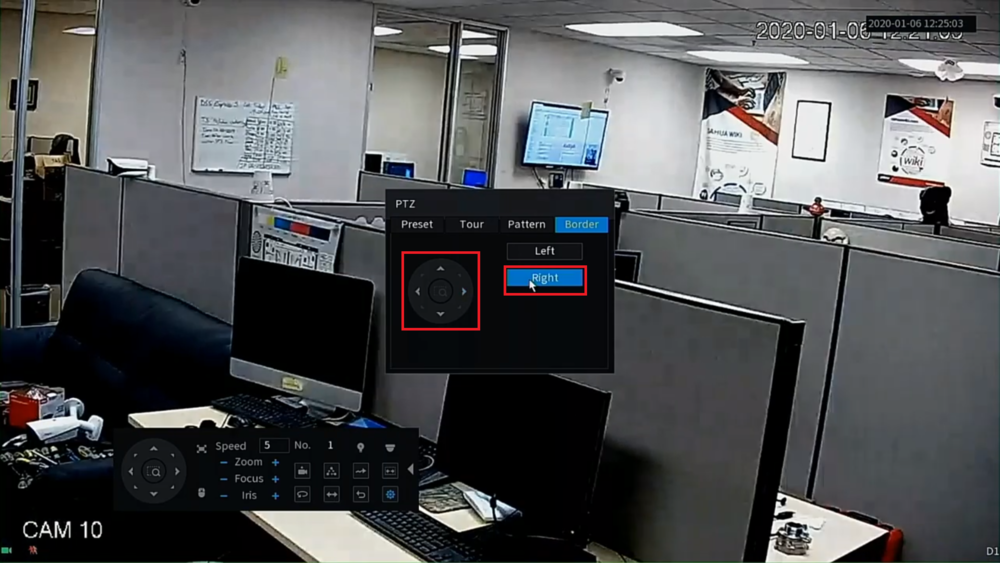
5. Then use the arrow controls on the left to move the PTZ camera to aim at where you want the right-most location of the scan to be.
Then select the "Right" button to set that postion as the right edge of the scan
6. Right-click anywhere to close that menu and go back to the original PTZ control menu.
Select the Autoscan button, which looks like two arrows pointing left and right, at the right-hand side to initiate the scan function.
The camera should start scanning between the two postions you set above.
To end the scan click on same button again that you selected to begin the scan

Description
The Scan feature allows you to set a predetermined path from Point A to Point B
Prerequisites
- Dahua Network PTZ
- IP Address of Network PTZ
- Internet Explorer
Video Instructions
Step by Step Instructions
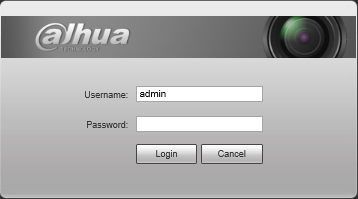
1. Login to your IP Camera via Internet Explorer.
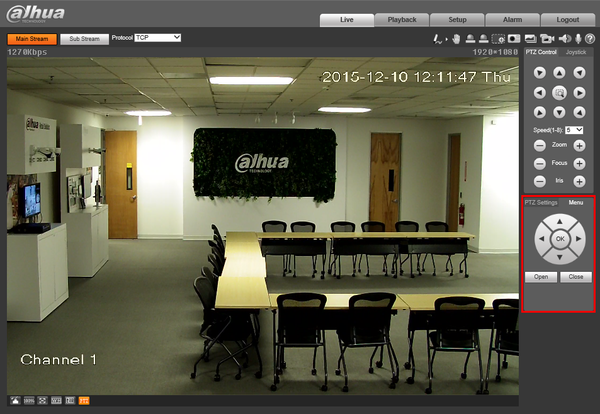
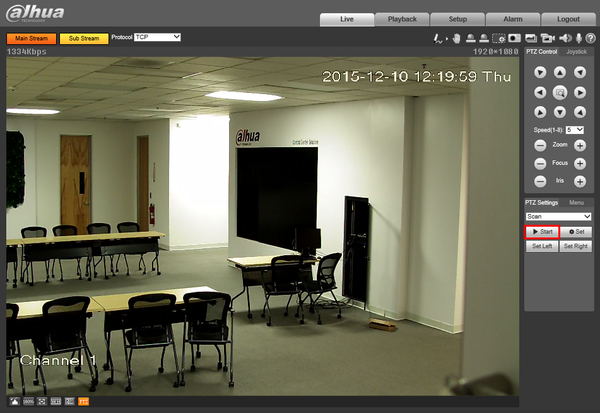
2. On the right hand side click, "PTZ Settings" and make sure, "Scan" is selected in the dropdown menu.
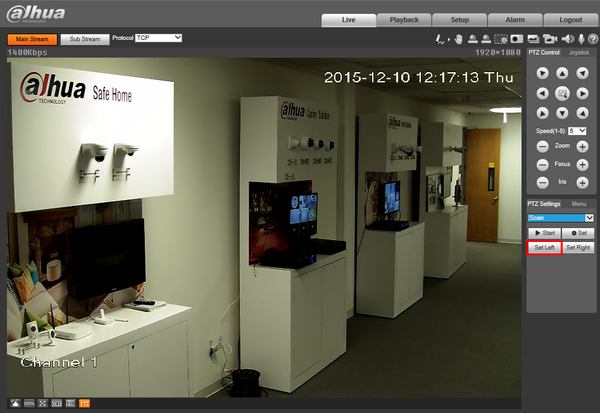
3. Using the PTZ Controls, move the camera into the starting position, and click, "Set Left"
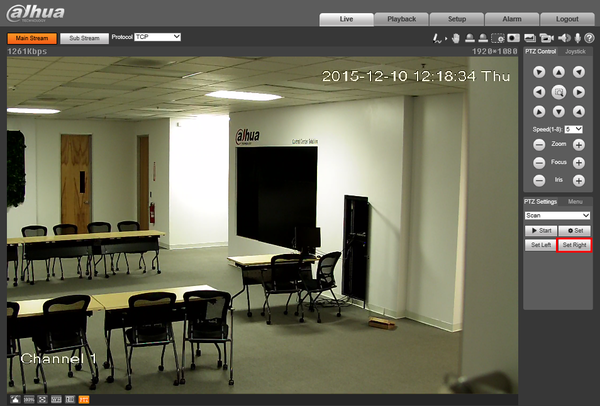
4. Move the camera to the second position, and click, "Set Right"
5. To test the results click, "Start"
Description
This article will cover the set up of PTZ scan in the web interface for the new Dahua UI.
Prerequisites
- A Pan Tilt Zoom camera.
- Dahua Recorder using the latest Dahua firmware with the updated UI
- A network connection for the recorder.
- A networked PC.
Video Instructions
Step by Step Instructions
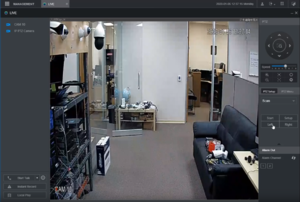
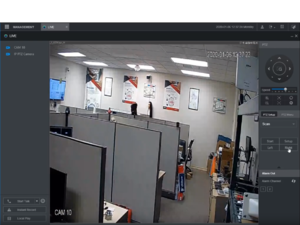
1. After logging into the systems web UI, open the Live View and select the PTZ from the device list. On the right side menu under PTZ select PTZ Setup and in the drop down menu select Scan
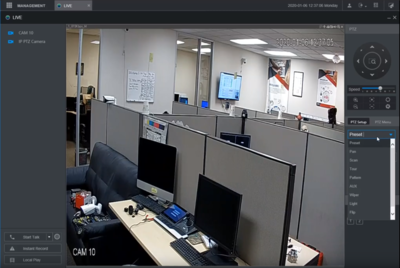
2. After selecting Scan, click the button for Setup this will show the options to set Left and Right Boundaries. To set the position use the directional pad to move the camera to the where the boundaries should be and choose either Left or right to define the the limit of the scan for that point.
Description
This article will cover how to setup the PTZ Scan function in SmartPSS
Prerequisites
- Dahua PTZ
- SmartPSS on a Mac or Windows PC, on the same network as the PTZ
Video Instructions
Step by Step Instructions
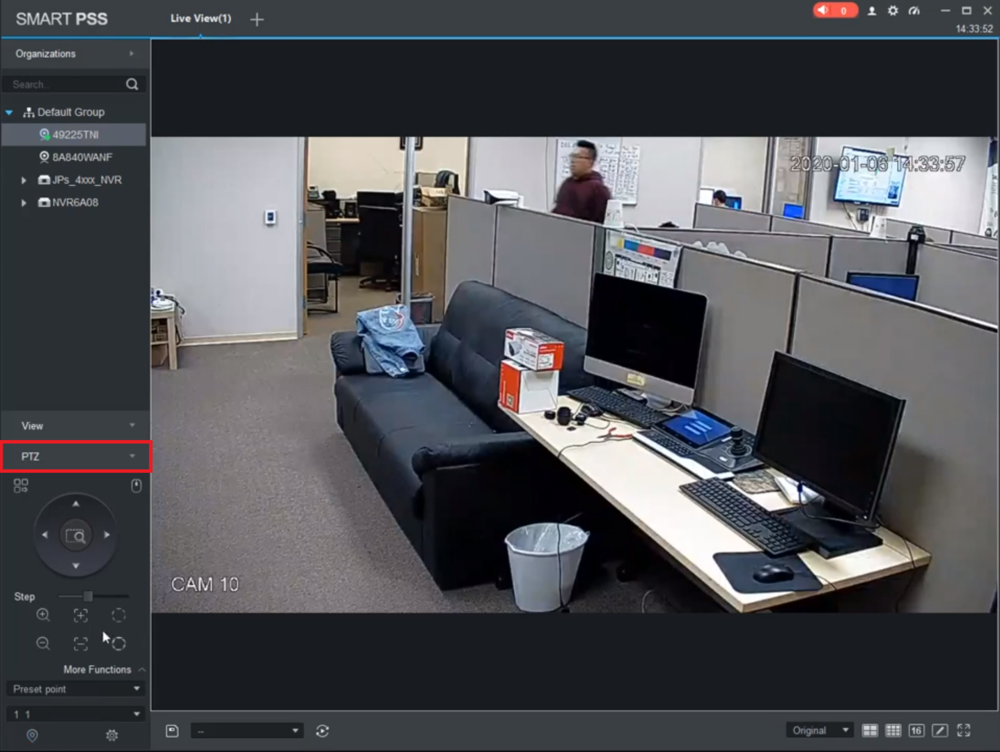
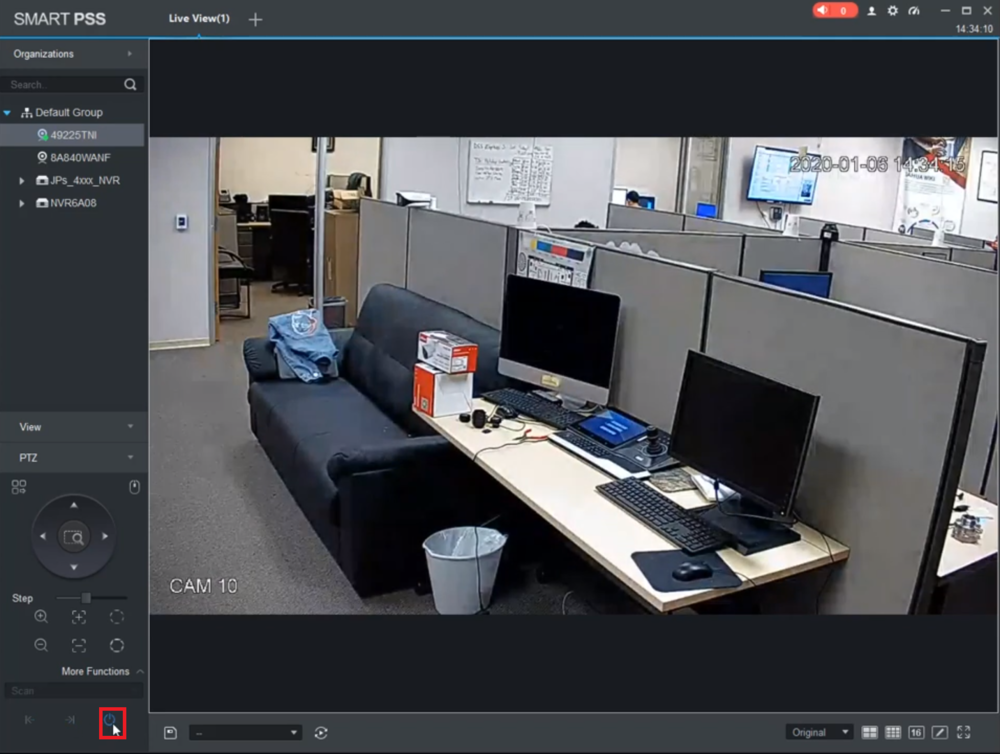
1. From the Live View of SmartPSS, open the PTZ camera's live view and click on its individual view. (A grey box should appear around the live view of that camera)
Select "PTZ" on the bottom left to expand the PTZ Menu
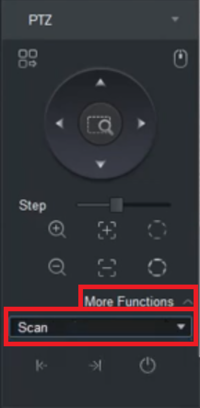
2. Select "More Functions" at the bottom of the PTZ section.
Click on the drop-down menu and select "Scan" from the list
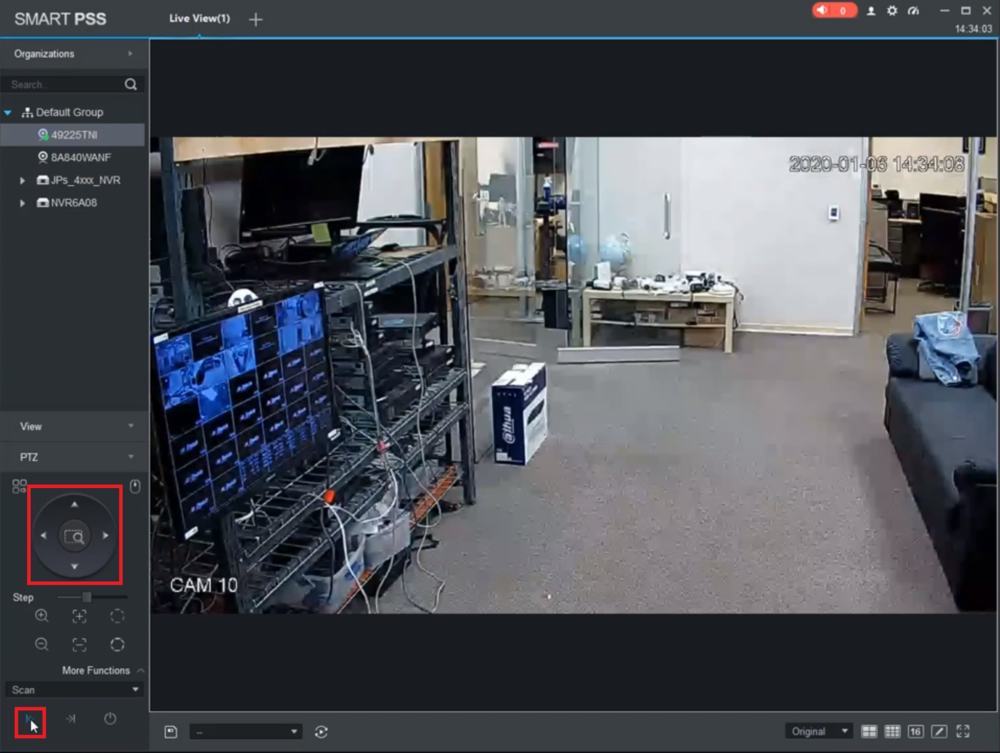
3. Use the arrow controls to move the PTZ camera to aim at where you want the left-most location of the scan to be.
Then select the Left button, which looks like a vertical line with an arrow pointing left to it, to set that postion as the left edge of the scan
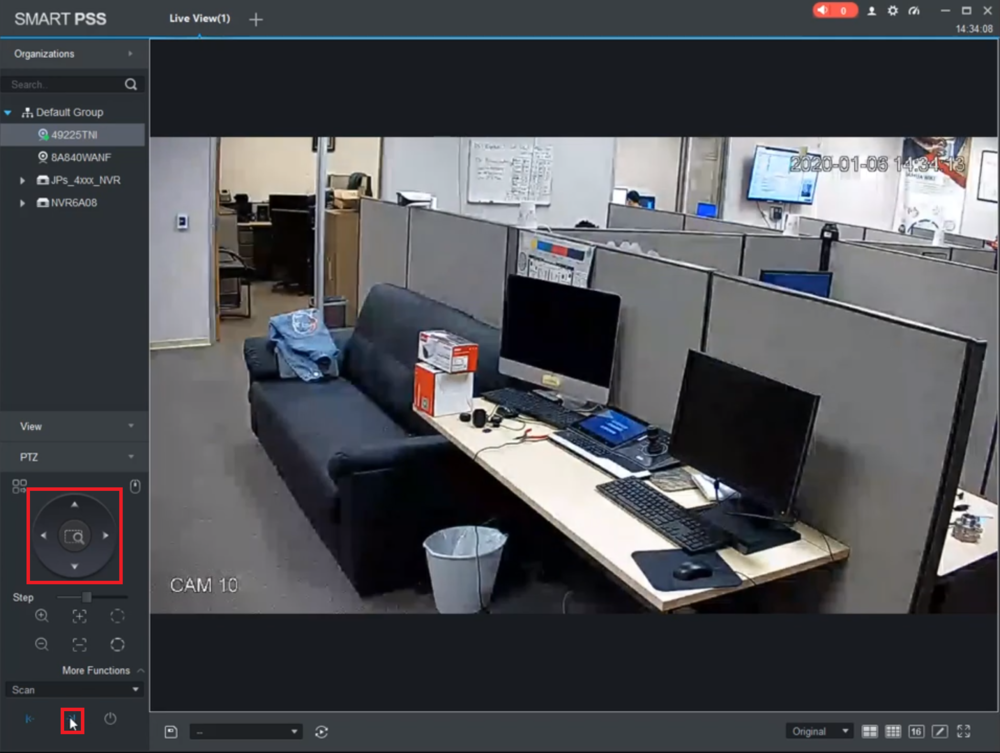
4. Then use the arrow controls to move the PTZ camera to aim at where you want the right-most location of the scan to be.
Then select the Right button, which looks like a vertical line with an arrow pointing right to it, to set that postion as the right edge of the scan
5. Select the Start Scan button, which looks like a power button, to initiate the scan function.
The camera should start scanning between the two postions you set above.
To end the scan, click on same button again that you selected to begin the scan
Description
This article will cover the set up of PTZ scan through the DSS Express S software.
Prerequisites
- A Pan Tilt Zoom camera.
- A Windows computer running DSS Express S software.
Video Instructions
Step by Step Instructions
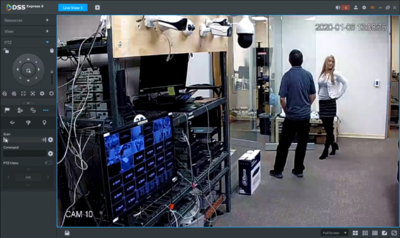
1. Under the Live View Select the PTZ and expand the PTZ Menu using the arrow at the bottom.
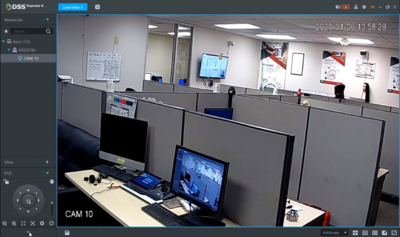
2. Under the PTZ Menu the directional pad to move the camera to position you would like to set as the Left or Right border.
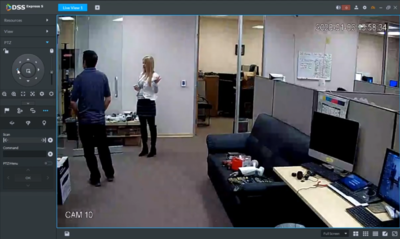
3. When the camera has been moved to the desired position, use the Scan function to set. The left and right arrows below Scan are used to assign once the camera has been moved to the wanted position.
