Template:DVR Change to HDCVI Analog and IP WebUI New
Step-by-Step Instructions for XVR
1. Enter the IP of the device into a browser (default 192.168.1.108)
At the Web Login
Enter the Username and Password
Click Login
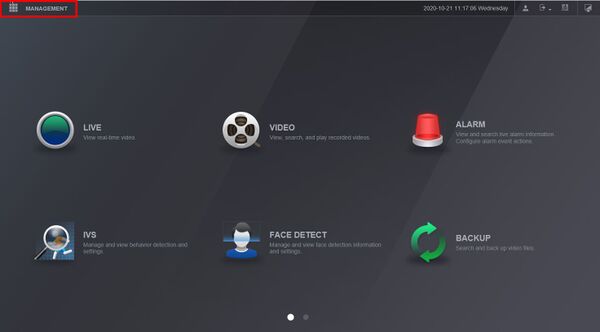
2. Click Management
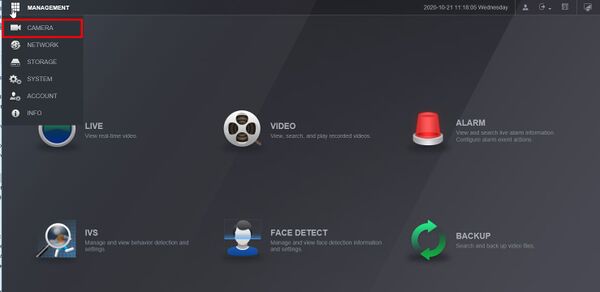
3. Click Camera
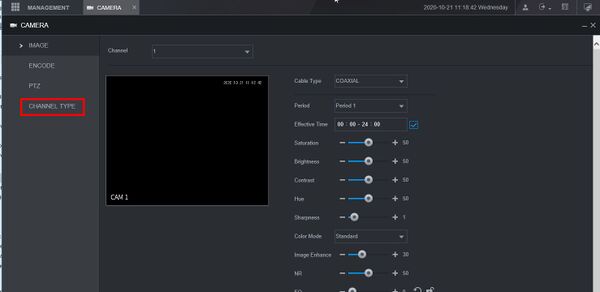
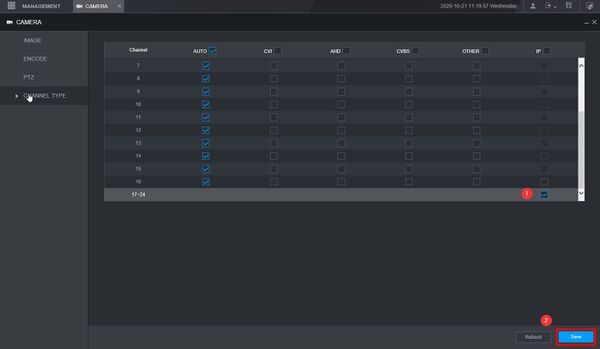
4. Click Channel Type
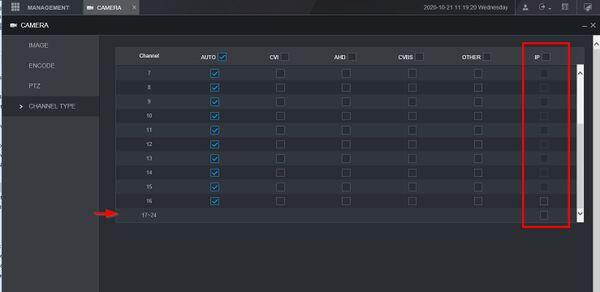
5. Check the box under the IP column next to the Channel to enable IP for
6. Click Save
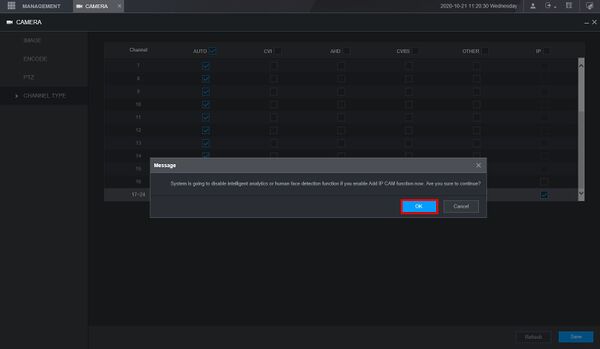
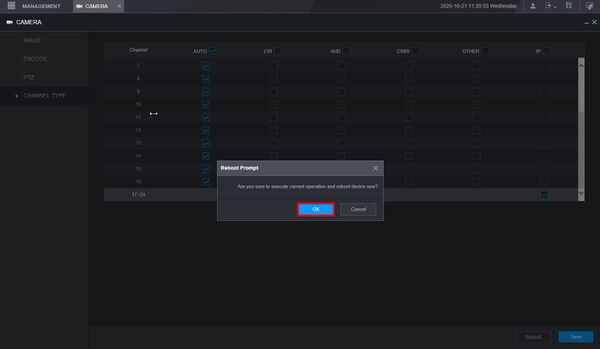
Confirm the prompts that appear by clicking OK
The system will reboot
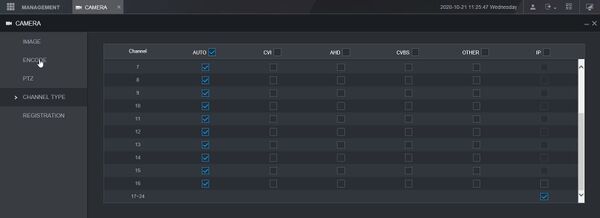
When the unit is back up the IP channels will be enabled
