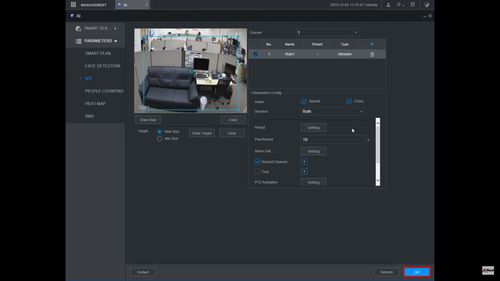
Template:IVS Intrusion WebUI New
Description
This guide will show how to setup the Intrusion IVS feature at the WebUI with New GUI
Prerequisites
Video Instructions
Step By Step Instructions
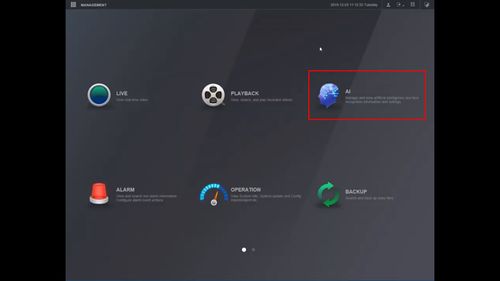
1. From the Main Menu
Click AI
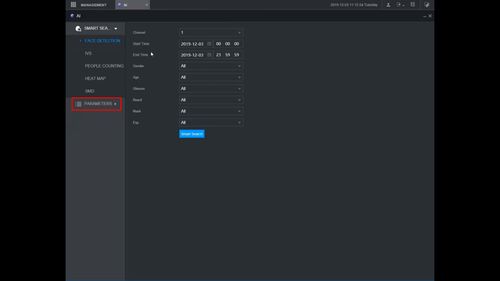
2. Click Parameters
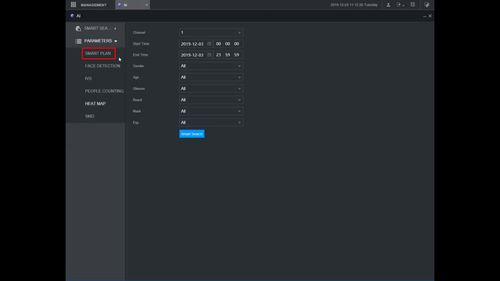
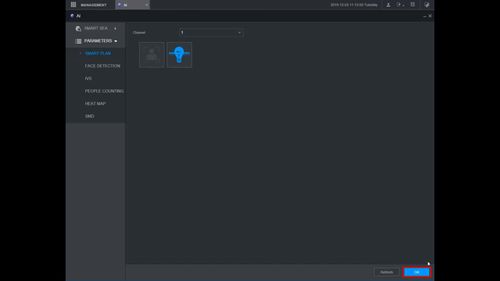
3. Click Smart Plan
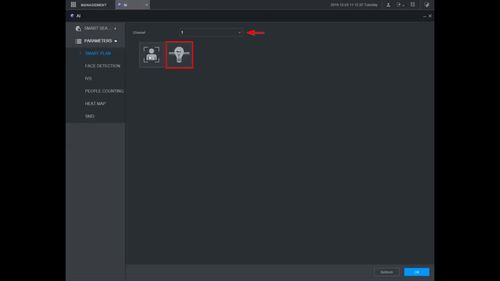
4. Use the dropdown box to select the channel
Click the IVS icon (lightbulb) to enable
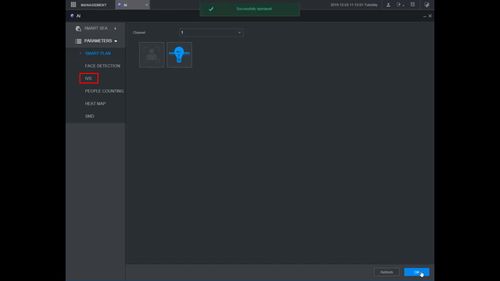
5. Click OK to save
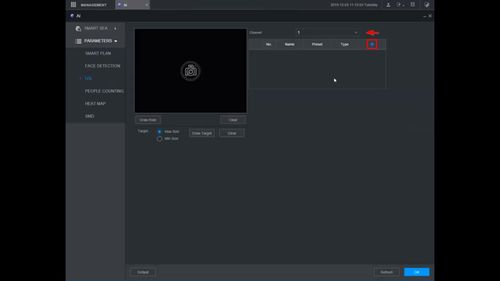
6. Click IVS
7. Use the dropdown box to select the channel
Click the + to add a new IVS rule
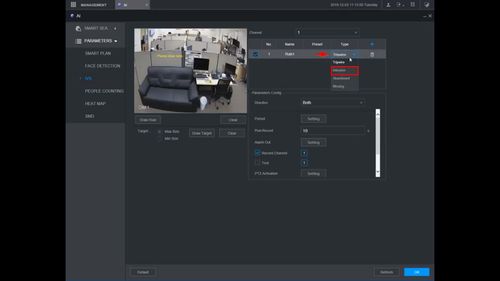
8. The rule will appear in the list
Use the dropdown box under Type to select Intrusion
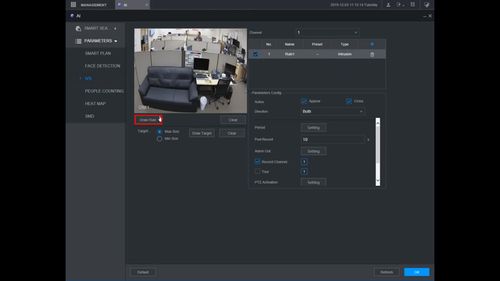
9. Click Draw Rule to begin drawing the detection area
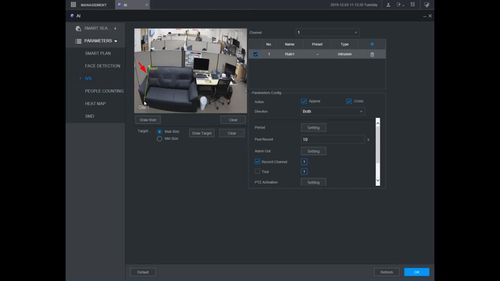
10. Left click inside the video frame to begin drawing
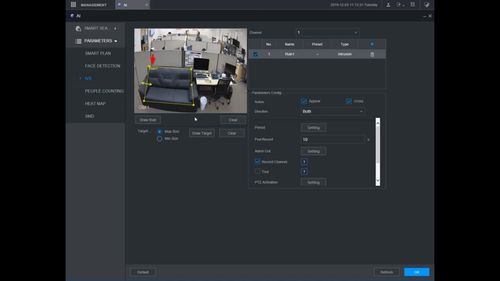
Right click to finish drawing
The rule name will confirm when drawing is complete
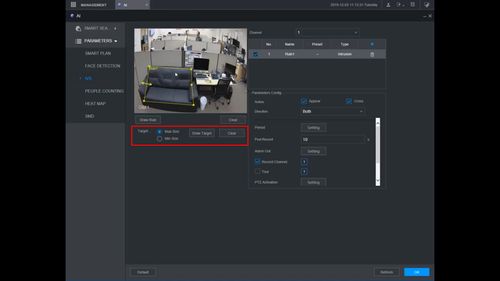
11. Use the Target interface to configure the Max/Min size for detection (if required)
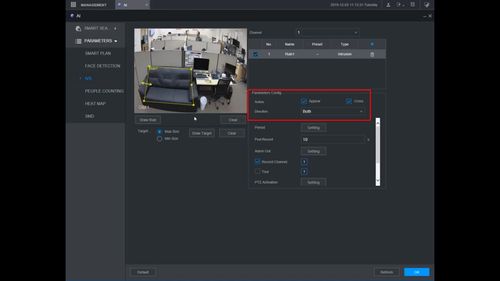
12. Under Parameters Config
Use the interface to make any additional parameters settings for the rule:
- Name - Name of the rule
- Action
- Appear - Alarm is triggered when the target appears in the designated area and within the alarm time
- Cross - Alarm is triggered when the target crosses (enter or exists) the area in the designated area and within the alarm time
- Direction
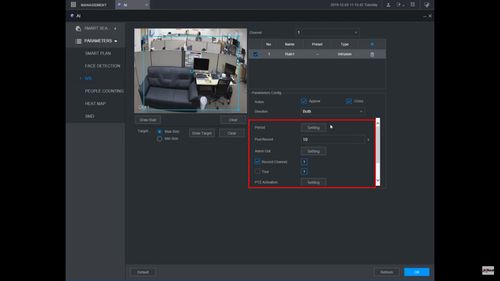
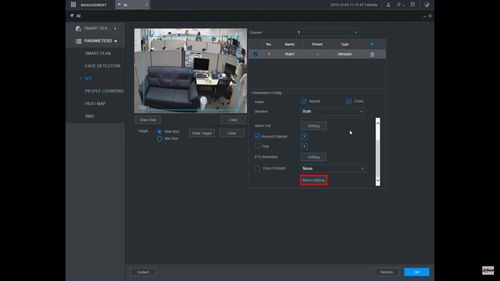
13. Use the interface to enable the desired Trigger functions and schedule (if required)
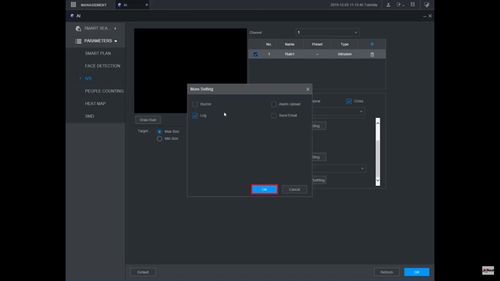
Under More Setting
There are additional trigger actions to set for the rule
- Buzzer
- Log
- Alarm Upload
- Send Email
Make any desired changes and click OK to save
14. Click OK to save all settings
