Video Intercom/SIP 2.0/VTH and VTO with DSS Express Setup
Contents
VTH and VTO with DSS Express Setup
Description
This article will go over the Video Intercom setup with DSS Express acting as the SIP Sever. DSS Express Will manage all the Video Intercom Devices and will receive calls when the VTH declines a call or if the VTH does not answer a call.
Prerequisites
- DSS Express
- Video Intercom devices with SIP 2.0 Firmware
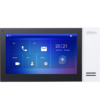
Devices
NOTE: These are the device settings we used for this article
Video Instructions
Step by Step Instructions
VTO Initialization and Setup
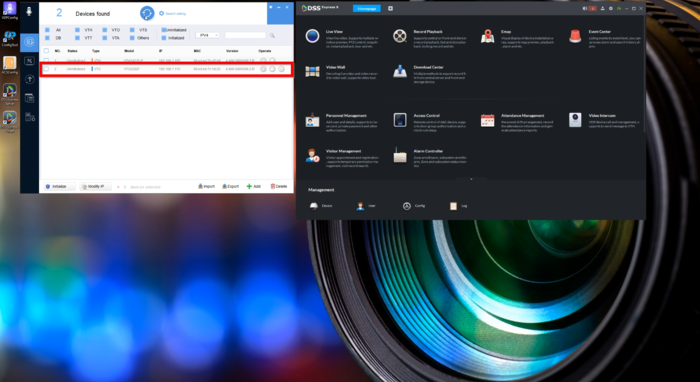
1.Start by locating and logging in to the VTO's WEBUI
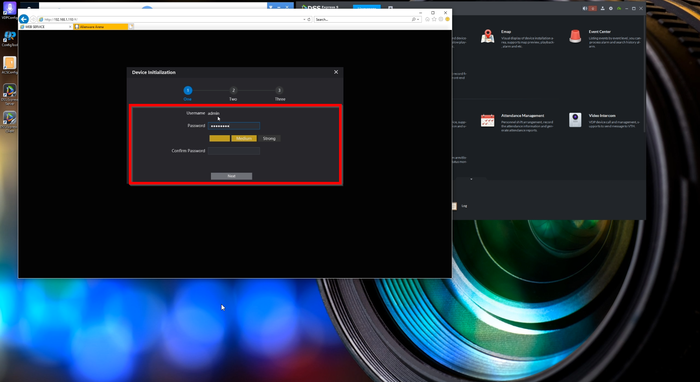
2. Type in a new password to initialize the system
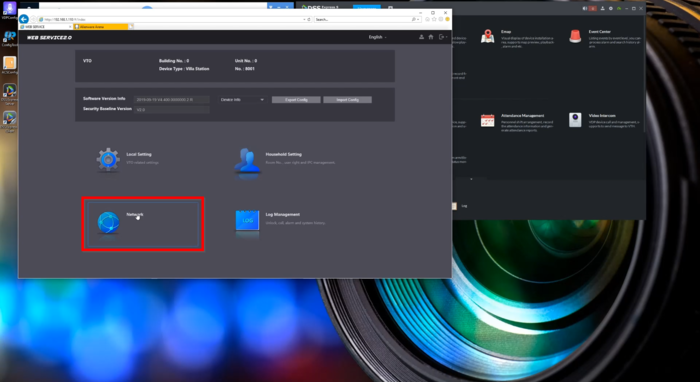
3. Head over to the Network Settings
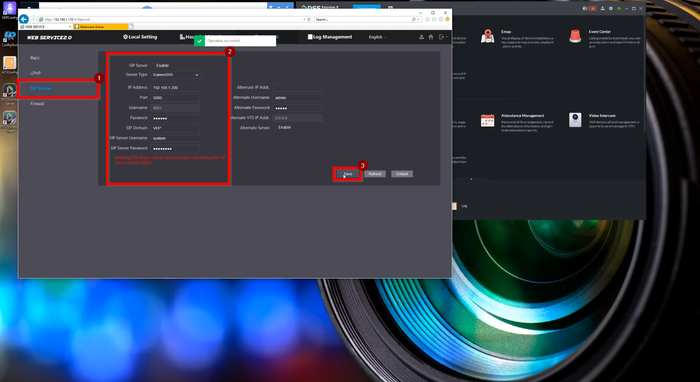
4. Navigate to SIP Server
SIP Server = Disable
Server Type = ExpressDSS
IP Address = 192.168.1.200
Port = 5080
Username = 8001
Password = (leave default)
SIP Domain = VDP
SIP Server Username = system
SIP Server Username = admin123
VTH Initialization and Setup
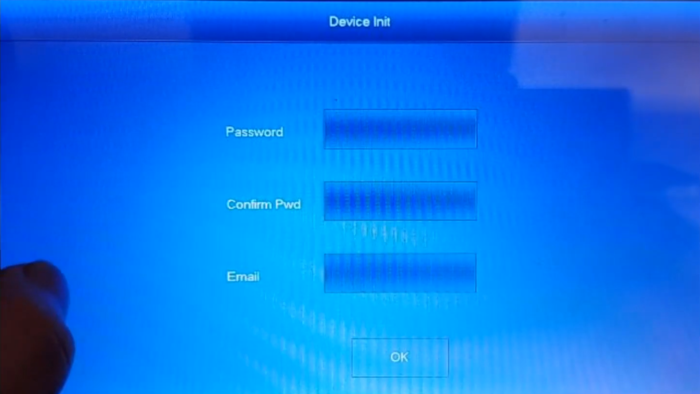
5. Go to the VTH and enter a Password/Email to initialize
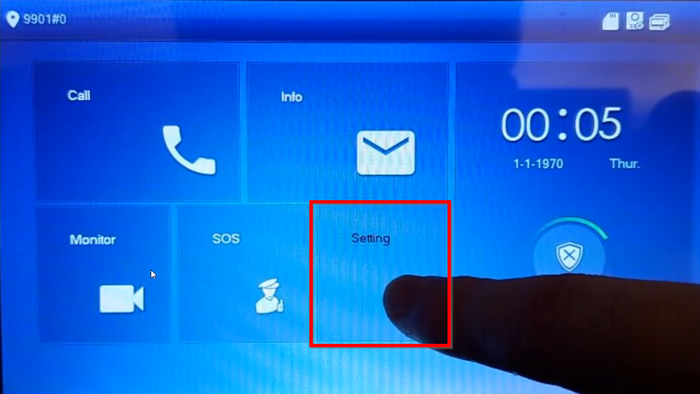
6. Click and long hold the settings icon to enter the configuration settings, use the password that was entered in the initialization step.
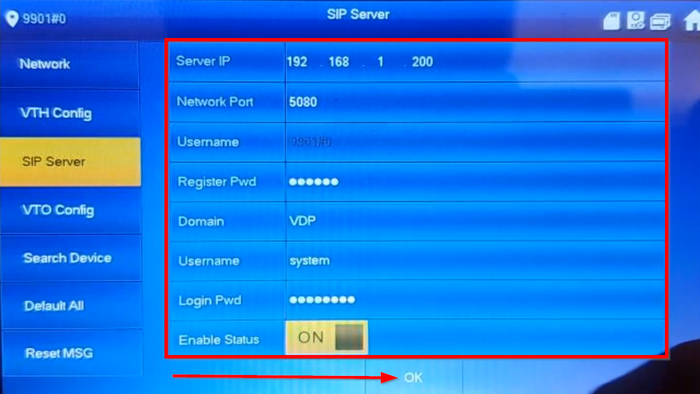
7. Navigate to the SIP Server tab on the left and enter the SIP Server information.
Server IP = 192.168.1.200
Network port = 5080
Username = 9901#0
Register Password = (leave default)
Domain = VDP
Username = system
Password = admin123
Status = Enabled
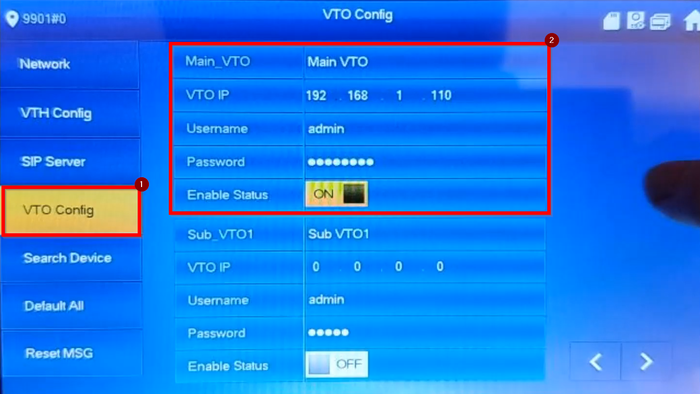
8. Now go to VTO Config on the left tab and enter the VTO's IP address and Login credentials. ensure that the Status is Enabled
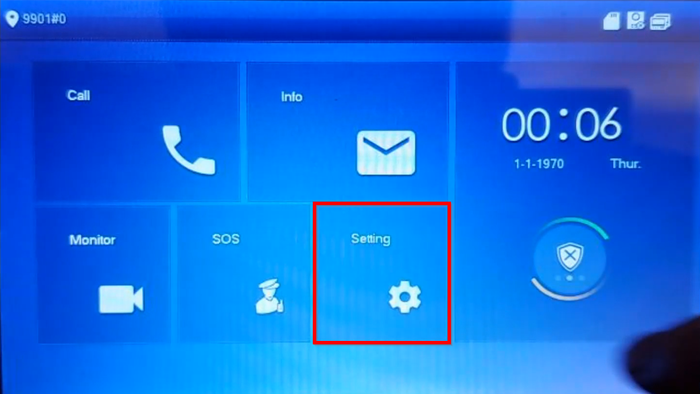
9. Single Tap the Settings icons to enter the General Settings. Default password is 123456
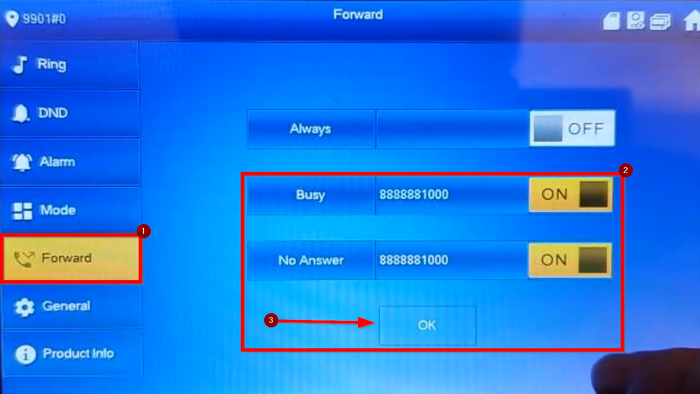
10. Navigate to "Forward" and enter the DSS Express Management number for the wanted call events
DSS Express Setup
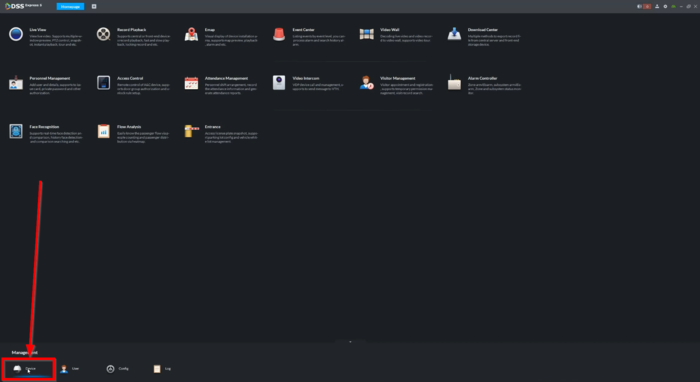
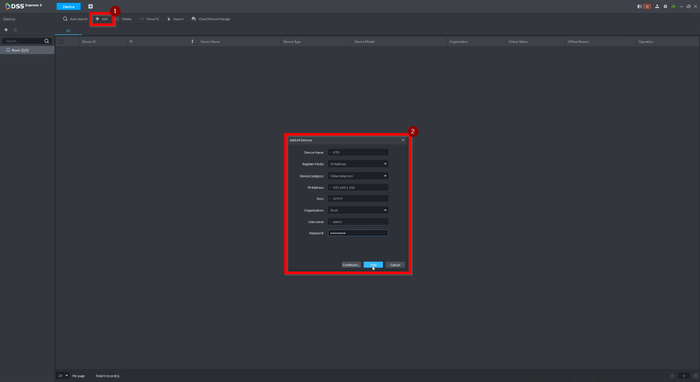
11. Go to Devices
12. Enter the credentials of the VTO and be sure to to select "Video Intercom" for Device Category.
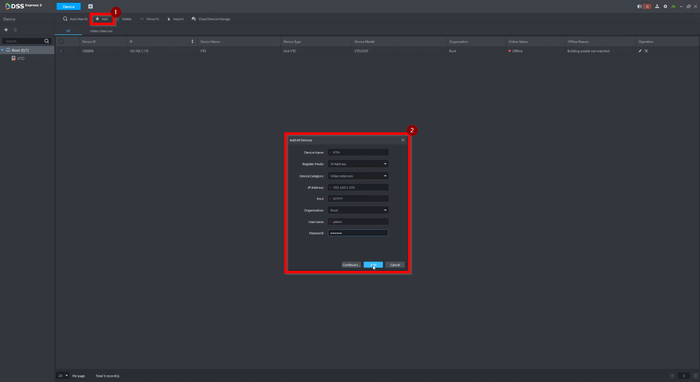
13. Do the same for the VTH
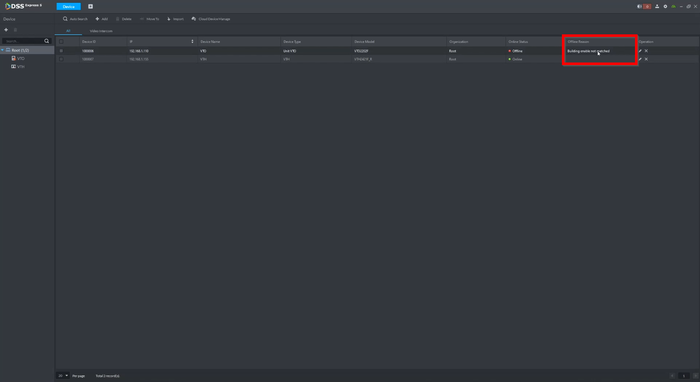
14. You will get a Building error on the VTO.
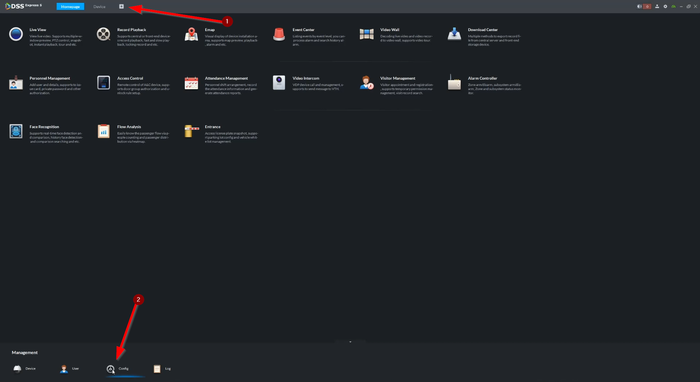
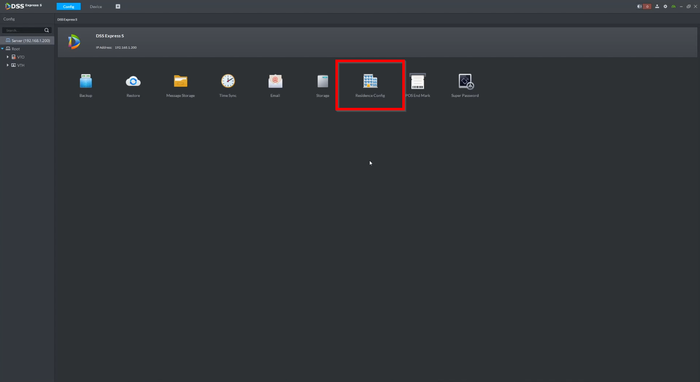
15. Open a new tab and go to "Config"
16. Navigate over to ResidenceConfig
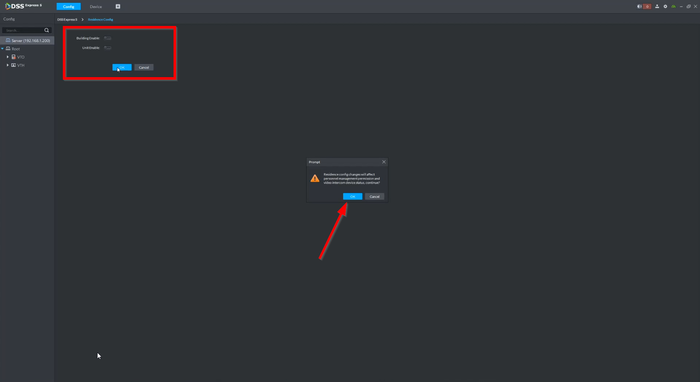
17. Make sure to disable the Building Enable button.
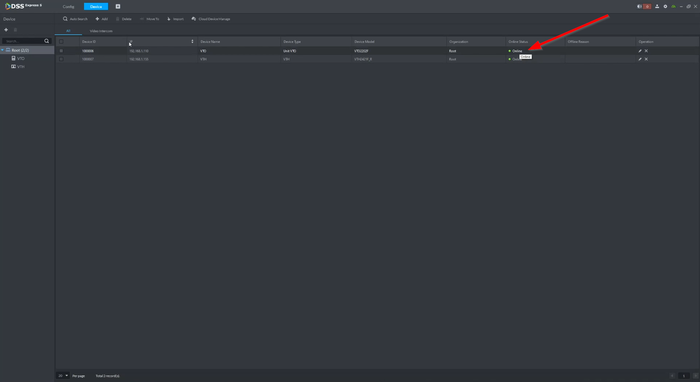
18. The VTO should now be online
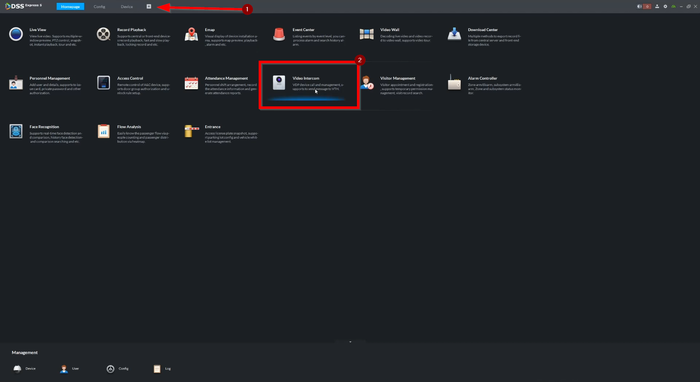
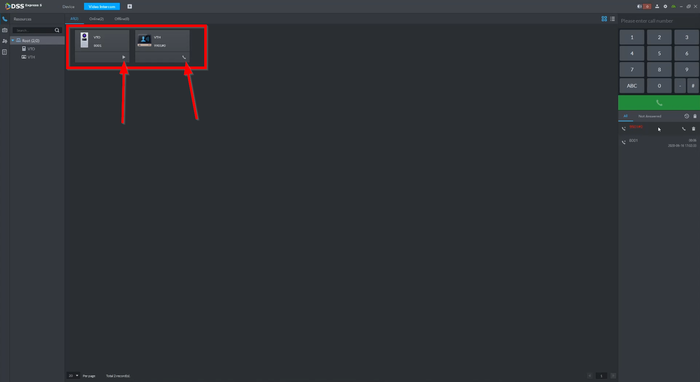
19. Open a new tab and go to Video Intercom
20. Leave the units for a few minutes to finalize any and all handshakes. Then click on the call icons on the units to test the connection.

