Difference between revisions of "Access Control/How To Setup DHI ASR1101A"
| (One intermediate revision by the same user not shown) | |||
| Line 1: | Line 1: | ||
===Prerequisites=== | ===Prerequisites=== | ||
| − | |||
* The DHI-ASR1101A unit and included hardware | * The DHI-ASR1101A unit and included hardware | ||
* An RS485 ready controller capable of using this card reader (DHI-ASI1201A-D) | * An RS485 ready controller capable of using this card reader (DHI-ASI1201A-D) | ||
| Line 9: | Line 8: | ||
===Installation=== | ===Installation=== | ||
| − | |||
1. Drill out a hole where the wiring will enter the wall, and mount the supplied bracket. | 1. Drill out a hole where the wiring will enter the wall, and mount the supplied bracket. | ||
| Line 23: | Line 21: | ||
[[File:ASR1101Asetup002.jpg|500x500px]] | [[File:ASR1101Asetup002.jpg|500x500px]] | ||
| + | |||
| + | [[Category:Access Control]] | ||
Latest revision as of 17:14, 28 June 2016
Prerequisites
- The DHI-ASR1101A unit and included hardware
- An RS485 ready controller capable of using this card reader (DHI-ASI1201A-D)
- Drill or screw driver
- Wires for alarm and light
- DC power supply for device
- Router or drill bits
Installation
1. Drill out a hole where the wiring will enter the wall, and mount the supplied bracket.
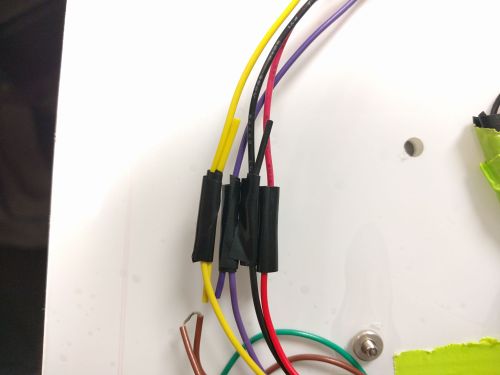
2. Connect the wiring according to what inputs and outputs you are configuring, here we will wire a 12VDC supply to the Red wire, Ground (GND) to the Black wire, RS485+ to the Purple wire, and RS485- to the Yellow wire. I am also wiring this device to the DHI-ASI1201A-D.
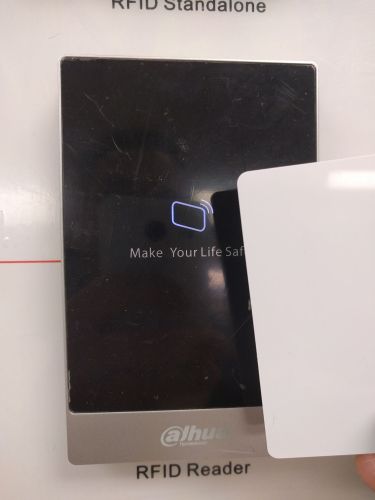
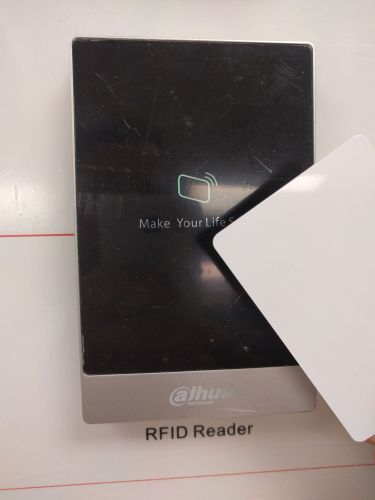
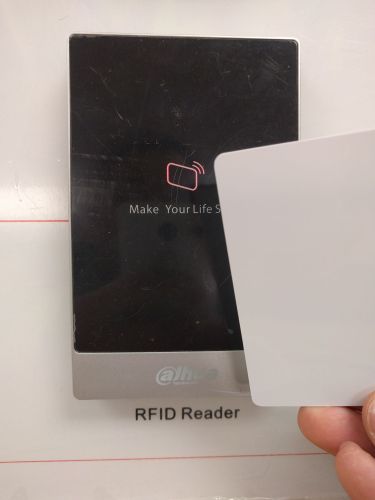
3. Make sure you have your card setup on the other controller and now give it a test from the DHI-ASR1101A. A Blue light means it is ready to scan, green means the read was successful, and red means the card was rejected.


