Difference between revisions of "Multi-Sensor/Instructions/MultiFlex Mount Guide"
(→Step by Step Instructions) |
(→Step by Step Instructions) |
||
| (2 intermediate revisions by the same user not shown) | |||
| Line 10: | Line 10: | ||
==Step by Step Instructions== | ==Step by Step Instructions== | ||
| − | |||
[[File:How To Mount Multiflex Camera - 1.jpg|500px]] | [[File:How To Mount Multiflex Camera - 1.jpg|500px]] | ||
| − | + | [[File:How To Mount Multiflex Camera - 2.jpg|500px]] | |
| − | Drill holes and place the Anchors. | + | 1. Drill holes and place the Anchors. |
| − | Use the mounting Screws to mount the Mounting plate to the Ceiling. | + | 2. Use the mounting Screws to mount the Mounting plate to the Ceiling. |
| − | Safety Chain the camera to the Mounting Plate. | + | 3. Safety Chain the camera to the Mounting Plate. |
| − | [[File:How To Mount Multiflex Camera - | + | [[File:How To Mount Multiflex Camera - 3.jpg|500px]] |
| − | + | On the mount that comes with the camera, locate the three secure holes. | |
[[File:How To Mount Multiflex Camera - 4.jpg|500px]] | [[File:How To Mount Multiflex Camera - 4.jpg|500px]] | ||
| + | |||
| + | On the camera’s reversed side, you will find the same three secure holes. | ||
[[File:How To Mount Multiflex Camera - 5.jpg|500px]] | [[File:How To Mount Multiflex Camera - 5.jpg|500px]] | ||
| + | |||
| + | Line up the two mount screws on the camera to the holes of the mount. Then lock into place. | ||
[[File:How To Mount Multiflex Camera - 6.jpg|500px]] | [[File:How To Mount Multiflex Camera - 6.jpg|500px]] | ||
| + | |||
| + | Secure the three Torx screws | ||
| + | |||
| + | NOTE: This will ensure the camera WILL NOT come out of the mount lock. | ||
[[File:How To Mount Multiflex Camera - 7.jpg|500px]] | [[File:How To Mount Multiflex Camera - 7.jpg|500px]] | ||
| + | |||
| + | Using the Torx wrench provided, screw the top into place. | ||
Latest revision as of 23:25, 8 February 2021
Description
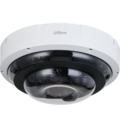
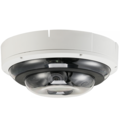
This guide will show how to mount a Dahua multi- flex camera
Applicable models:
Step by Step Instructions
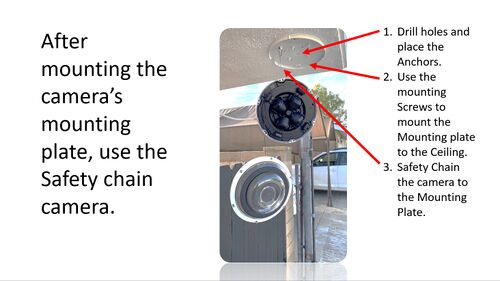
1. Drill holes and place the Anchors.
2. Use the mounting Screws to mount the Mounting plate to the Ceiling.
3. Safety Chain the camera to the Mounting Plate.
On the mount that comes with the camera, locate the three secure holes.
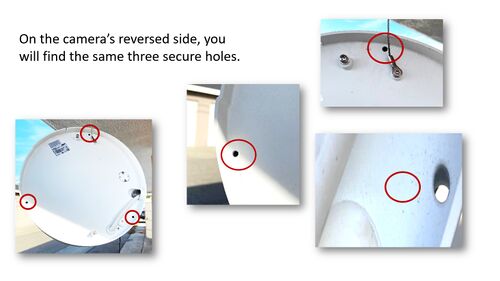
On the camera’s reversed side, you will find the same three secure holes.
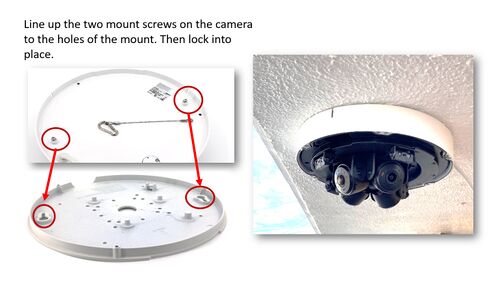
Line up the two mount screws on the camera to the holes of the mount. Then lock into place.
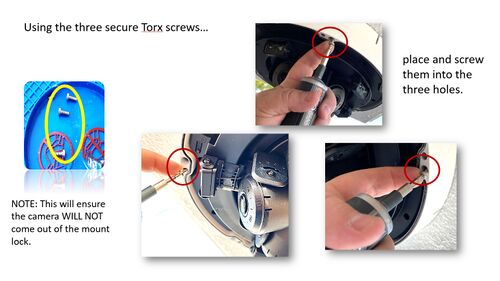
Secure the three Torx screws
NOTE: This will ensure the camera WILL NOT come out of the mount lock.
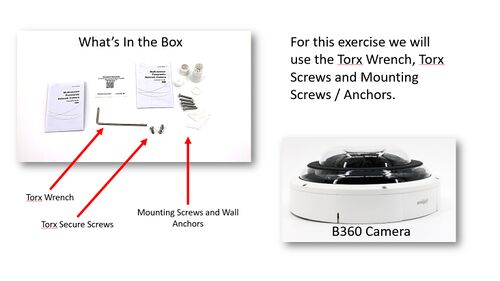
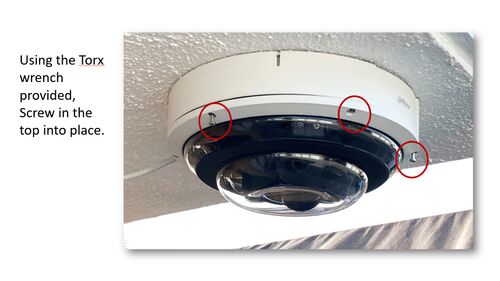
Using the Torx wrench provided, screw the top into place.
