Difference between revisions of "Traffic/Initial Setup"
(→Step by Step Instructions) |
(→Step by Step Instructions) |
||
| Line 40: | Line 40: | ||
[[File:ITC237_Physical_Setup_0-1.jpg|600px]] | [[File:ITC237_Physical_Setup_0-1.jpg|600px]] | ||
| − | 3. The | + | 3. The LPR Config menu will be displayed |
[[File:ITC237_Physical_Setup_0-2.jpg|600px]] | [[File:ITC237_Physical_Setup_0-2.jpg|600px]] | ||
| Line 51: | Line 51: | ||
| − | 4. | + | 4. Adjust the plate snapshot position to be in the yellow box.+ |
| + | [[File:ITC237_Physical_Setup_1.jpg|600px]] | ||
| + | 5. Physically adjust the camera to complete proper setup. | ||
| − | + | Ensure the box matches the actual plate position and size in the video. | |
| − | |||
[[File:ITC237_Physical_Setup_2.jpg|600px]] | [[File:ITC237_Physical_Setup_2.jpg|600px]] | ||
Revision as of 21:32, 21 October 2019
Contents
ITC237-PU1B-IR Initial Setup
Description
Prerequisites
- 150x50 License Plate pixel size or higher from snapshot images
- Car Traffic = 25MPH or Less
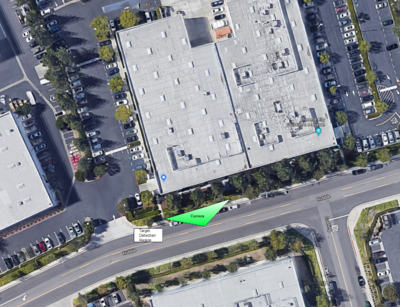
Camera Angle
Pixel Density
Video Instructions
Video Overview-Drone Flyover
Step by Step Instructions
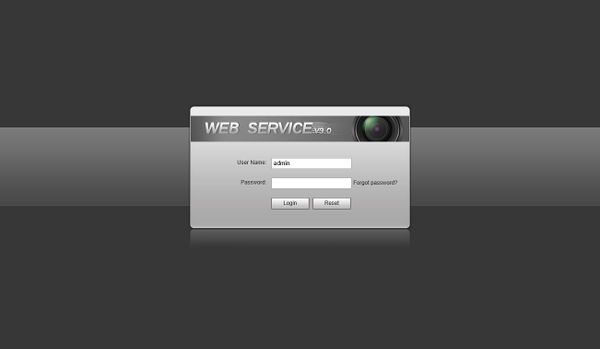
1. Log into the Web UI of the camera by typing the IP into a web browser.
Enter the username/password and click Login
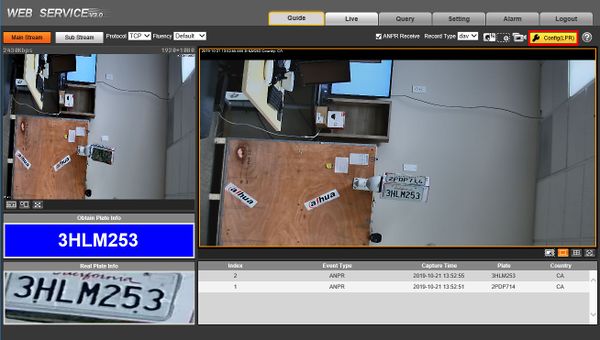
2. Click Config (LPR) to enter the configuration menu for the LPR function
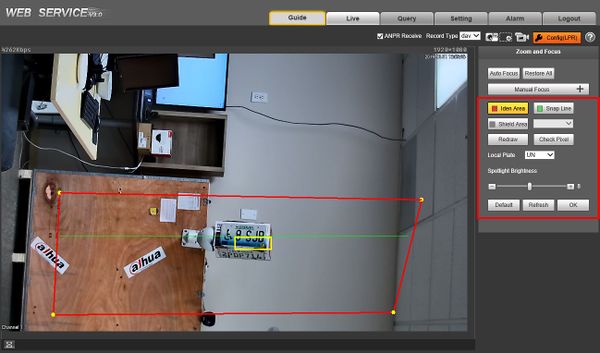
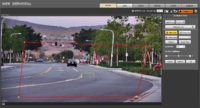
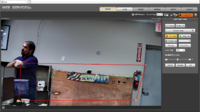
3. The LPR Config menu will be displayed
To configure the LPR function use the interface:
 - Region - Set region for detection, region is within the red line.
 - Detect Line - Detect line for trigger of snapshot, detect line is green.
 - Shield Area - Set shield area to not identify vehicle plates, Up to 2 shield areas, Shield area is within the grey box.
 - Redraw - Click to delete current config
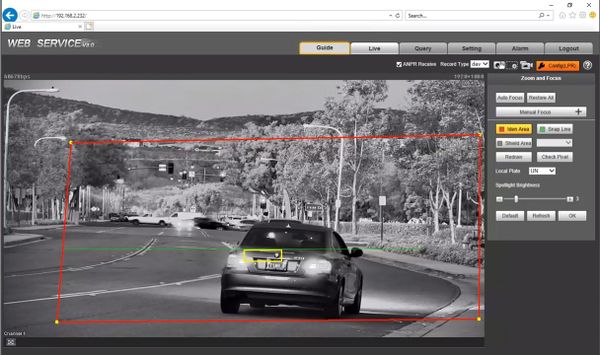
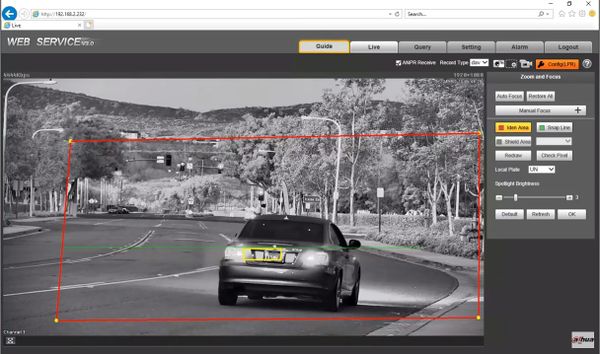
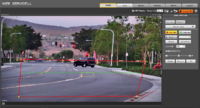
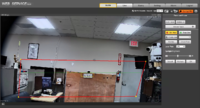
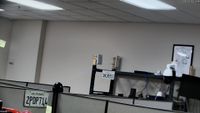
4. Adjust the plate snapshot position to be in the yellow box.+
5. Physically adjust the camera to complete proper setup.
Ensure the box matches the actual plate position and size in the video.
Troubleshoot
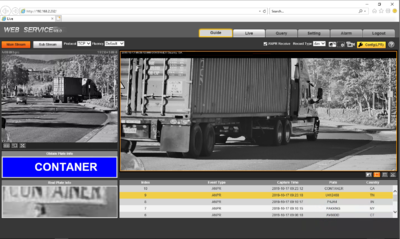
Working Examples
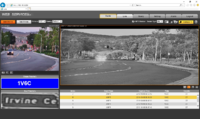
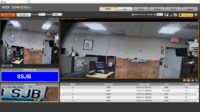
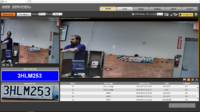
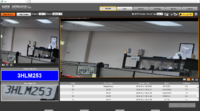
| Snapshot | Example of Interface | Current Configuration of Camera LPR |
|---|---|---|
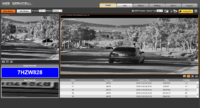
|
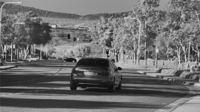
|
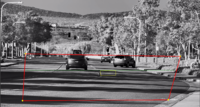
|
