Difference between revisions of "PTZ/Instructions/Scan"
(Created page with "=Scan= ==Instructions== <div class="toccolours mw-collapsible mw-collapsed"> 250px<span style="font-size:180%;">'''SystemUI Old'''</spa...") |
|||
| Line 13: | Line 13: | ||
<div class="toccolours mw-collapsible mw-collapsed"> | <div class="toccolours mw-collapsible mw-collapsed"> | ||
[[File:Icon_for_type_WebUI_Old.png|250px]]<span style="font-size:180%;">'''WebUI Old'''</span> | [[File:Icon_for_type_WebUI_Old.png|250px]]<span style="font-size:180%;">'''WebUI Old'''</span> | ||
| − | <div class="mw-collapsible-content">{{Template: | + | <div class="mw-collapsible-content">{{Template:PTZ_Scan_WebUI_OldGUI}}</div> |
</div> | </div> | ||
Revision as of 22:30, 6 January 2020
Contents
Scan
Instructions
Description
The Scan feature allows you to set a predetermined path from Point A to Point B
Prerequisites
- Dahua Network PTZ
- IP Address of Network PTZ
- Internet Explorer
Video Instructions
Step by Step Instructions
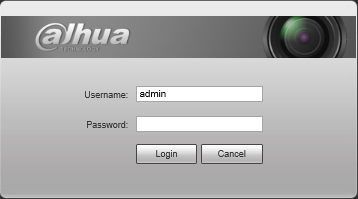
1. Login to your IP Camera via Internet Explorer.
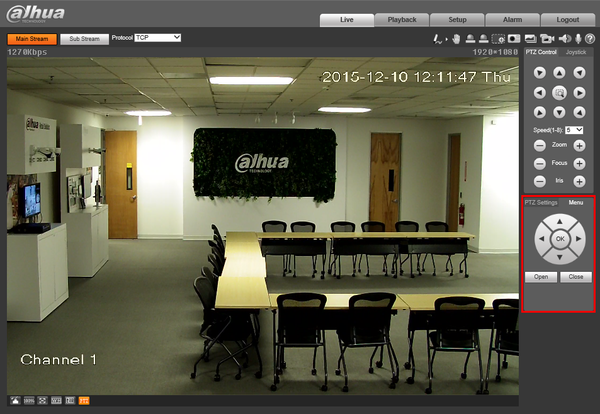
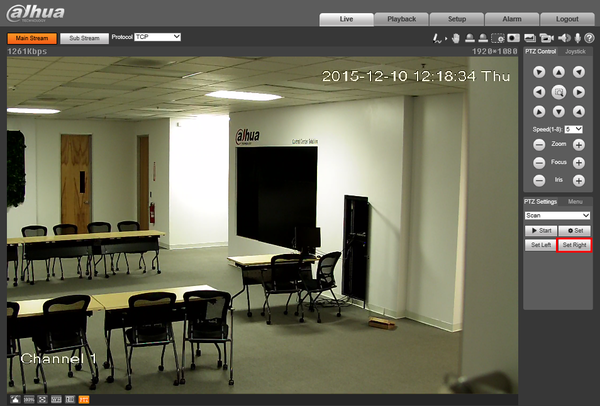
2. On the right hand side click, "PTZ Settings" and make sure, "Scan" is selected in the dropdown menu.
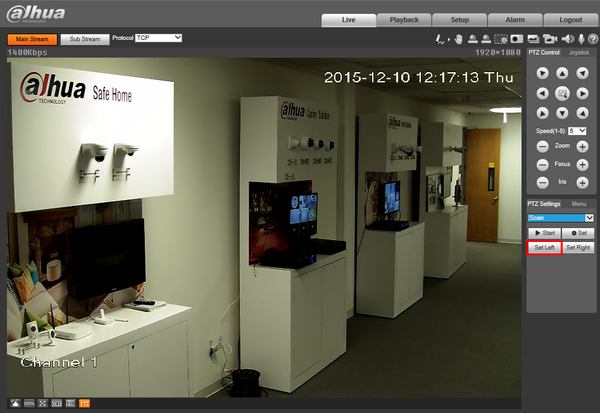
3. Using the PTZ Controls, move the camera into the starting position, and click, "Set Left"
4. Move the camera to the second position, and click, "Set Right"
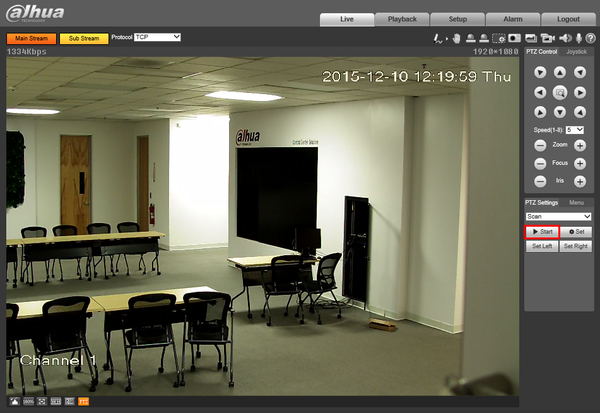
5. To test the results click, "Start"
