Difference between revisions of "NVR/Basic Setup/Smart Add"
m (JP moved page NVRSmartAdd to NVR/Basic Setup/Smart Add) |
|||
| Line 1: | Line 1: | ||
| − | + | ==Smart Add== | |
| − | + | ||
| + | ===Accessing Smart Add=== | ||
*Method 1: From the startup wizard, click Smart add button. | *Method 1: From the startup wizard, click Smart add button. | ||
| Line 27: | Line 28: | ||
[[file:NVRSmartAdd7.png]] | [[file:NVRSmartAdd7.png]] | ||
| + | |||
| + | |||
| + | |||
| + | |||
| + | [[Category:Troubleshoot]] | ||
| + | |||
| + | [[Category:NVR]] | ||
| + | |||
| + | [[Category:NVR Interface]] | ||
Revision as of 19:34, 15 August 2016
Smart Add
Accessing Smart Add
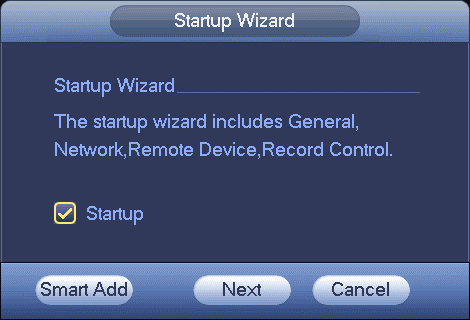
- Method 1: From the startup wizard, click Smart add button.
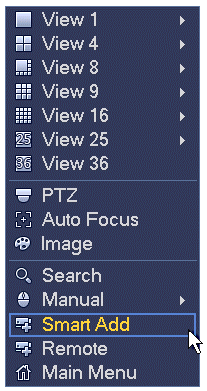
- Method 2: On the preview interface, right click mouse and then select Smart add. Now you can go to the smart add interface.
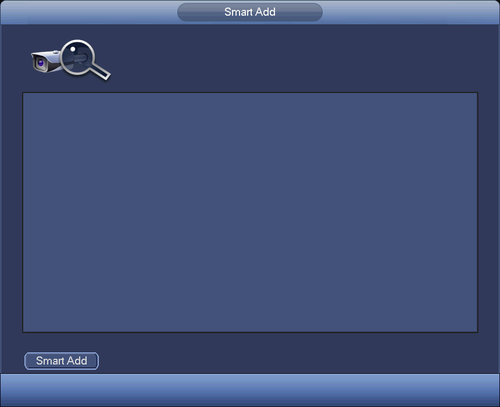
Smart Add Setup
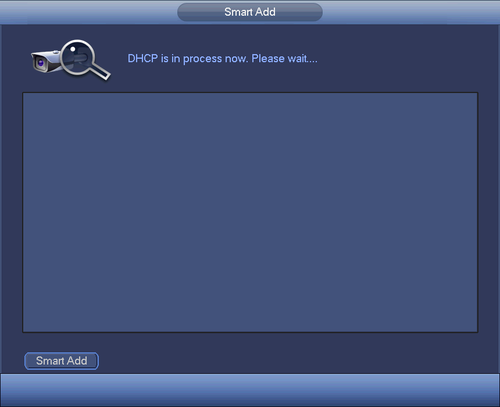
Click smart add button, you can see device enables DHCP function.
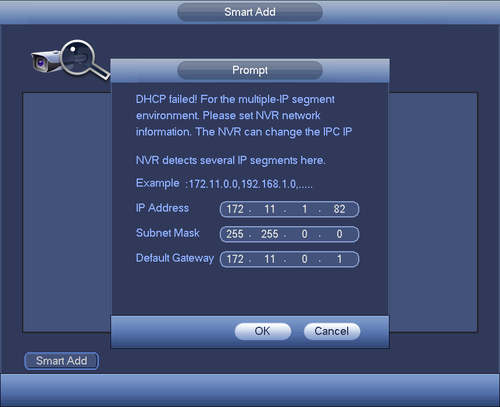
System pops up the following interface for you to confirm IP information if there are several IP segments
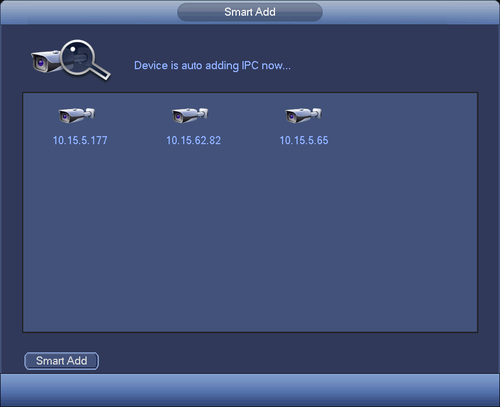
Now you can see system is auto adding IPC to the corresponding channels.
You can see the following dialog box after system successfully added network cameras.
