Difference between revisions of "New GUI/Instructions/Remote Access via P2P"
| Line 25: | Line 25: | ||
[[File:NewGUIP2PSetup-4.jpg|800px]] | [[File:NewGUIP2PSetup-4.jpg|800px]] | ||
| − | *If you run into any issues getting the P2P to show online, reboot the device and try again. If that still doesn't work you may have a firewall that is blocking the connection to | + | *If you run into any issues getting the P2P to show online, reboot the device and try again. If that still doesn't work you may have a firewall on the network that is blocking the connection to the P2P servers |
==Software and Instructions== | ==Software and Instructions== | ||
Revision as of 18:21, 23 May 2018
Contents
New GUI - P2P Setup
Description
This article will go over initializing P2P on our New GUI devices
Prerequisites
- Recorder with New GUI
- Internet Access to the recorder
Step by Step Instructions
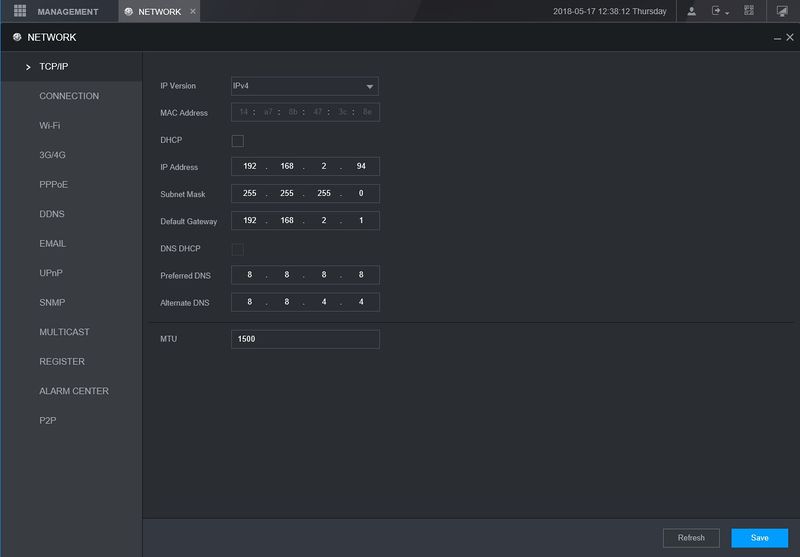
1. Under "Management" go to Network>TCP/IP
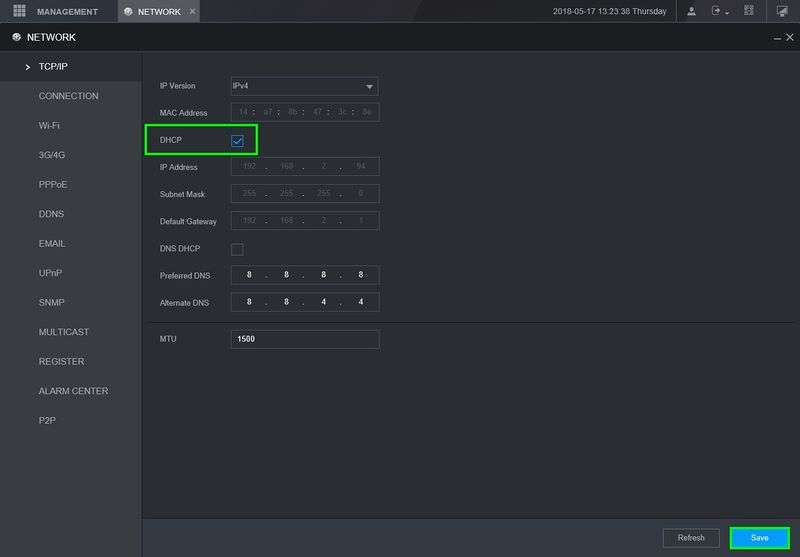
2. You can either set the device on a static ip or turn DHCP on to automatically grab an IP from the network. Save any changes
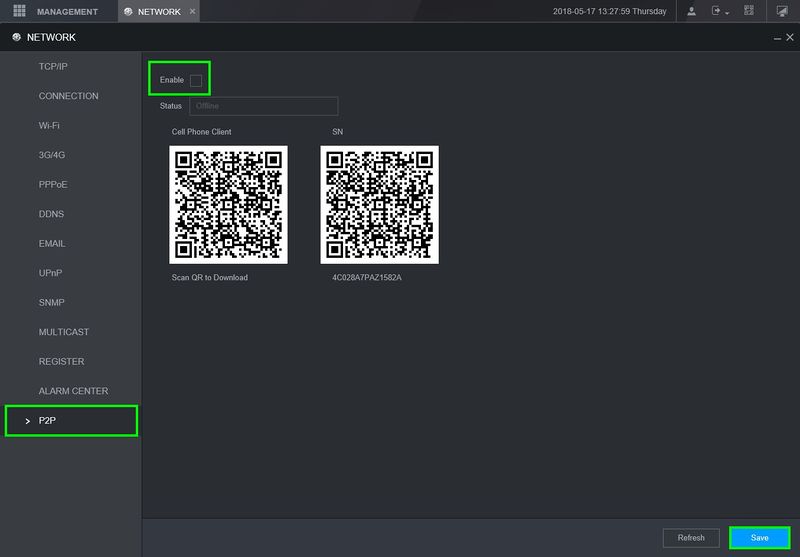
3. Locate P2P tab on the lower left and enable P2P
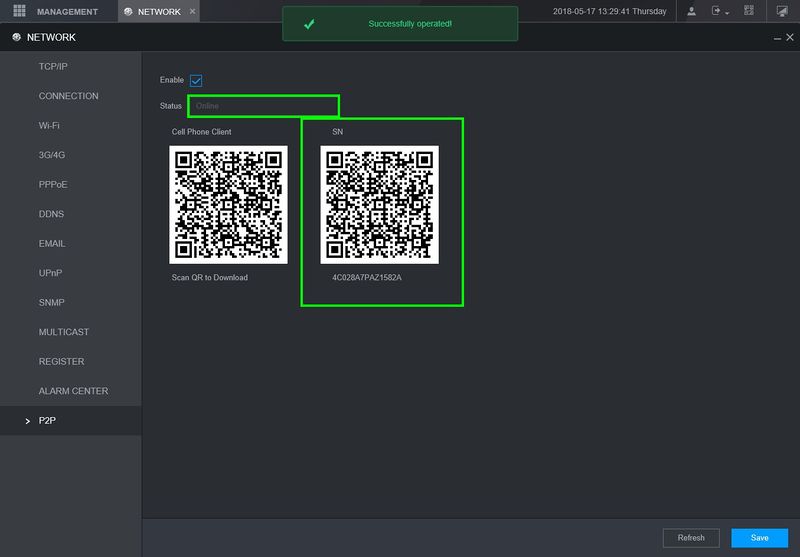
4. After saving it you should see the the status change to "Online", You can now use this device for remote viewing on our software
- If you run into any issues getting the P2P to show online, reboot the device and try again. If that still doesn't work you may have a firewall on the network that is blocking the connection to the P2P servers
Software and Instructions
Check the links below to see how to add the device to our software
| Apps | ||
|---|---|---|
| Instructions | Mobile P2P Setup | SmartPSS(BlackUI) P2P Setup |


