Difference between revisions of "SmartPSS/Import Export Devices"
(→How To Import/Export Devices In SmartPSS) |
(→How To Import/Export Devices In SmartPSS) |
||
| Line 8: | Line 8: | ||
===Video Instructions=== | ===Video Instructions=== | ||
| + | <embedvideo service="youtube">https://youtu.be/kfrjsYHAMOI</embedvideo> | ||
| + | |||
<embedvideo service="youtube">https://youtu.be/z_D96TTfUwE</embedvideo> | <embedvideo service="youtube">https://youtu.be/z_D96TTfUwE</embedvideo> | ||
Revision as of 15:21, 5 April 2019
How To Import/Export Devices In SmartPSS
Description
This article will show you how to import and export devices in SmartPSS 2.0
Prerequisites
Video Instructions
Step by Step Instructions
Export Device List
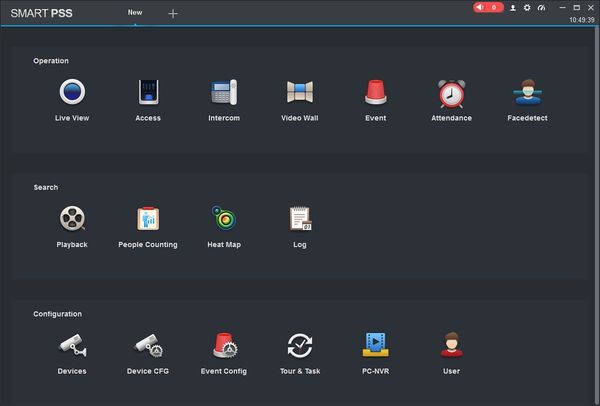
1. Launch SmartPSS.
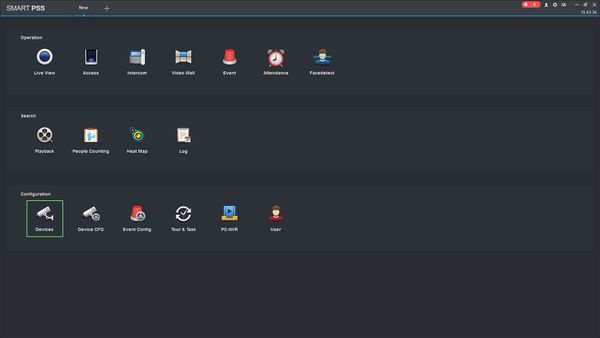
2. Click Devices
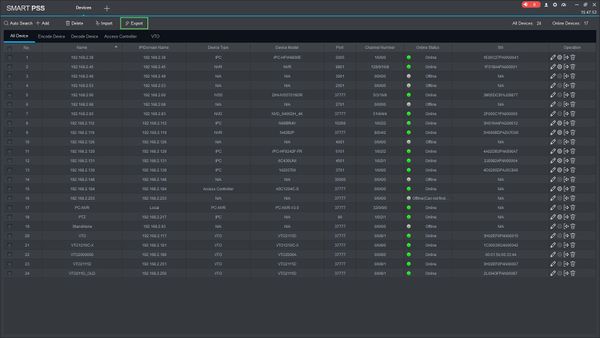
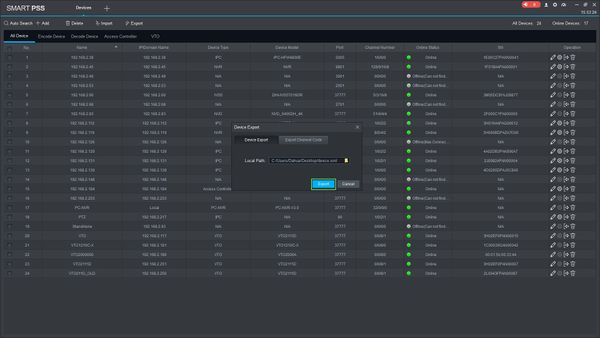
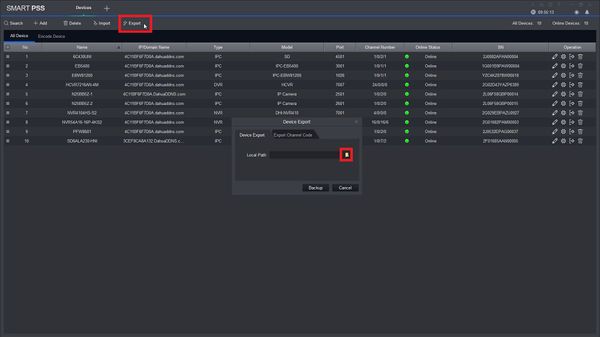
3. Click Export to export all currently added devices
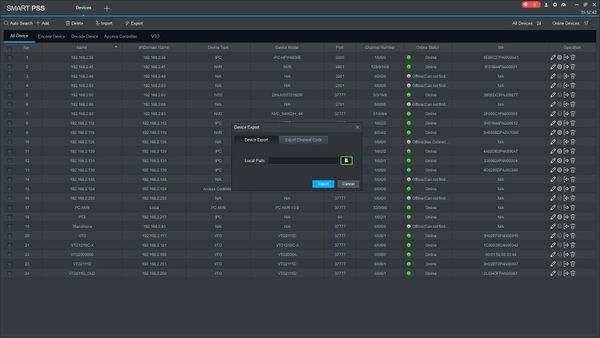
4. The Device Export window will appear. Click the folder icon to set the local path on the computer to save the exported device list to
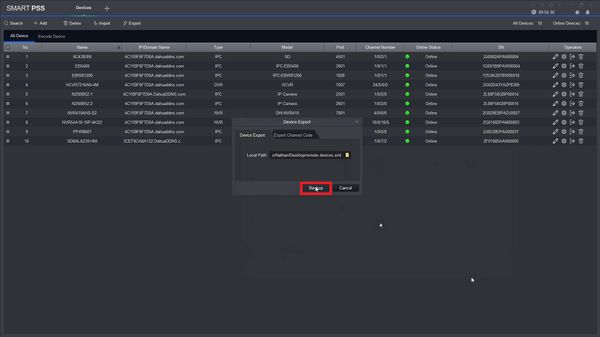
5. Click Export to begin the device export.
Import Device List
1. Launch SmartPSS.
2. Click Devices
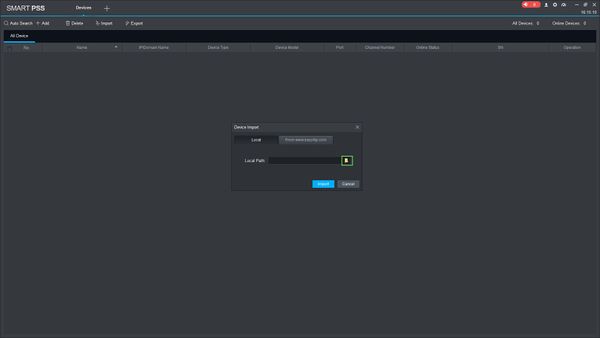
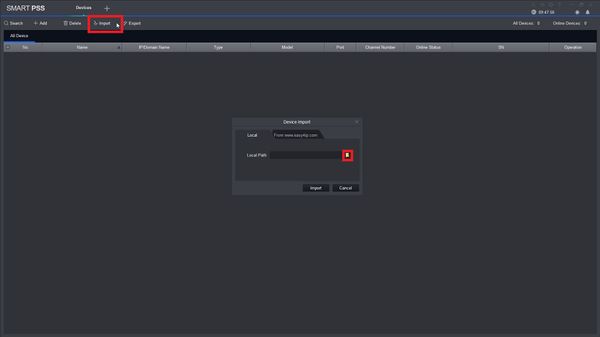
3. Click Import
4. The Device Import window will appear. Click the folder icon.
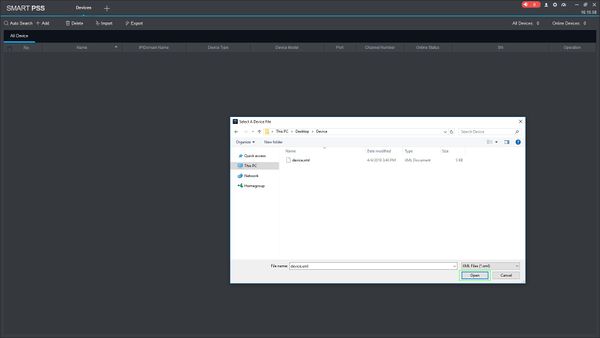
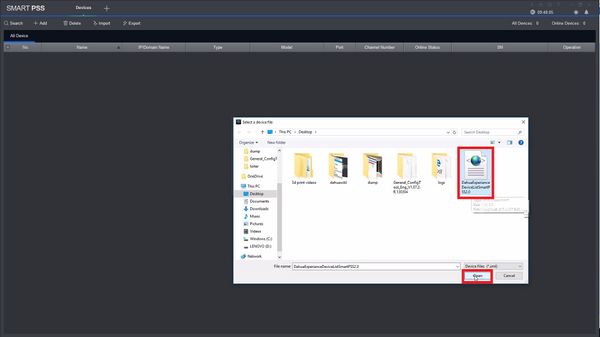
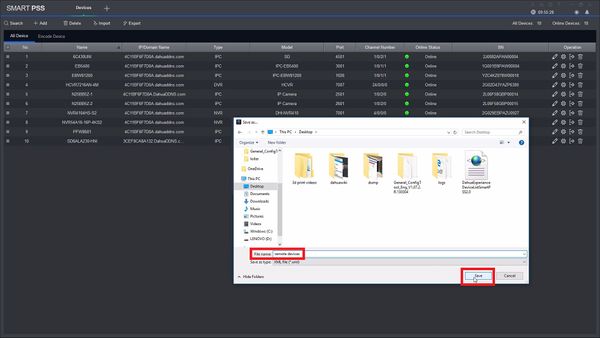
5. Use the file dialogue window to locate the the Device Export file on the computer
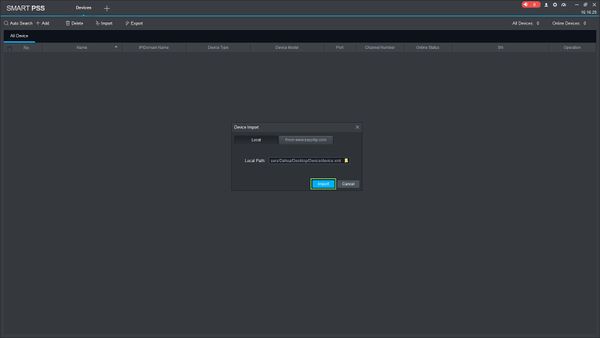
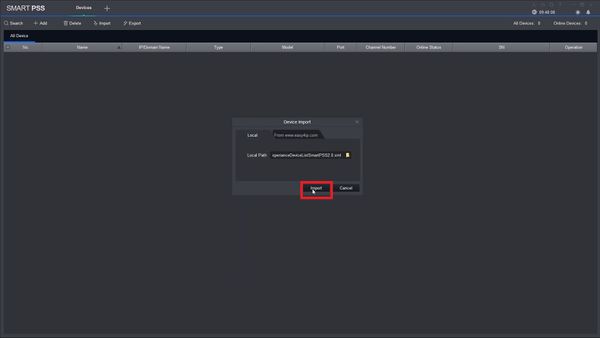
6. Click Import
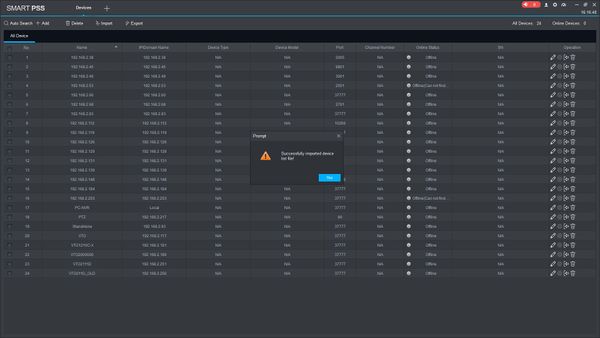
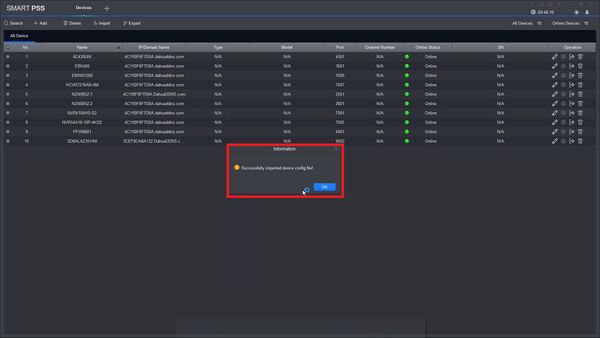
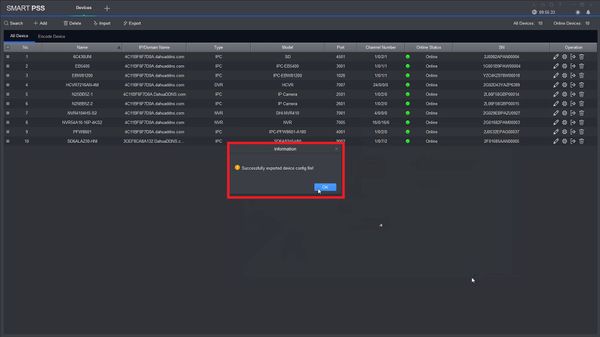
7. A prompt will display confirming a successful device import
SmartPSS 2.0: Import and Export a Device List
Description
This guide will present information about importing or exporting all of the devices in SmartPSS2.0. This device list is compatible with SmartPSS 1.16.1 as well.
Prerequisites
- SmartPSS 2.0 (preferably)
- Remote or local cameras for connection
Video Instructions
Step by Step Instructions
Import
1. Open SmartPSS 2.0 and select Devices.
2. Select Import, then select the folder icon to access file explorer.
3. Select the XML file that contains your device list, or exported device list, then select open.
4. Select Import.
5. Select, OK and enjoy!
Export
1. Open SmartPSS 2.0 and select Devices.
2. Select Export, then select the folder icon to open up file explorer.
3. Select the directory that you want the file to be saved into, you may also name the file, then click save.
4. To complete the process select Backup.
5. Select OK after getting a "Successfully exported device config file!" Information.
