Difference between revisions of "SmartPSS/How To Setup Video Wall"
(→How To Setup Video Wall In SmartPSS) |
(→How To Setup Video Wall In SmartPSS) |
||
| Line 25: | Line 25: | ||
[[File:How_To_Setup_Video_Wall_SmartPSS_-_2.jpg|600px]] | [[File:How_To_Setup_Video_Wall_SmartPSS_-_2.jpg|600px]] | ||
| − | 4. | + | 4. click the [[File:video_wall_layout_menu.jpg]] icon to open the Video Wall Layout Setup menu. |
| + | |||
| + | [[File:How_To_Setup_Video_Wall_SmartPSS_-_3.jpg|600px]] | ||
| + | |||
| + | The Video Wall Layout Setup menu is where you can define the physical layout of the monitor outputs per device. | ||
| + | |||
| + | [[File:How_To_Setup_Video_Wall_SmartPSS_-_4.jpg|600px]] | ||
Revision as of 22:09, 8 April 2019
Contents
How To Setup Video Wall In SmartPSS
Description
This article will show you how to setup a video wall in SmartPSS 2.0
Prerequisites
- SmartPSS
- Supported device with video wall feature, such as Decoder
- Device added to SmartPSS Device List - How To Add Device to SmartPSS
Video Instructions
Step by Step Instructions
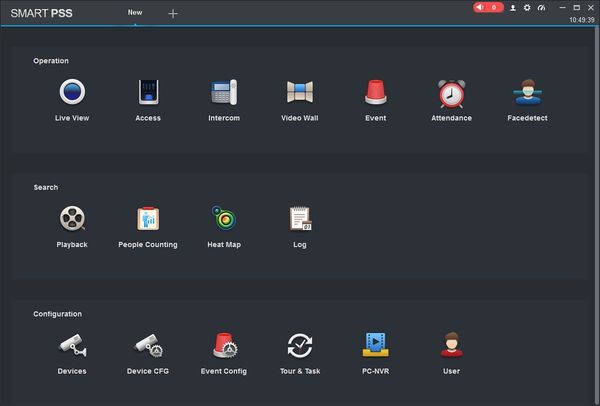
1. Launch SmartPSS.
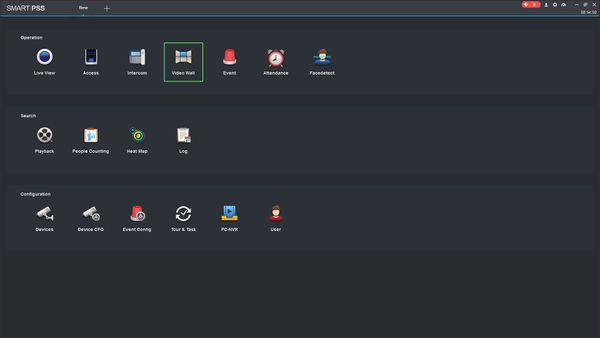
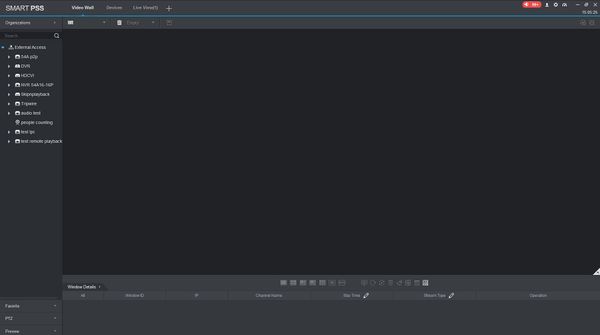
2. Click Video Wall
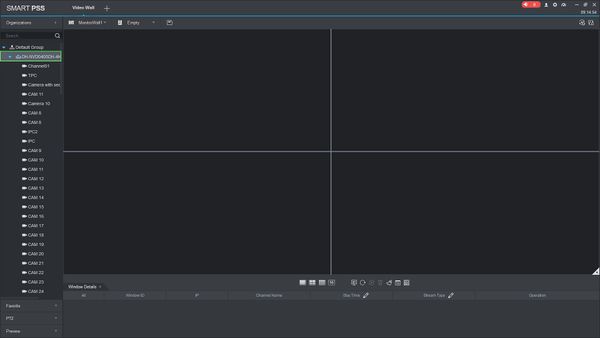
3. The device tree on the left will show all devices added to SmartPSS that are compatible with the Video Wall feature.
4. click the ![]() icon to open the Video Wall Layout Setup menu.
icon to open the Video Wall Layout Setup menu.
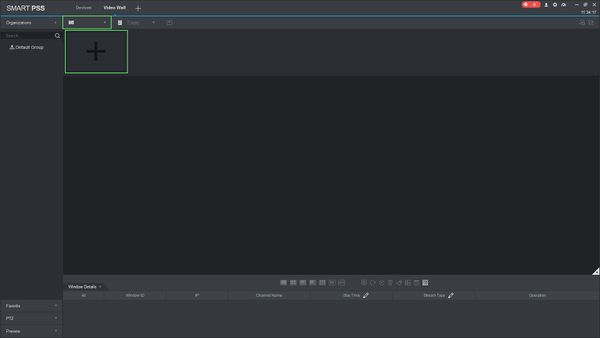
The Video Wall Layout Setup menu is where you can define the physical layout of the monitor outputs per device.
