Difference between revisions of "Traffic/Initial Setup"
(→Step by Step Instructions) |
(→Step by Step Instructions) |
||
| Line 44: | Line 44: | ||
[[File:ITC237_Physical_Setup_0-2.jpg|600px]] | [[File:ITC237_Physical_Setup_0-2.jpg|600px]] | ||
| − | *[[File:iden_area.jpg]] | + | *[[File:iden_area.jpg]] - Region - Set region for detection, region is within the red line. |
| − | *[[File:snap_line.jpg]] | + | *[[File:snap_line.jpg]] - Detect Line - Detect line for trigger of snapshot, detect line is green. |
| + | *[[File:shield_area.jpg]] - Shield Area - Set shield area to not identify vehicle plates, Up to 2 shield areas, Shield area is within the grey box. | ||
| + | *[[File:redraw.jpg]] - Redraw - Click to delete current config | ||
| + | |||
4. | 4. | ||
Revision as of 21:16, 21 October 2019
Contents
ITC237-PU1B-IR Initial Setup
Description
Prerequisites
- 150x50 License Plate pixel size or higher from snapshot images
- Car Traffic = 25MPH or Less
Camera Angle
Pixel Density
Video Instructions
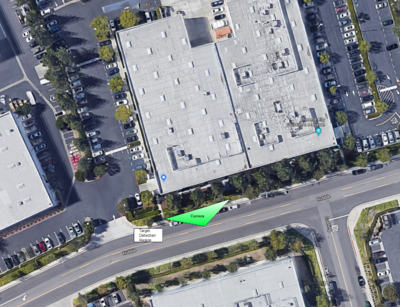
Video Overview-Drone Flyover
Step by Step Instructions
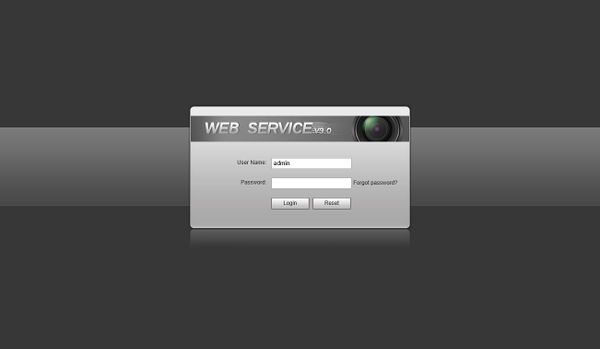
1. Log into the Web UI of the camera by typing the IP into a web browser.
Enter the username/password and click Login
2. Click
3.
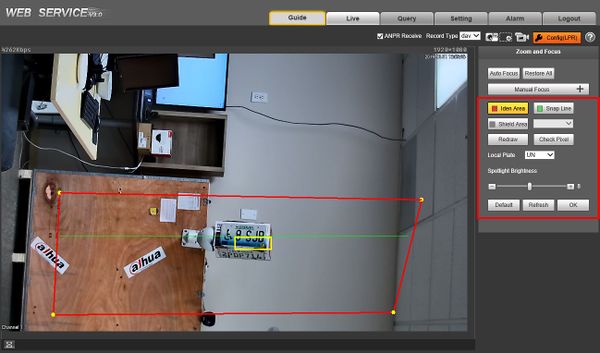
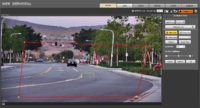
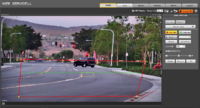
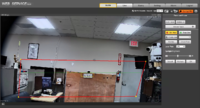
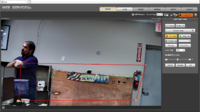
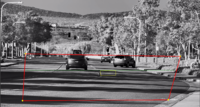
 - Region - Set region for detection, region is within the red line.
 - Detect Line - Detect line for trigger of snapshot, detect line is green.
 - Shield Area - Set shield area to not identify vehicle plates, Up to 2 shield areas, Shield area is within the grey box.
 - Redraw - Click to delete current config
4.
Troubleshoot
Working Examples
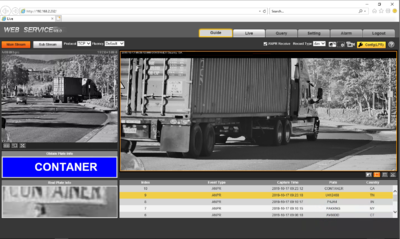
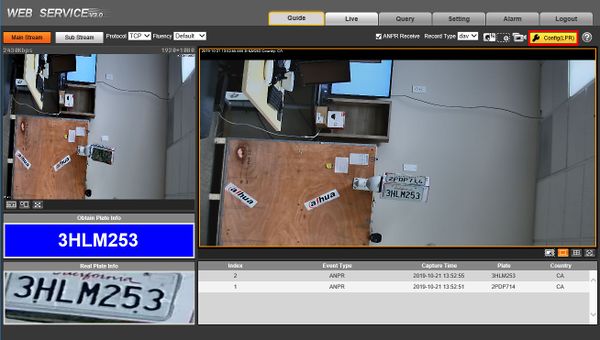
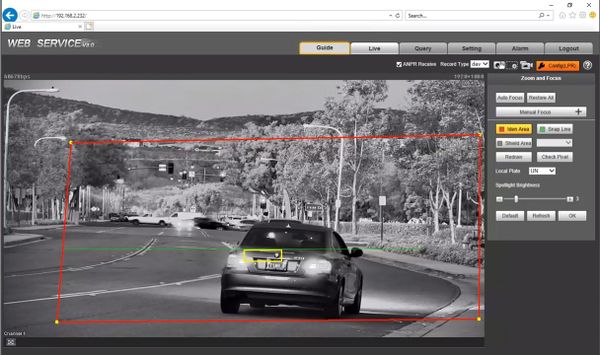
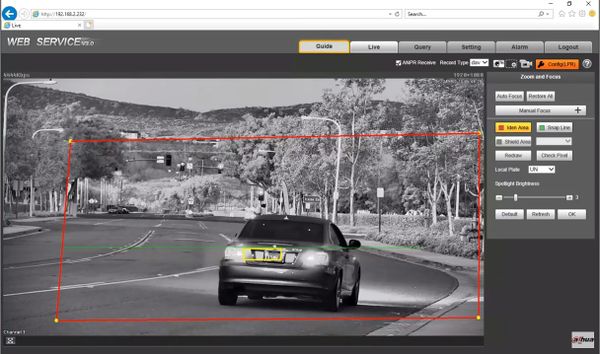
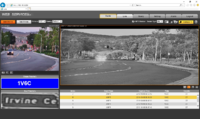
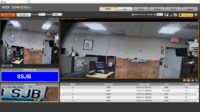
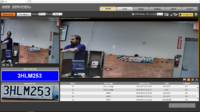
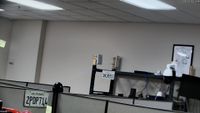
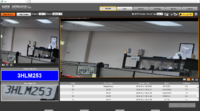
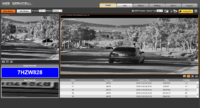
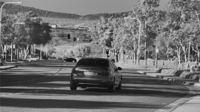
| Snapshot | Example of Interface | Current Configuration of Camera LPR |
|---|---|---|
|
|
|
