Difference between revisions of "Thermal/Temperature Monitoring/Setup"
(→Instructions) |
|||
| Line 22: | Line 22: | ||
<div class="mw-collapsible-content">{{Template:Temperature_Monitoring_NVR_Setup}}</div> | <div class="mw-collapsible-content">{{Template:Temperature_Monitoring_NVR_Setup}}</div> | ||
| − | |||
| − | |||
| − | |||
| − | |||
| − | |||
| − | |||
| − | |||
| − | |||
| − | |||
| − | |||
| − | |||
| − | |||
| − | |||
| − | |||
| − | |||
| − | |||
</div> | </div> | ||
Revision as of 16:51, 2 April 2020
Contents
Temperature Monitoring Solution Setup
Description
This guide will cover the complete setup for the Thermal Temperature Monitoring Solution including physical setup of the devices and the configuration of the the camera and NVR
Prerequisites
- DH-TPC-BF3221-T or DH-TPC-BF5421-T Thermal Hybrid Network Camera
- DHI-NVR5216-16P-I 16 Channel NVR with Face Recognition
- JQ-D70Z Blackbody
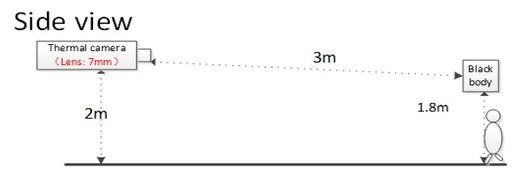
Diagrams
Instructions
Video Instructions
Step by Step Instructions
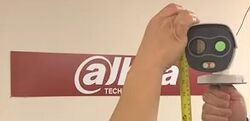
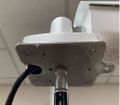
Mounting Adapter Plates
The mounting brackets/plates must be installed to both the camera and black body device
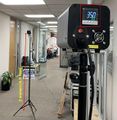
To attach the tripod:
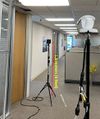
Suggested Physical Layout
JQ-D70Z Black body Setup
Video Instructions
Step by Step Instructions
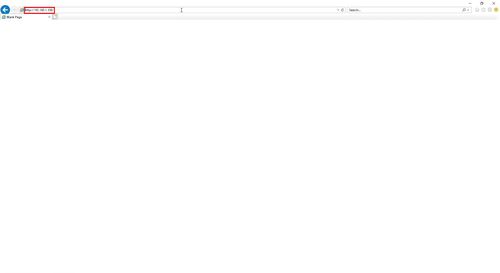
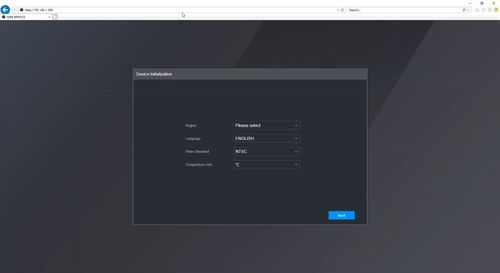
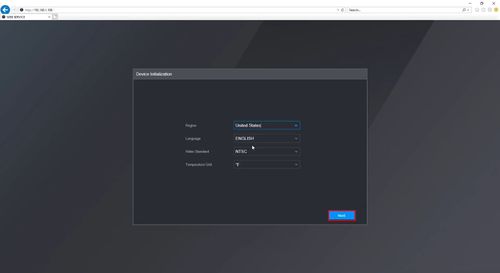
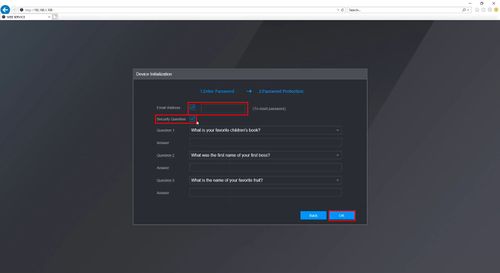
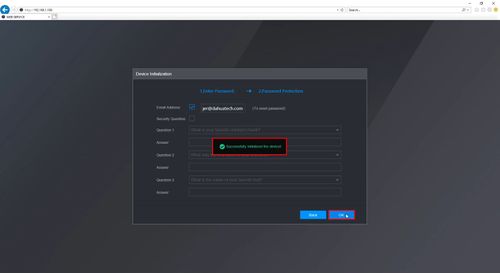
1. Enter the IP of the device into a browser (default 192.168.1.108)
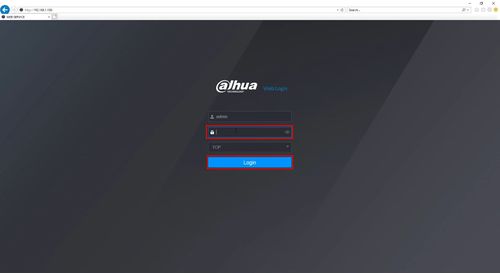
At the Web Login
Enter the Username and Password
Click Login
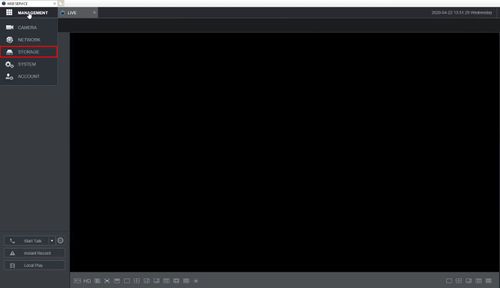
2. Select Setting
3. Select Smart Thermal
4. Select Smart Plan
5. Select the Temperature icon then click Save
6. Select Human Temperature
7. Select Blackbody parameter
8. Select the Draw Rule button
9. Draw a box inside the highlighted blackbody box
10. Check the box to Enable
Click Save
11. Select Human Temperature Measurement
12. Check the box to Enable
13. Click Draw Rule
Then draw the desired rule
14. Click Save
15. Select Temperature
16. Select Global Setup
17. Select Temperature Switch
Use the dropdown box to change the unit to F (Fahrenheit)
18. Click Save
