Difference between revisions of "Thermal/DHI-ASI7213X-T1/Instructions/Initial Setup Physical"
(→Step by Step Instruction) |
|||
| Line 6: | Line 6: | ||
==Prerequisites== | ==Prerequisites== | ||
*[https://dahuawiki.com/Thermal/DHI-ASI7213X-T1 DHI-ASI7213X-T1] | *[https://dahuawiki.com/Thermal/DHI-ASI7213X-T1 DHI-ASI7213X-T1] | ||
| − | + | *ASF072X-T1 | |
| − | |||
| − | |||
| − | |||
==Step by Step Instruction== | ==Step by Step Instruction== | ||
Latest revision as of 23:50, 28 July 2020
Contents
DHI-ASI7213X-T1 Physical Installation
Description
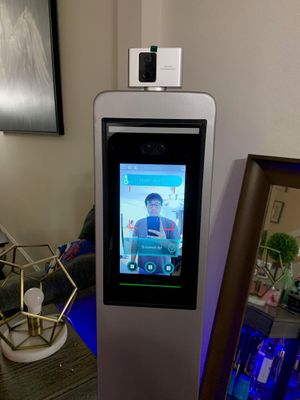
This guide will cover the physical installation of the thermal monitoring station.
Prerequisites
- DHI-ASI7213X-T1
- ASF072X-T1
Step by Step Instruction
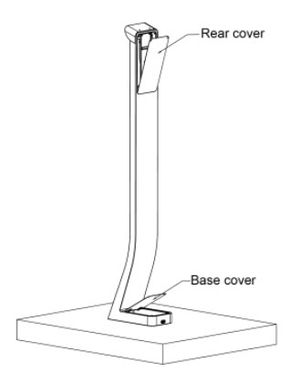
1. Remove the 2 screws on the rear cover, and then open it.
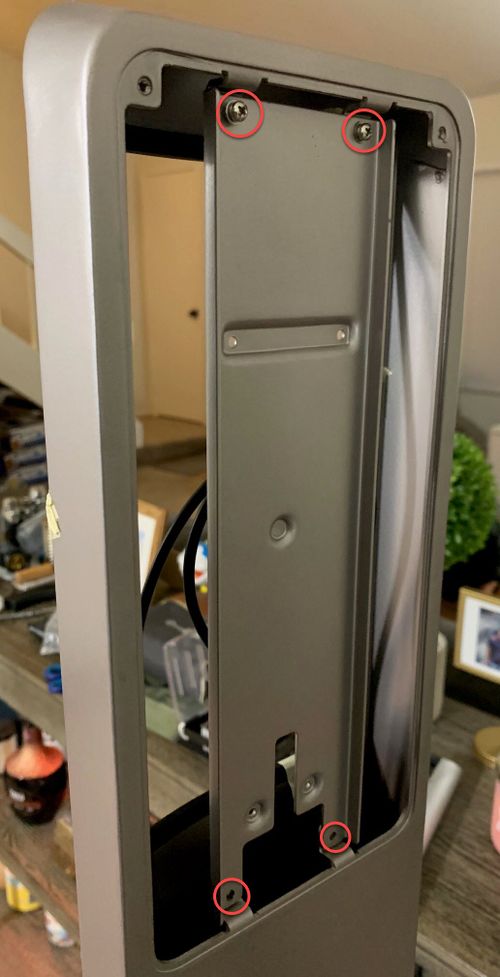
2. You will see 4 screws attached to the mounting plate. Remove all 4 screws.
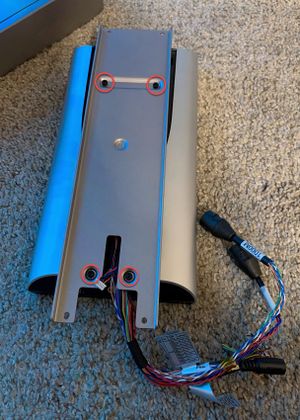
3. Attach the mounting plate to DHI-ASI7213X-T1 unit.
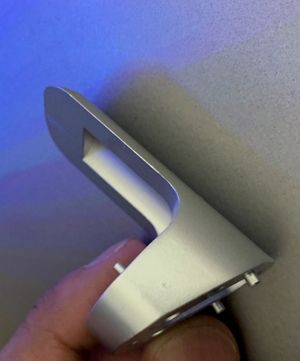
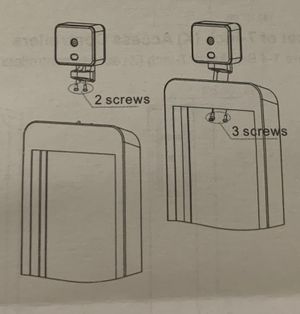
4. Using the adapter provided, secure the temperature monitoring unit using the 2 screws.
5. Attach the adapter on the top of the bracket with 3 screws.
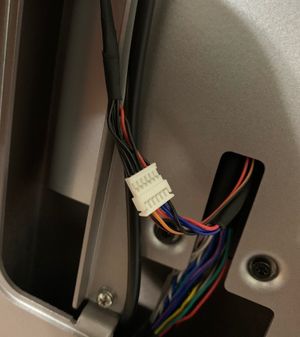
6. Connect temperature monitoring unit to DHI-ASI7213X-T1.
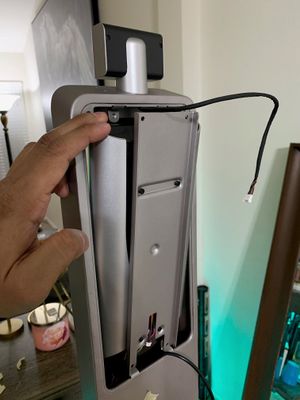
6. Place the mounting plate (with thermal station attached to it) to the bracket. Secure all 4 screws that removed on step 2. Ensure that thermal station is fitting right with the front rubber gasket.
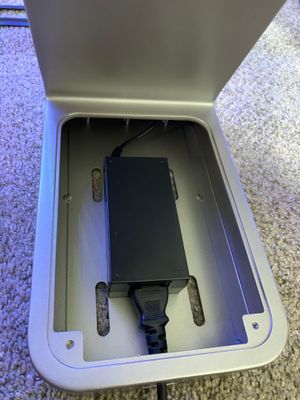
7. Connect cables for the thermal station device. Power adapter will be placed underneath the base cover, there is a power wire provided to connect power to Kiosk device.
Note: The power adapter wire that comes with the DHI-ASI7213X-T1 is long enough to connect all the way up to thermal station.
8. Install the rear cover and base cover. and then connect the power to turn on thermal station device.
