Difference between revisions of "DSS/Instructions/Record Motion Detect"
(Created page with "=Motion detect recording on DSS= ==Step by Step Instruction== <div class="toccolours mw-collapsible mw-collapsed"> 200px<span sty...") |
(No difference)
|
Latest revision as of 01:13, 9 September 2020
Contents
Motion detect recording on DSS
Step by Step Instruction
This article will show you haw to allocate storage from you PC drive to record Motion Events from a camera.
Steps:
1. Setup camera and enable Motion Detection
2. Setup DSS Express by allocating Storage. Adding the camera and enabling the MD event
Prerequisites
- DSS Express
- Camera with Motion Detection capabilities
Video Instructions
Step by Step Instructions
Camera Setup
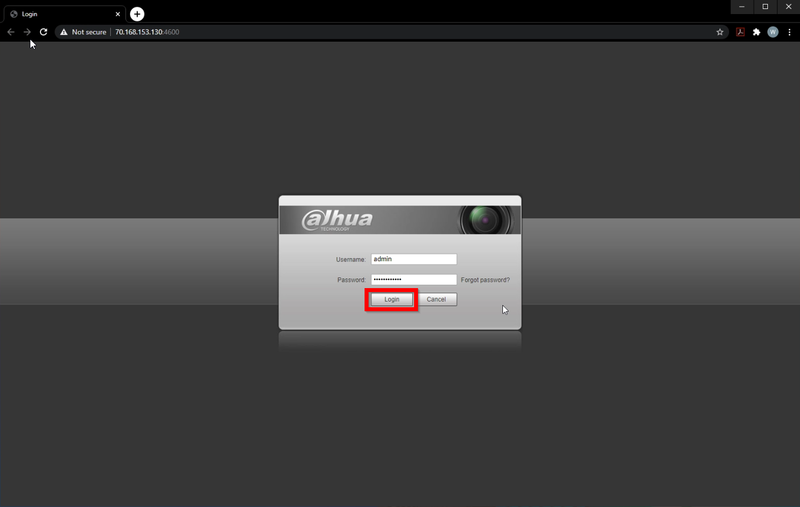
1. Login to the Camera's WEBUI
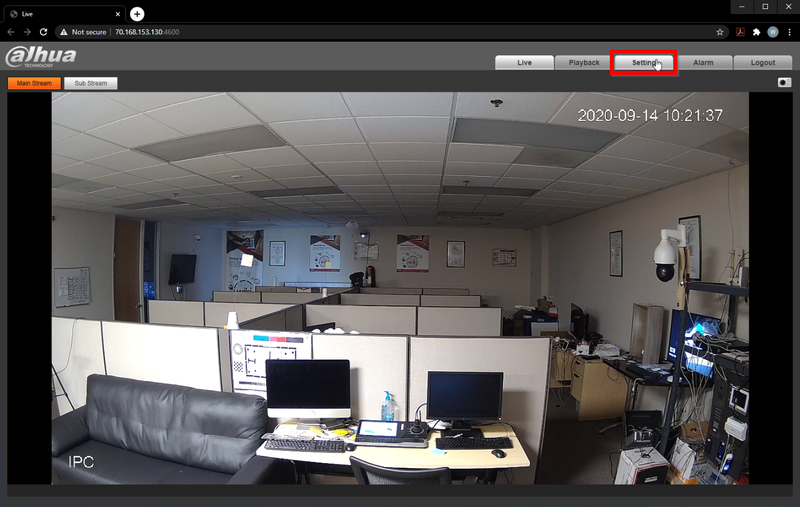
2. Go to "Settings"
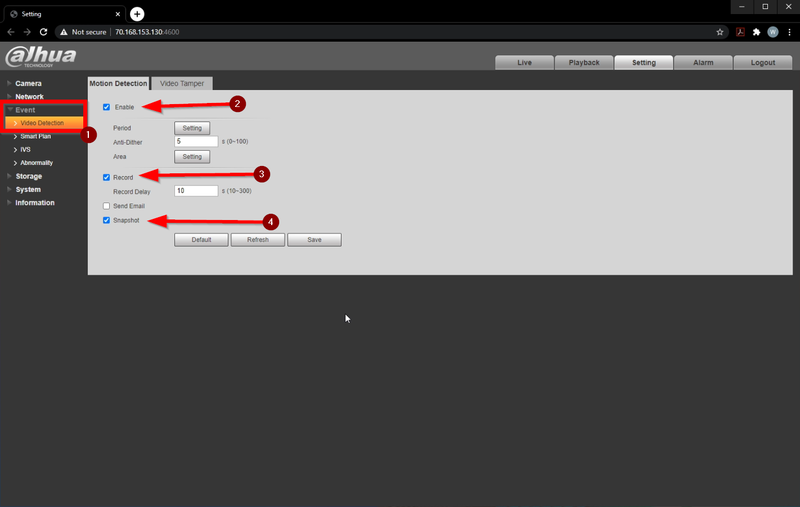
3. Navigate to Event>Video Detection and stay on the Motion Detection
Make sure Enable is checked along with Record and Snapshot
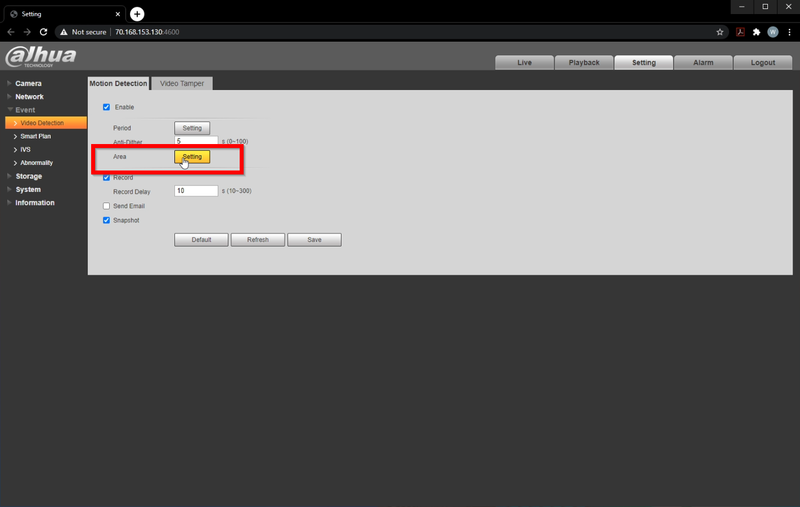
4. To configure the areas you want to detect motion click on "Setting" next to Area
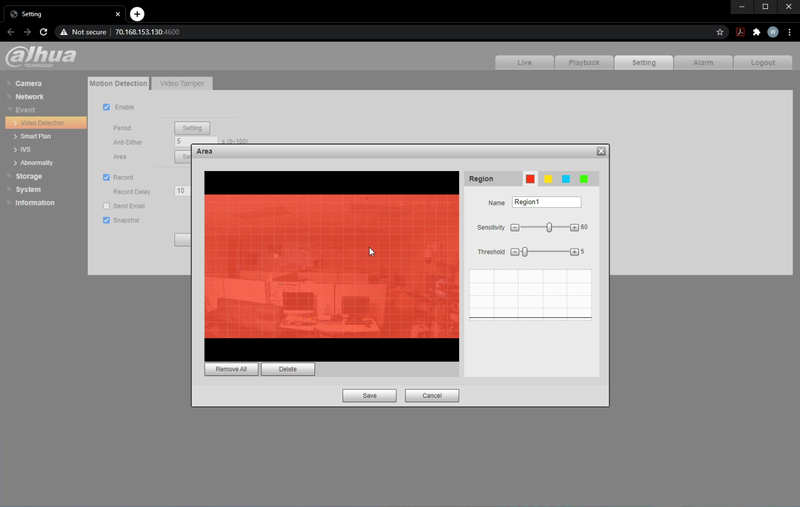
5. Everything highlighted red will detect motion.
To disable areas click and hold the grid squares to make them transparent
Click on Save to confirm the changes
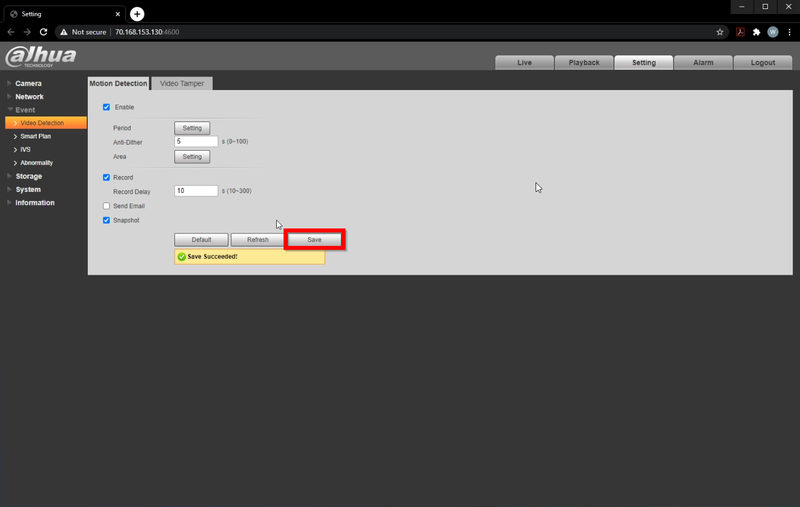
6. Click on Save to finalize the configuration
DSS Express Setup
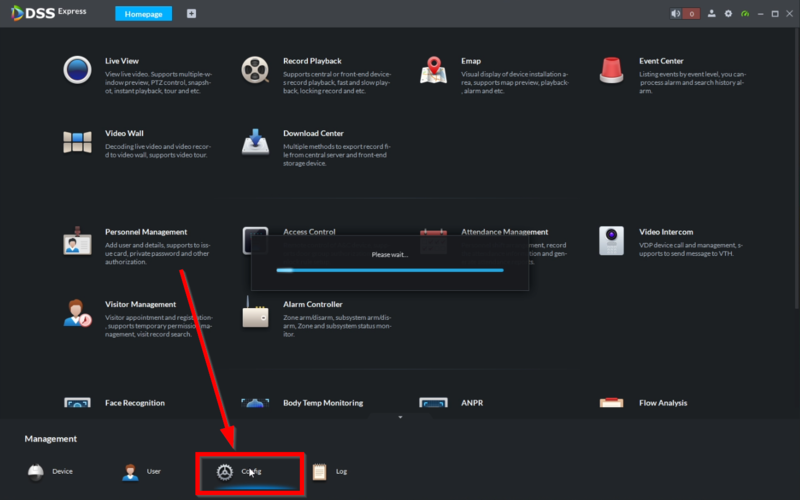
1. Now we need to Allocate Storage space on your drive. Go to Config
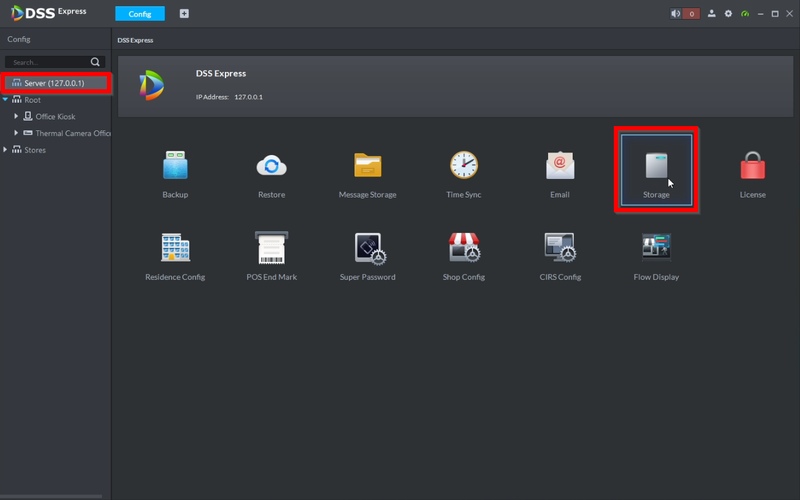
2. Be sure to select Server on the top left to load the config settings and then go to Storage
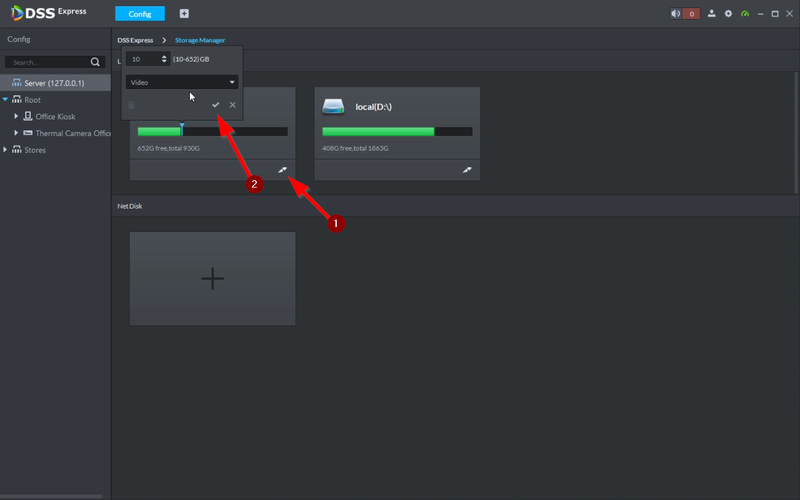
3. Click on the paintprush icon to start the allocation process
Type in the storage you'd like to allocate (10GB Minimum)
Click on the check mark to finalize, wait for the allocation to be completed
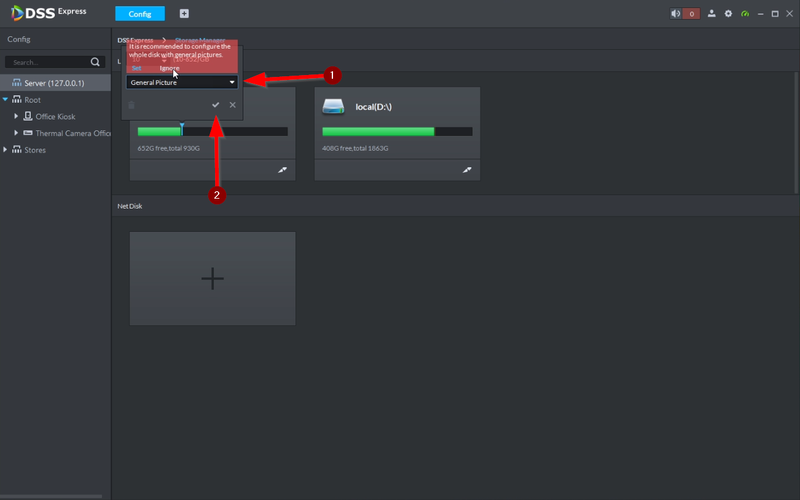
4. If you like to store pictures as well, select the drop down menu and allocate memory for General Picture
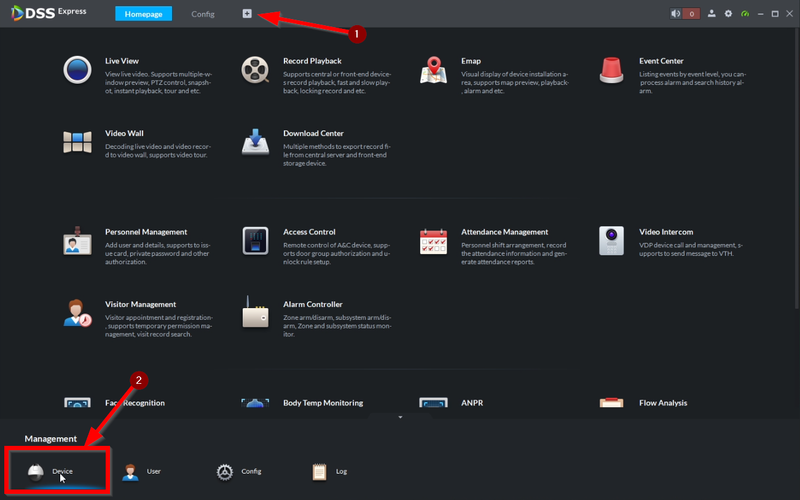
5. Now that the Allocation is done open a new page and go to Device to add the camera to DSS Express
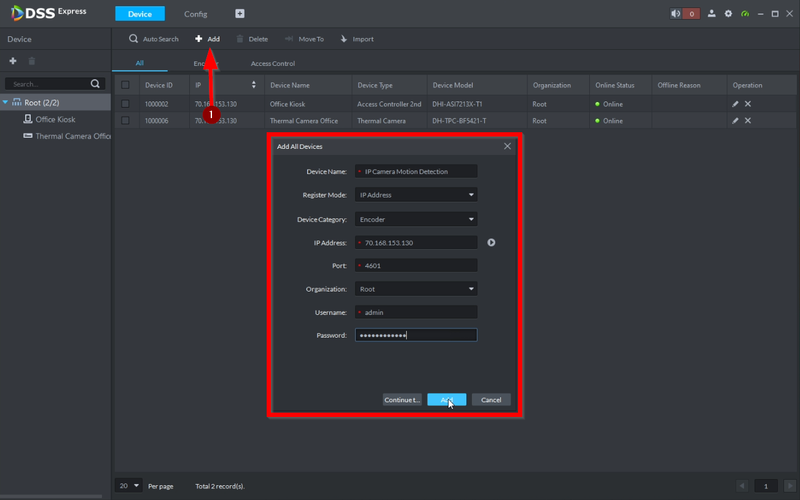
6. Click on Add and enter the camera's credentials. Finalize the entry by clicking on the blue Add
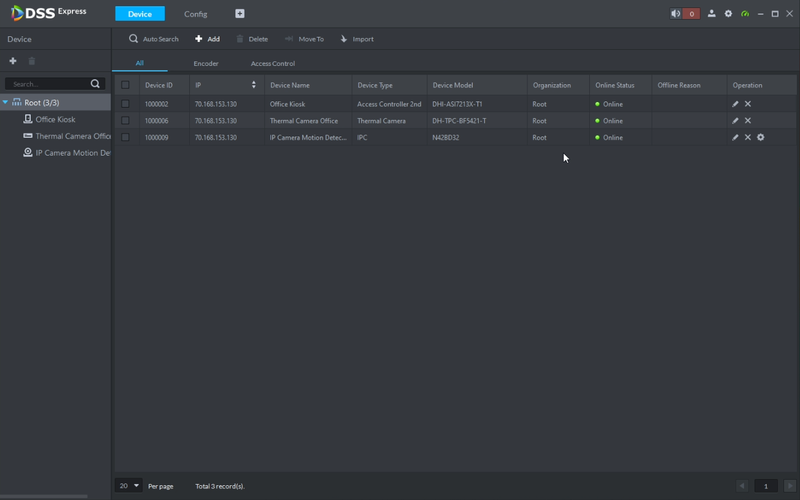
7. You should now see the camera entry
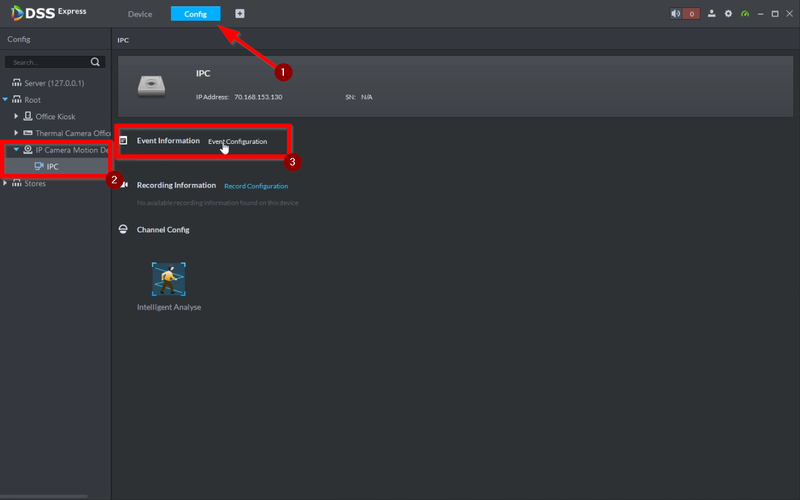
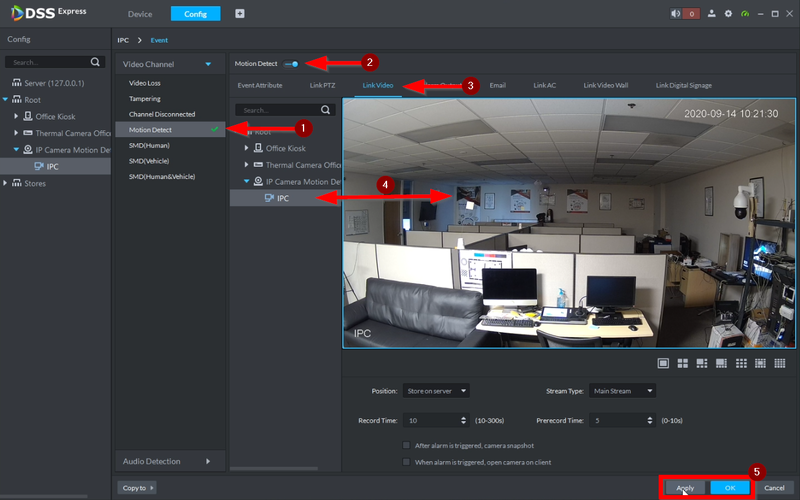
8. Go back to the Config tab and click the camera's drop-down menu and select the camera.
Go to Event Configuration
9. Select Motion Detection and enable the event.
Select the Link Video tab. Click and drag the camera video stream over to the live view entry.
Click on Apply and OK when completed
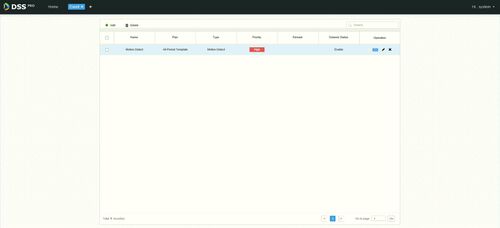
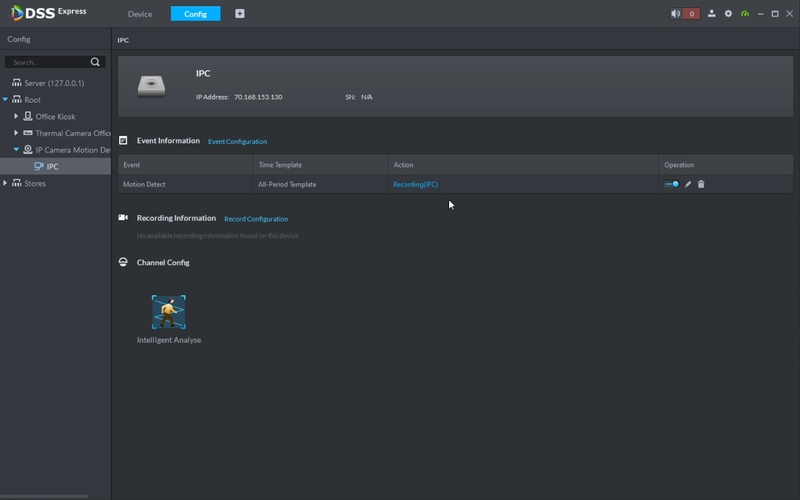
10. The event entry should look like this once completed
Description
This article is to show how to setup DSS to only record on motion.
Prerequisites
- DSS Pro Hardware or Software
- Device added to DSS Pro
Notes: If you are using third-party cameras, please note that
Video Instruction
coming soon
Step by Step Instruction
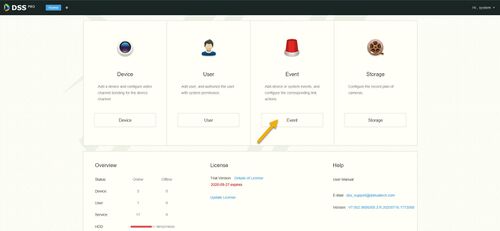
1. Locate DSS Pro web manager and login with the admin credential.
2. Click on Event.
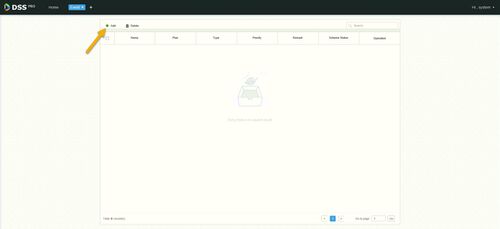
3. Click on Add.
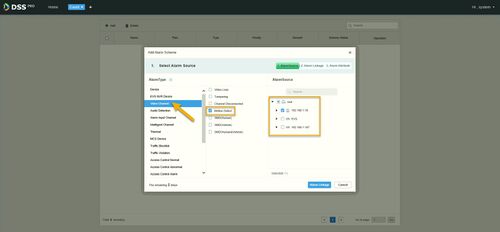
4. Under Alarm Type, Click on Video Channel.
5. Click checkmark on Motion Detect.
6. Under Alarm Source, select the device that you would like to assign for motion only recording.
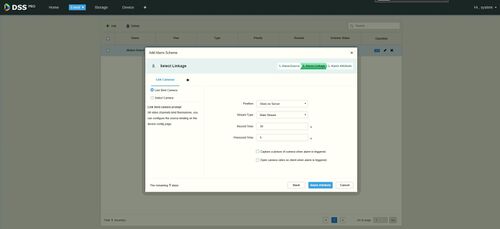
7. Click on Alarm Linkage.
8. Click on Link Actions, and then click on Link Cameras.
9. Set the record time and also prerecord time.
Notes: there is two additional option here that you can enable. First, you can capture a picture when alarm is triggered. And second, you can get pop-up video when alarm is triggered (require to Link User to specify which user getting video pop-up).
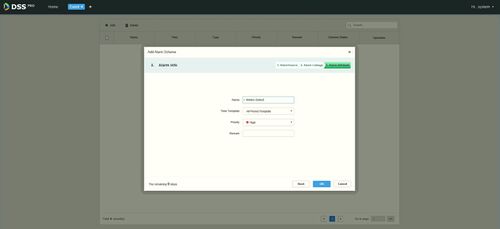
10. Click on Alarm Attribute.
11. Enter Alarm info name. in this tutorial, we name it Motion Detect.
12. Click Ok to save the settings.
