SmartPSS/How To Setup Video Wall
Contents
How To Setup Video Wall In SmartPSS
Description
This article will show you how to setup a video wall in SmartPSS 2.0
Prerequisites
- SmartPSS
- Supported device with video wall feature, such as Decoder
- Device added to SmartPSS Device List - How To Add Device to SmartPSS
Video Instructions
Step by Step Instructions
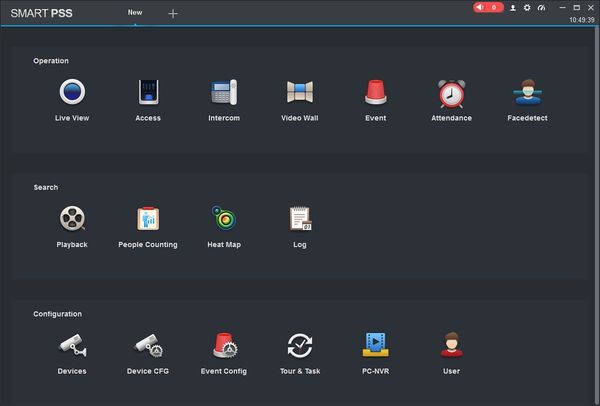
1. Launch SmartPSS.
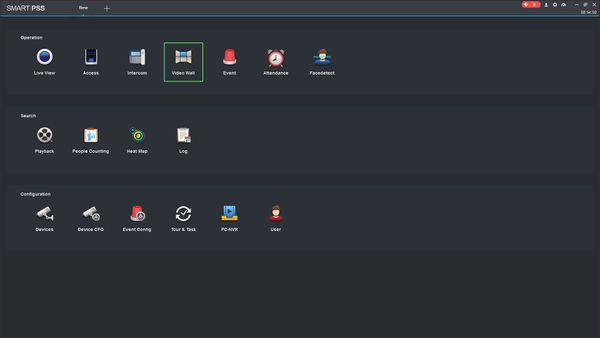
2. Click Video Wall
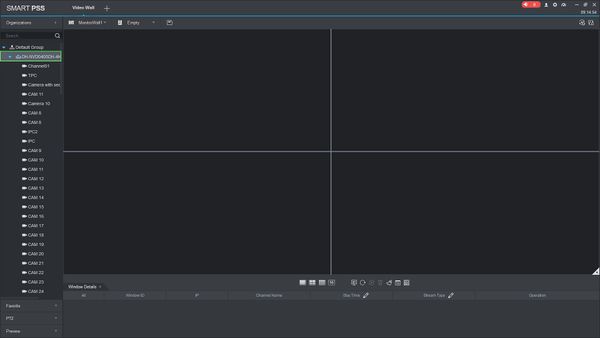
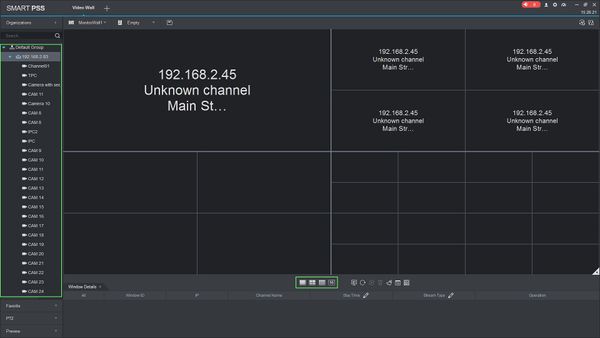
3. The device tree on the left will show all devices added to SmartPSS that are compatible with the Video Wall feature.
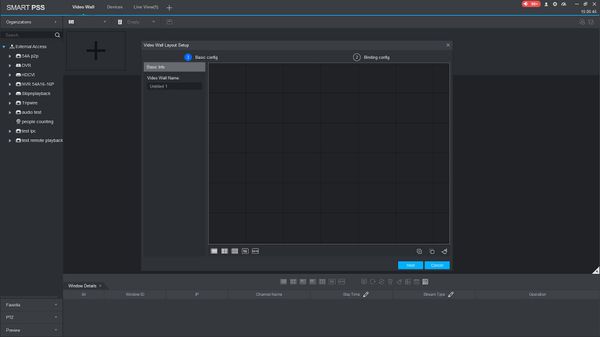
4. Click the ![]() icon to open the Video Wall Layout Setup menu.
icon to open the Video Wall Layout Setup menu.
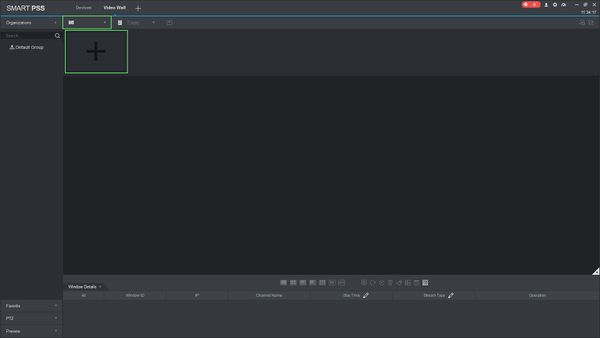
Click the + to create a new layout
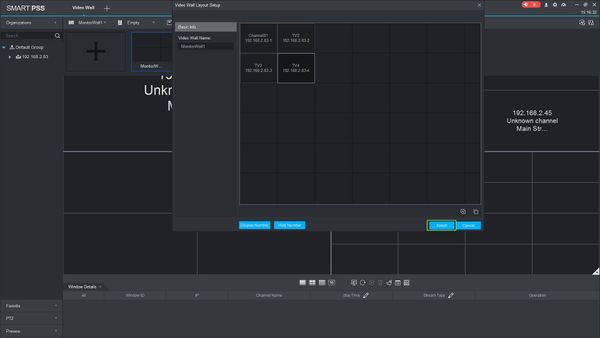
The Video Wall Layout Setup menu is where you can define the physical layout of the monitor outputs per device
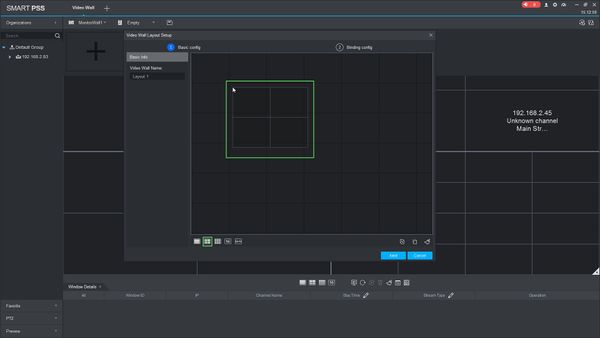
5. Use the menu buttons below the grid to create the Video Wall Layout.
Start by clicking one of the layout options in the bottom left of the screen (1, 2x2, 3x3, etc.).
Click again in the grid to place the grid.
You can also use the menu on the right to combine or splice screens.
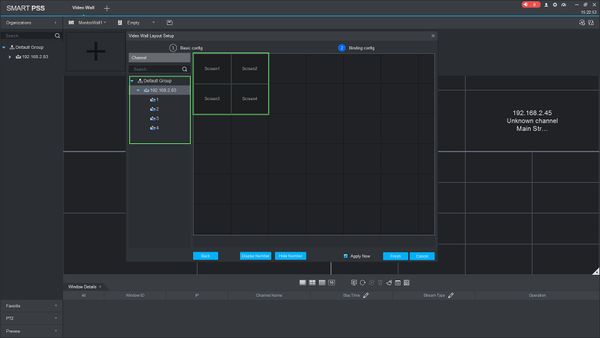
Click Next
7. A device tree will appear on the left.
Drag and drop from the device tree to the grid layout to configure the arrangement for the corresponding monitor outputs for the device
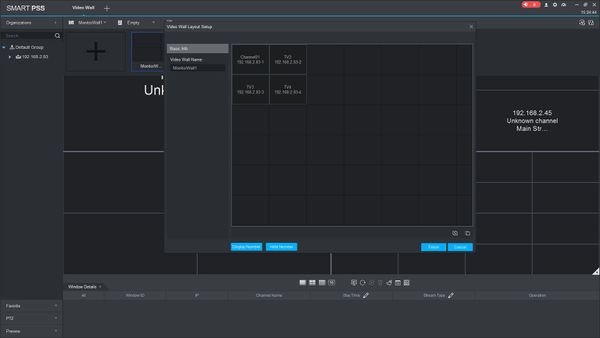
6. Click Finish once the Video Layout has been created
In this example, a decoder with 4 Monitor Outputs has been arranged in a 2X2 Layout
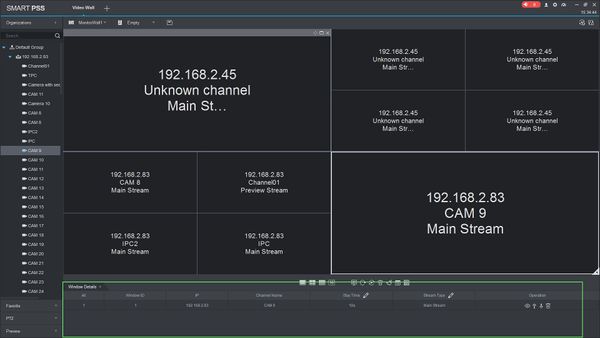
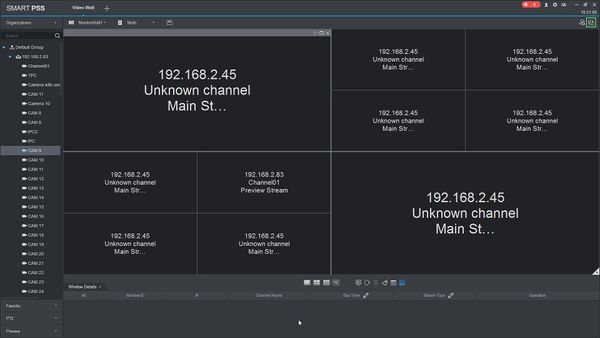
7. Use the device tree on the left to drag and drop streams into the Video Wall Layout
Click inside a quadrant and click from one of the layout options to change to one of the available options - 1 , 2X2, 3X3, 4X4
8. The Windows Detail window allows you to change settings for each of the windows - such as Stream Type and Stay Time
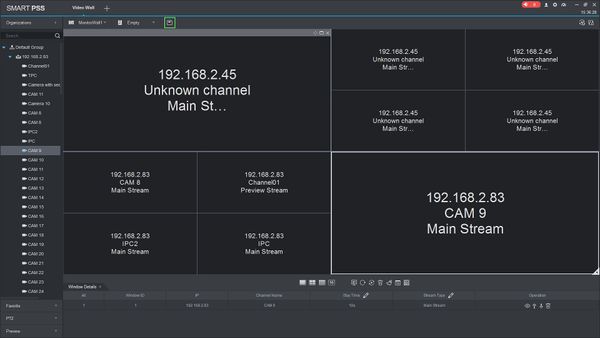
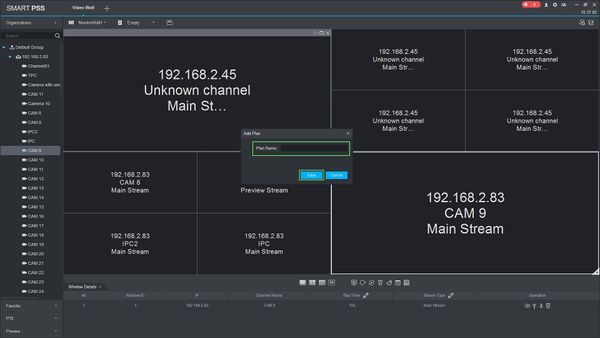
9. Once the layout has been configured Click the Save icon ![]()
10. Enter a name for the Plan then Click Save
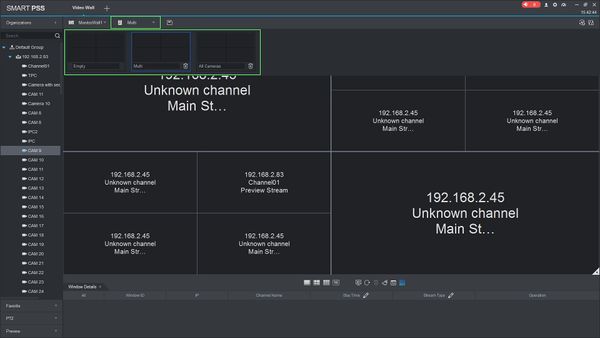
11. All created Plans will appear in the Plan submenu, click the ![]() icon to view and switch between created Layout Plans.
icon to view and switch between created Layout Plans.
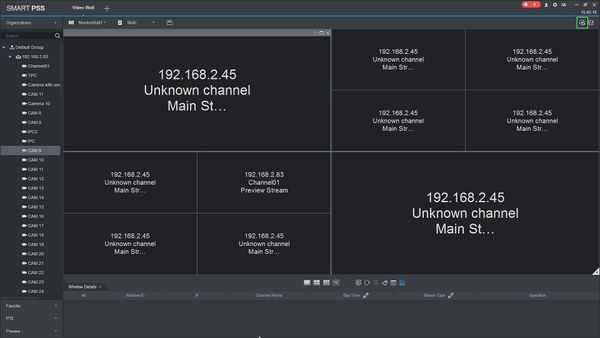
12. Click Schedule Control Config on the right side of the screen to configure a Scheduled Tour of created Video Wall Layouts
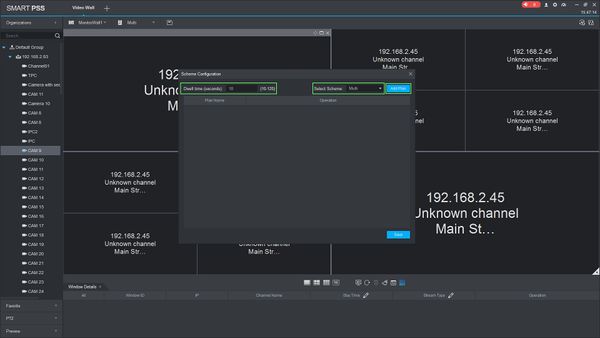
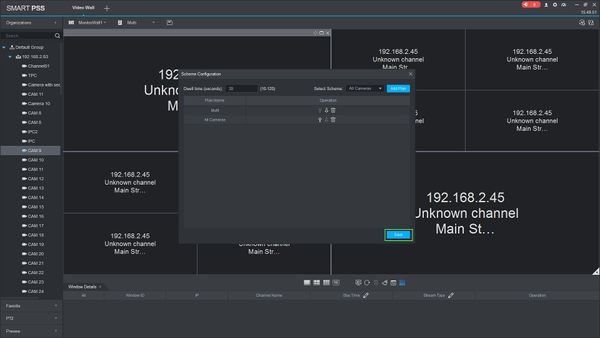
13. Use the Scheme Configuration menu to program the tour
Enter a dwell time (in seconds) Select the created Layout Scheme Then Click Add Plan
14. Click Save once the Scheme has been configured
15. To begin a created scheme click the ![]() icon on the right side of the screen
icon on the right side of the screen
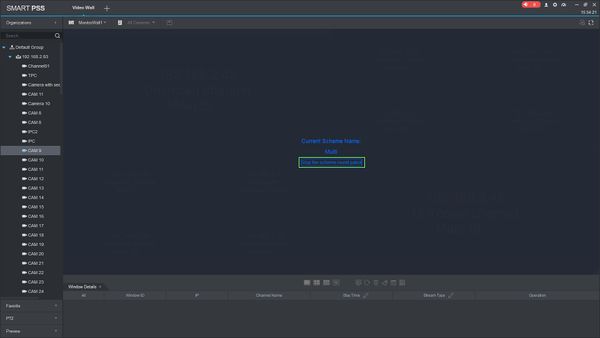
16. The scheme patrol will begin. To stop click the button in the center of the screen
