DSS/V8/DSS Pro/Instruction/DSS Sub Server Installation
Description
This guide will show how to install and setup a DSS Pro Sub Server.
Prerequisites
- DSS Pro V8 installed as a Main Server on another computer on the same network:
DSS Pro Main Server Installation
- DSS Pro V8 Client installed:
- DSS Pro V8 installer downloaded:
- A computer that meets DSS Pro Requirements:
Step by Step Instructions
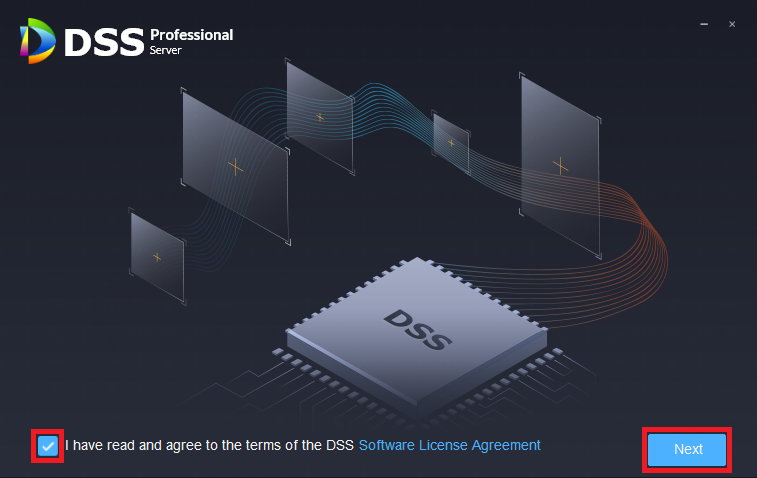
1. Download and run the installer package for DSS Pro.
Check the box to agree to the Software License Agreement and then click on Next
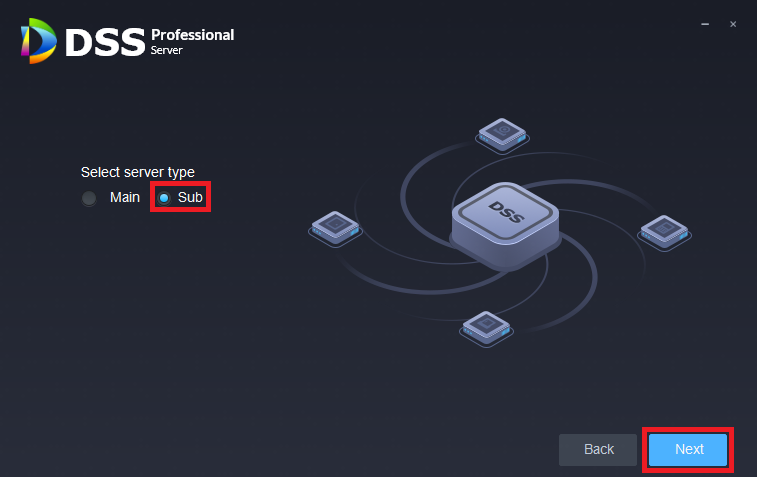
2. Select the option for Sub under "Select server type".
Then click on Next
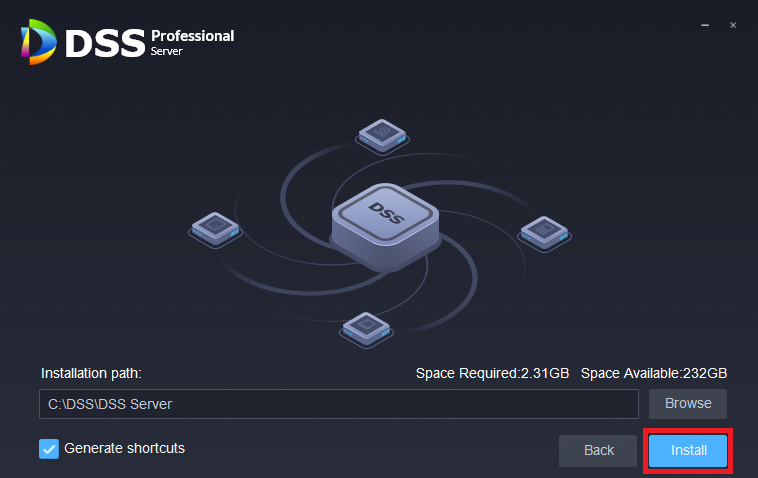
3. Choose the installation path or leave it as default.
Then click on Install
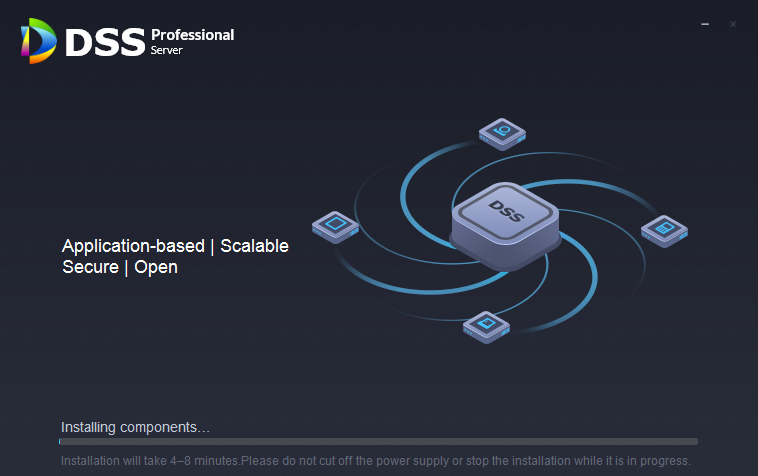
4. Wait as the software is installed.
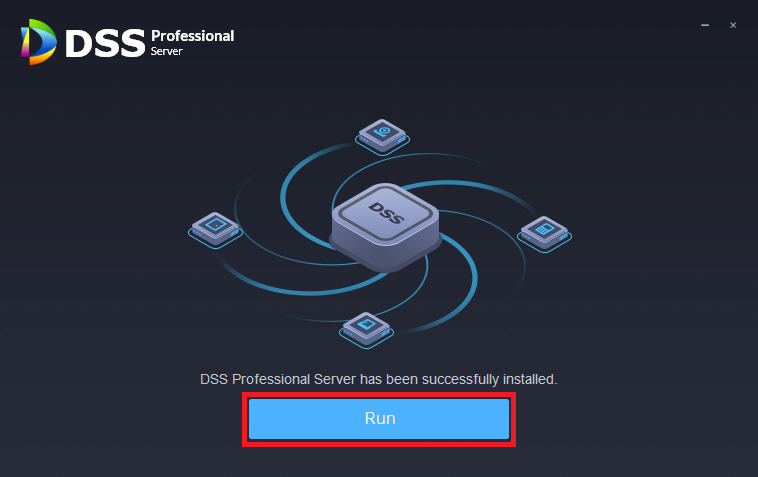
5. When the installation is complete, click on Run
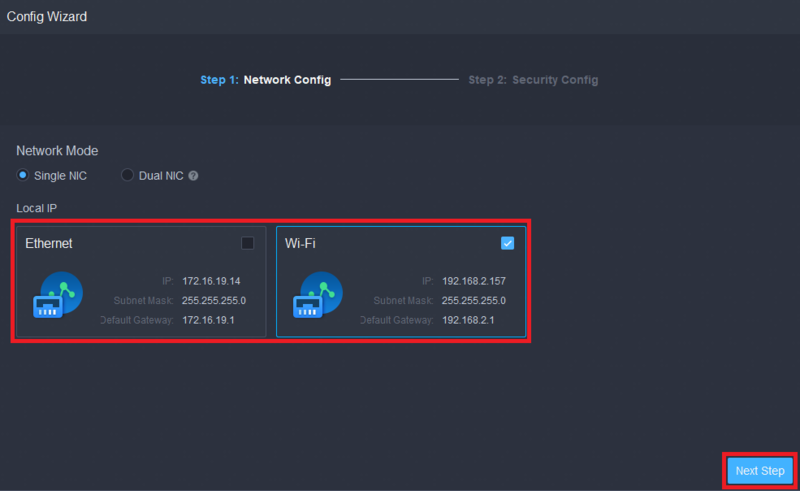
6. After the DSS Pro software starts up, check on the box next to the network card you want to use for the Sub Server to communicate with the Main Server and the rest of the network.
Then click on Next Step
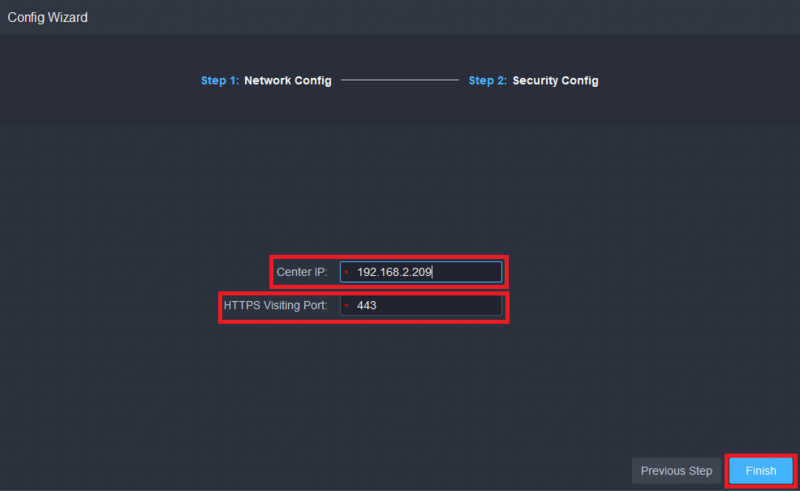
7. Enter the local IP address of the DSS Pro Main Server that is already running in the Center IP field.
Then enter the HTTPS port of the DSS Pro Main Server in the HTTPS Visiting Port field.
And click on Finish
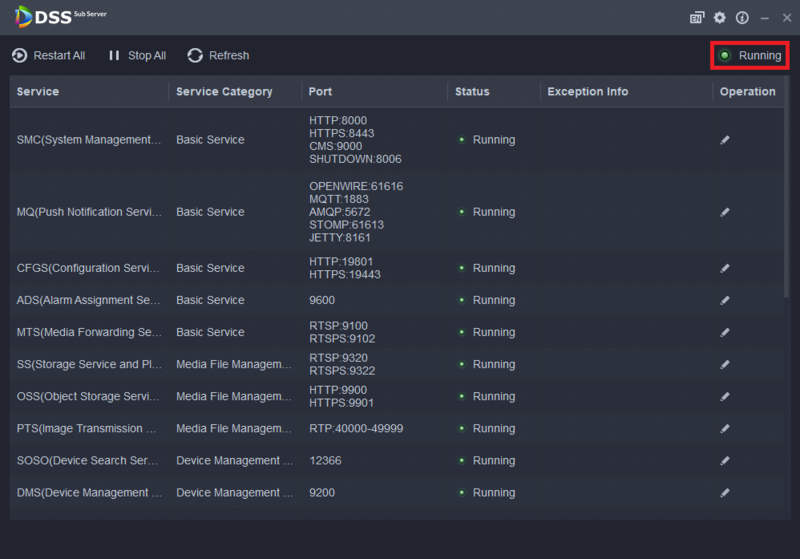
8. Wait for all the Sub Server's services to start up.
It will says "Running" at the top right when they have all started
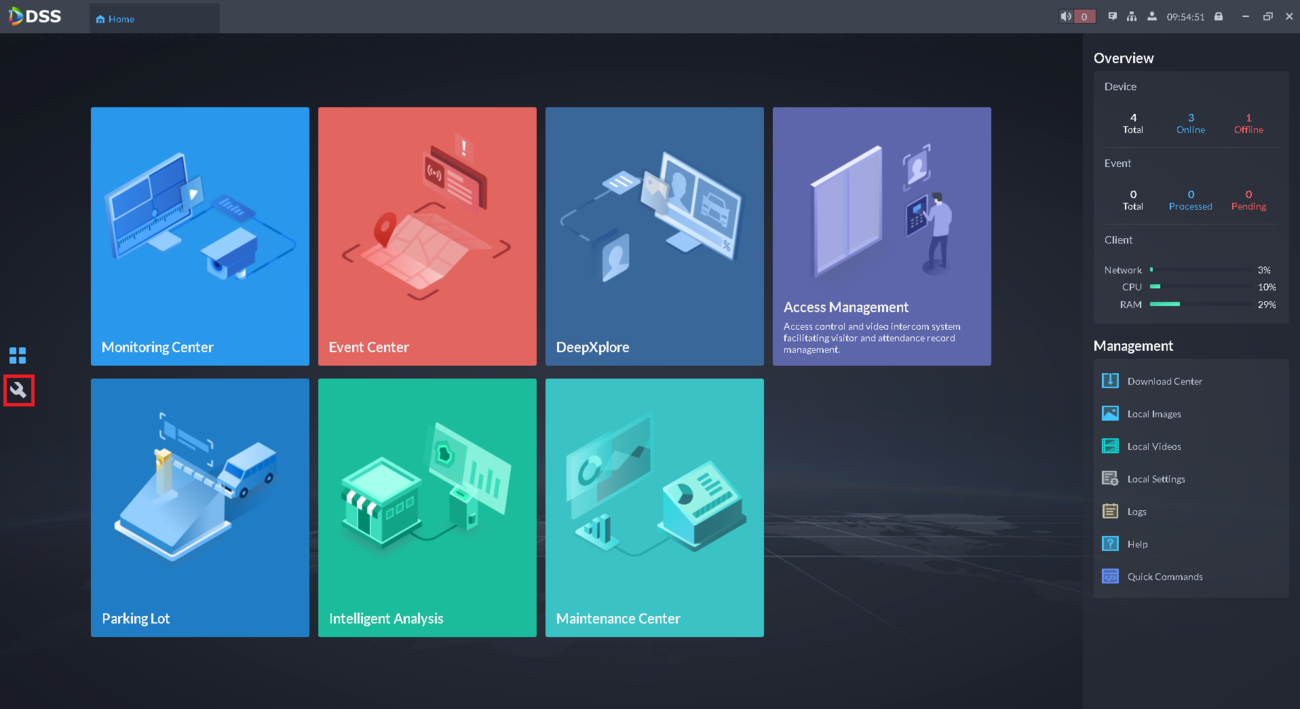
9. Log into the Client of the DSS Pro Main Server and click on the Setting icon on the left
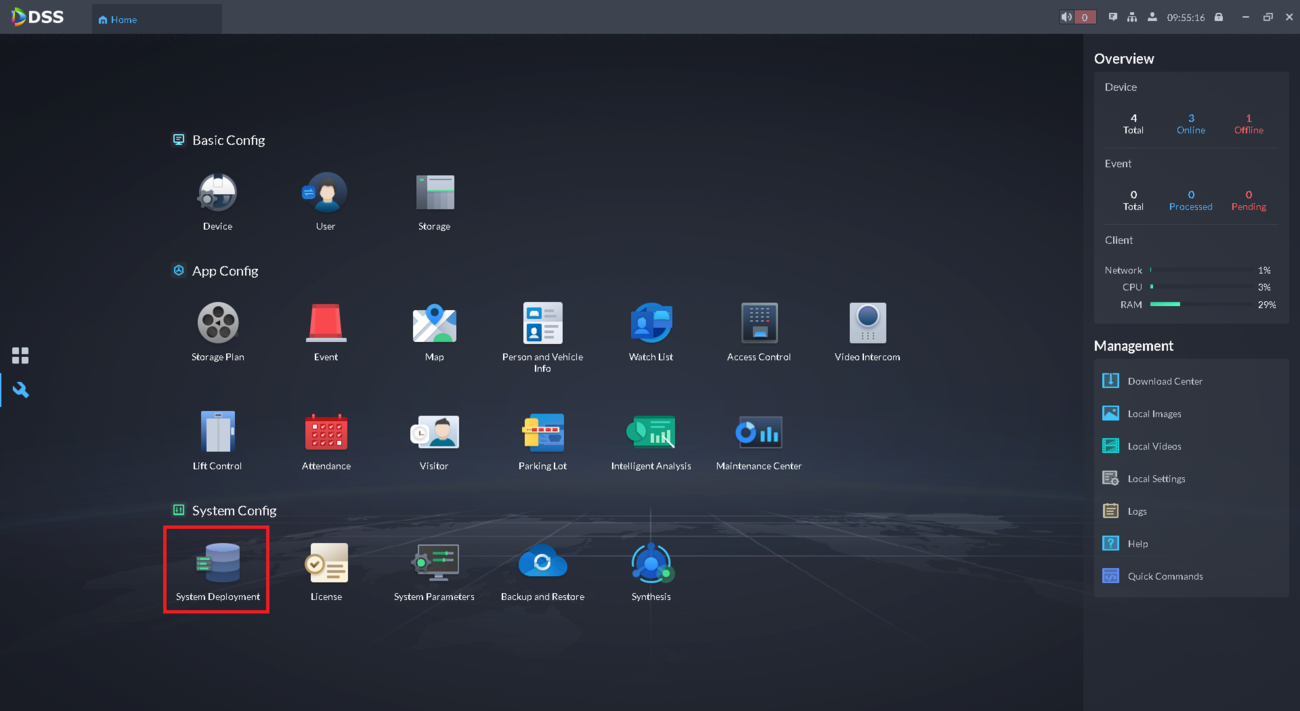
10. Select System Deployment at the bottom
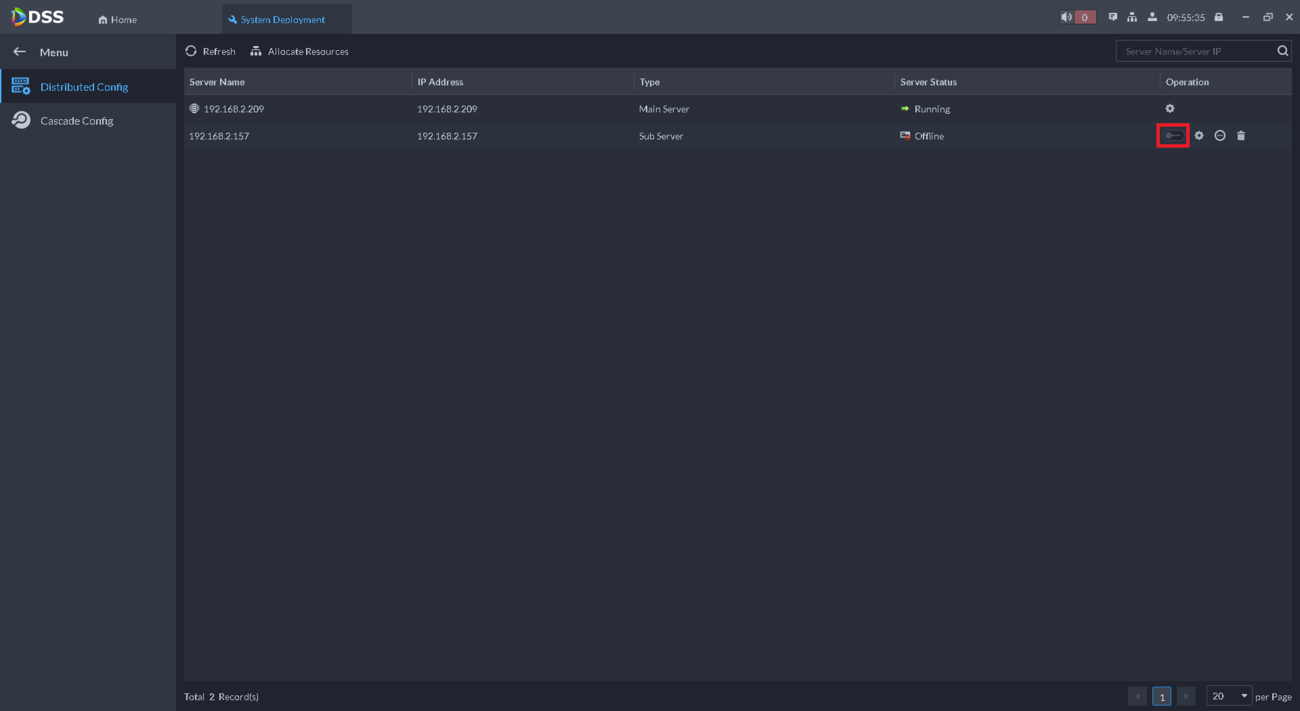
11. You should see the Sub Server's IP address listed with "Sub Server" under "Type".
Enable the slider next to it under "Operation"
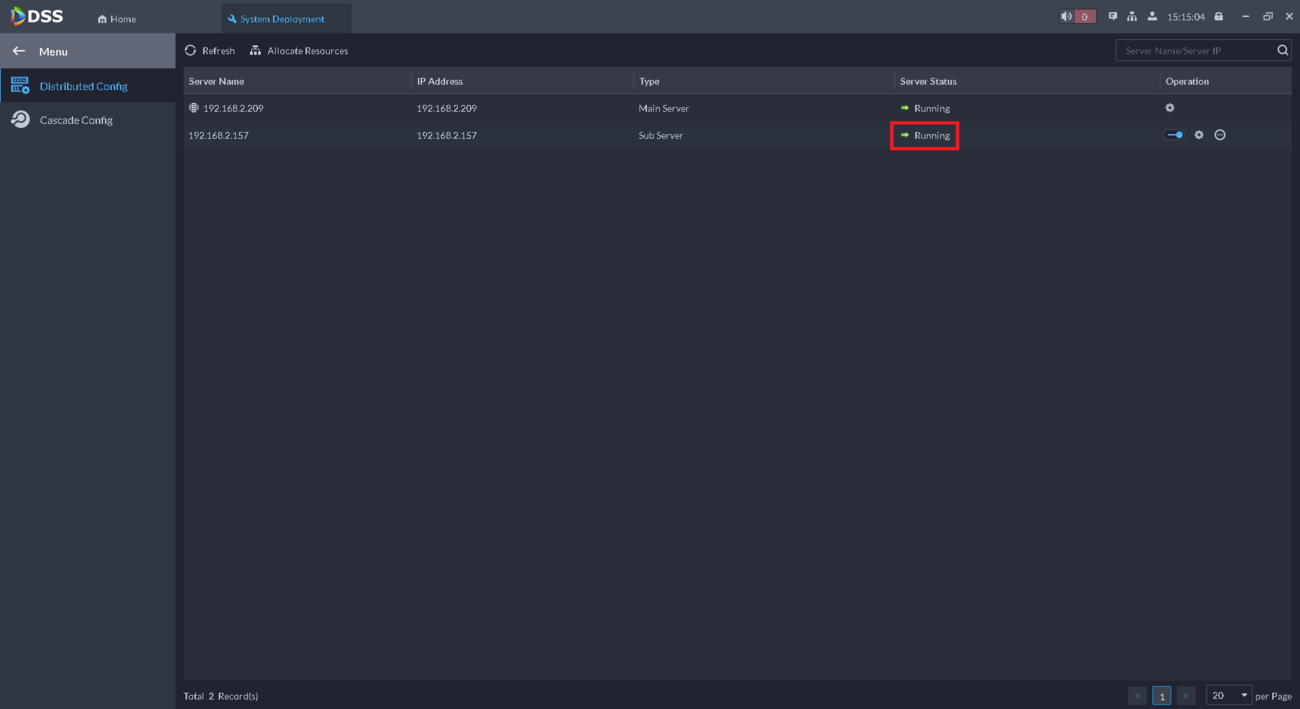
12. The DSS Pro Sub Server's services will all restart.
Once all the services are running again, you should see "Running" under Server Status
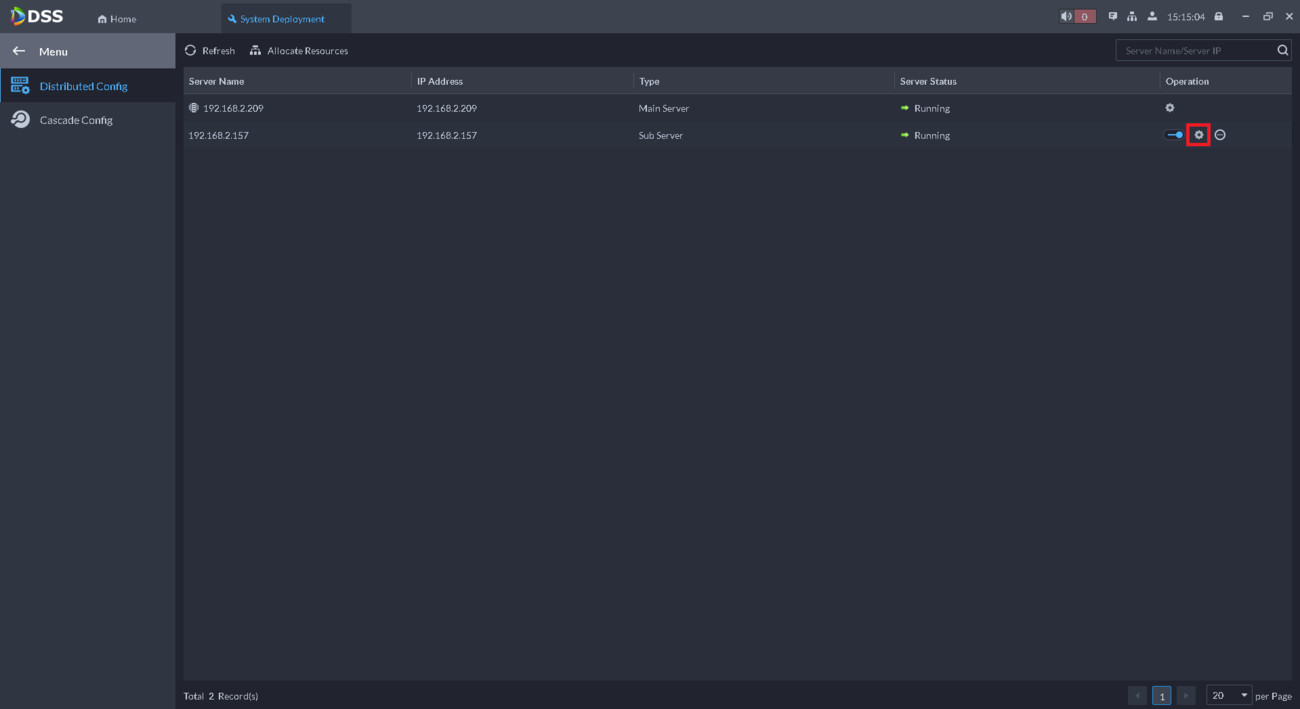
13. Click on the Gear icon to the right of the Sub Server
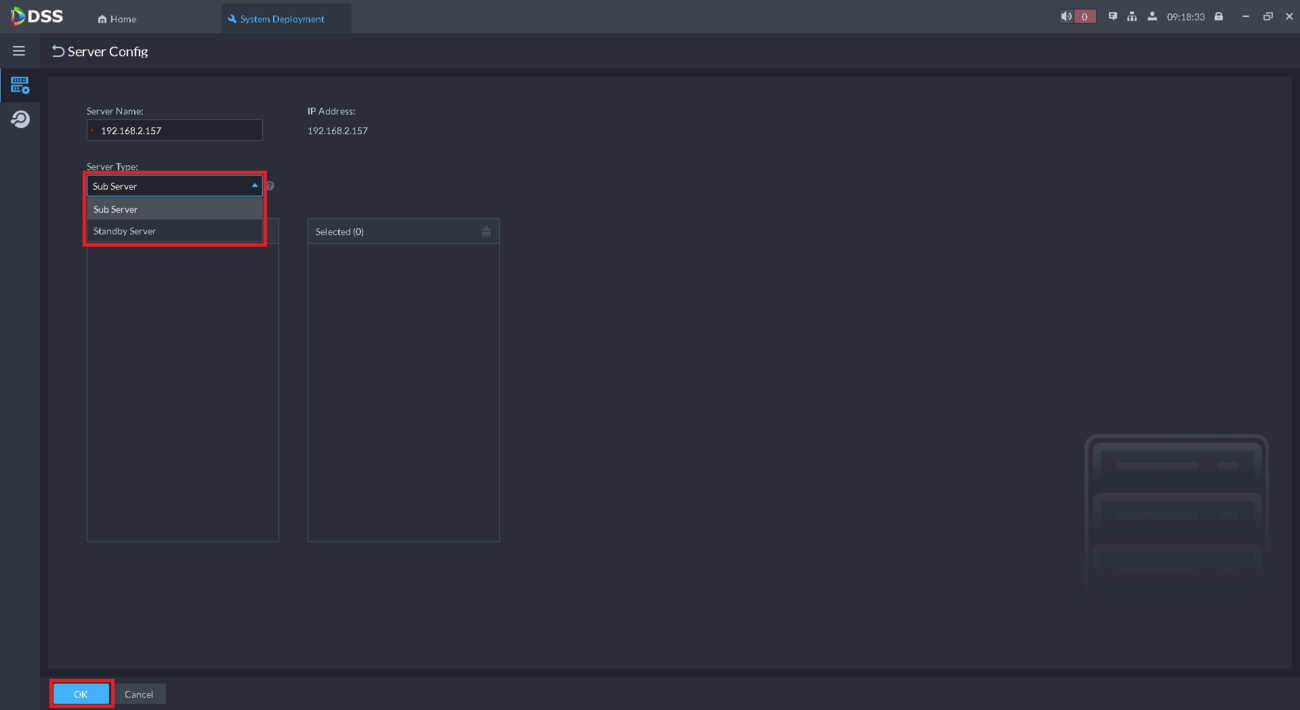
14. Click on the drop-down below "Server Type" and either choose Sub Server to keep it as a standard Sub Server that only helps distribute the load from connected devices, or select Standby Server so that the Sub Server takes over if the main server goes down
Then click on OK
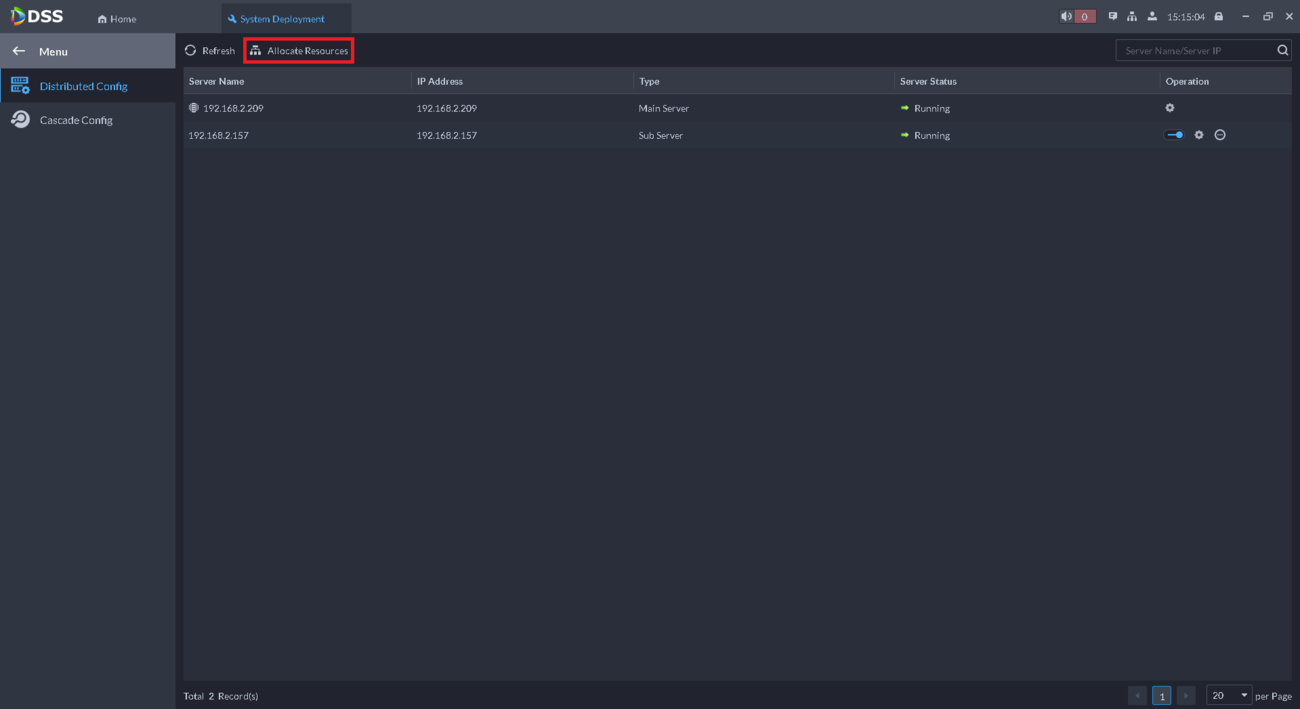
15. Click on Allocate Resources at the top
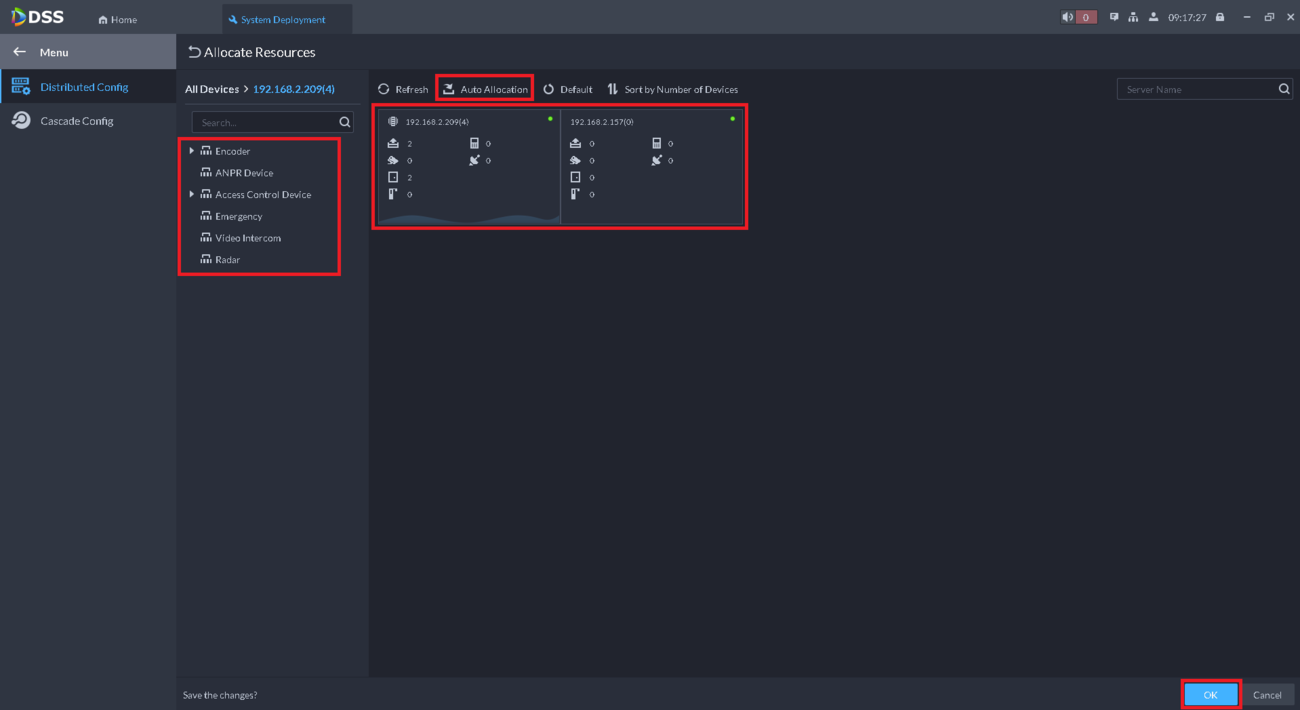
16. Drag an added device from the list on the left to either the Main Server or Sub Server to choose which server manages that device's resources.
Repeat this process for all devices in the list.
Alternatively you can select Auto Allocation and the system will automatically choose which server manages each device's resources.
When you are done, click OK
