PFM900 Reset IPC
Contents
How to Factory Default IP Camera using PFM900-E
Description
This article to show how to reset or factory default IP Camera using PFM900-E
Prerequisites
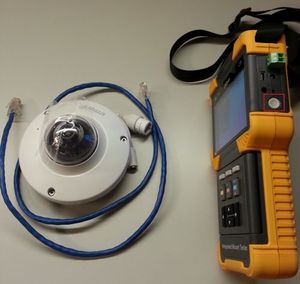
- PFM900-E
- IP Camera
- Ethernet cable
- Power adapter for non PoE IP Cameras or IP Cameras over 12 volts / 2amps input
Step by step Instructions
1. Power on your PFM900-E Device, if it does not power on check How to Charge the PFM900.
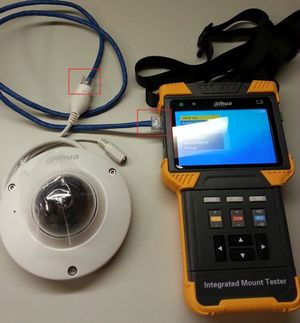
2. Connect the camera or network switch (or PoE) or router to the blue PSE port via Ethernet cable for POE.
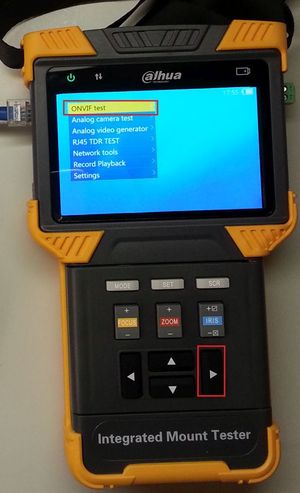
3. Now select ONVIF Test and press the right arrow button
The IP camera might require up to 3 minutes to boot and register on any network even this device!
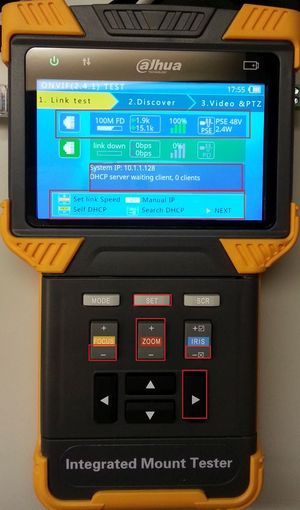
4. You should see a link similar to the picture below if setup correctly Once finished with setting the PFM900-E's IP address please press the right arrow button for next.
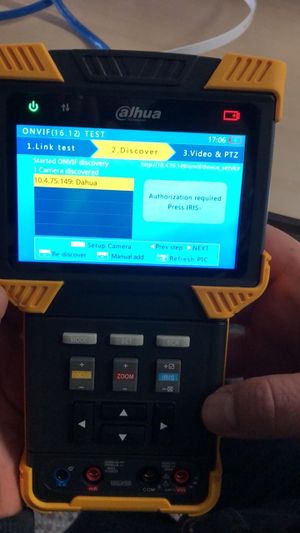
5. You should now be in the discover tab which finds IP's and connects to them. There should be a list of IP's if connected to a switch or router simultaneously, if only connected to a single camera only one IP should show up.
Use the arrow keys to highlight the network device and then press on SET button.
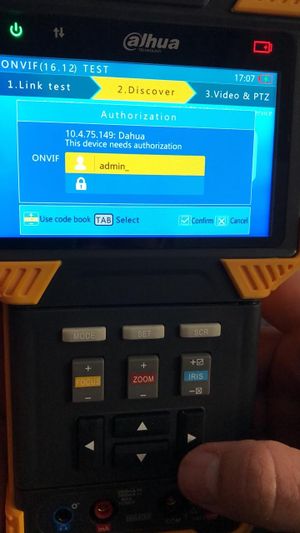
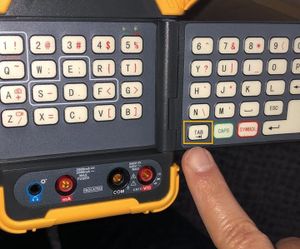
6. You will now see the login screen to enter IP Camera credential. Enter the correct login credential for your IP Camera and press IRIS+ button. Use TAB button to switch from Username to Password text-field.
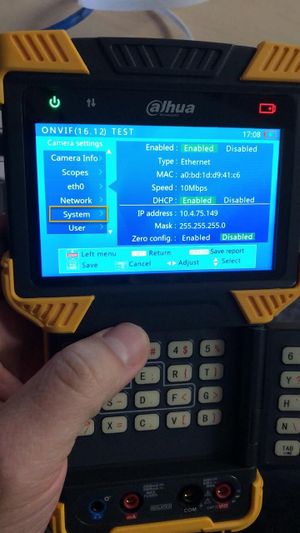
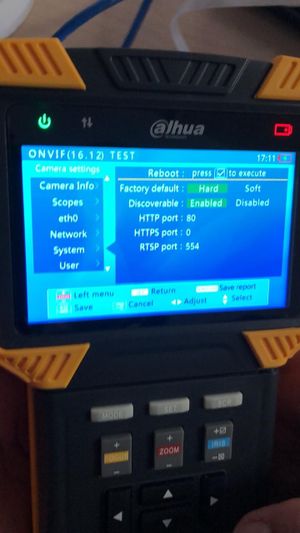
7. Once you are on the Camera Settings menu, use arrow button to go down to System. And then press on > button once to enter System menu.
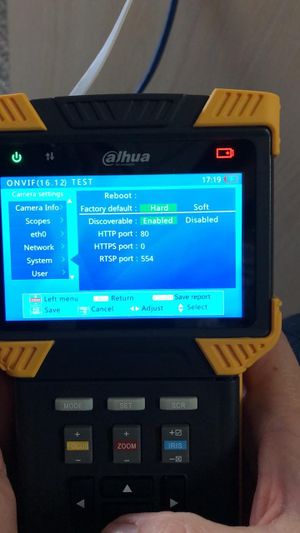
8. Press the down arrow button once, to go to Factory Default option. Selected option is the one with Yellow Line. Press IRIS+ button for save and execute the default.
9. Press on IRIS+ button again to confirm to reboot after default.
10. Your device will now go back to factory default setting with default IP Address.
