IPC/How To Mount Camera
How to Mount Camera
Prerequisites
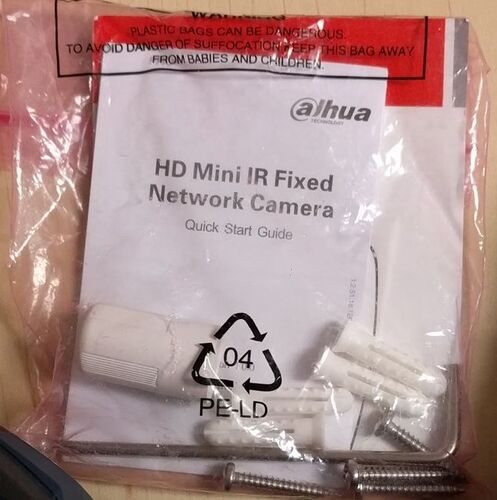
- Camera with install kit (inside box)
- Spur Point (the size of the plastic plug)
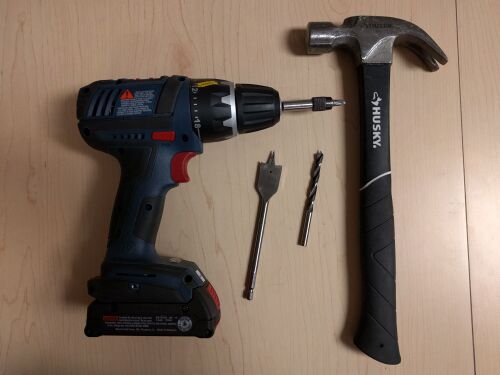
- Spade Bit (for wood) or Masonry Bits (for concrete)
- Drill
- Hammer
Installation
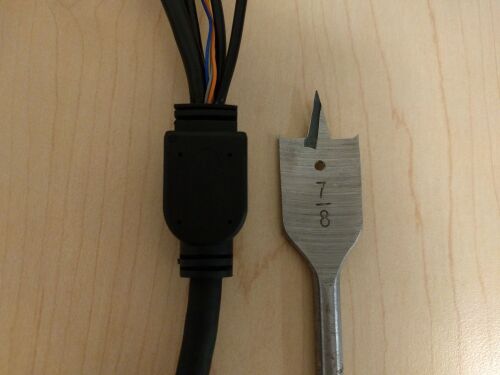
1. Make sure you are using a bit one size up from your biggest plug on the camera's harness.
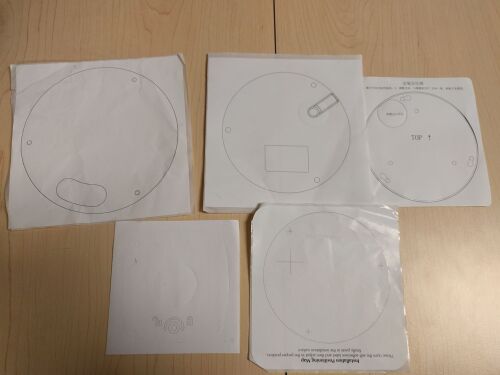
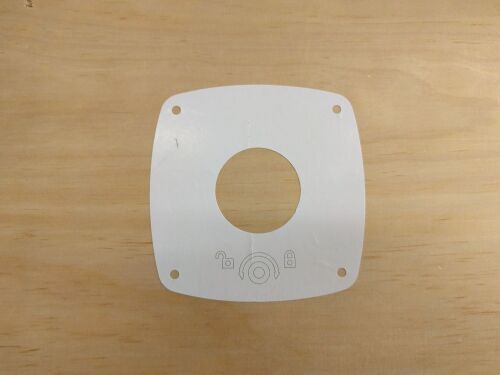
2. Stick the supplied stencil sticker on the surface you are mounting upon. Make sure to use the lock orientation to align the holes. If you are moving a camera and you do not have the stencil, please use the mount and trace around the screw holes and make sure to orient the camera correctly.
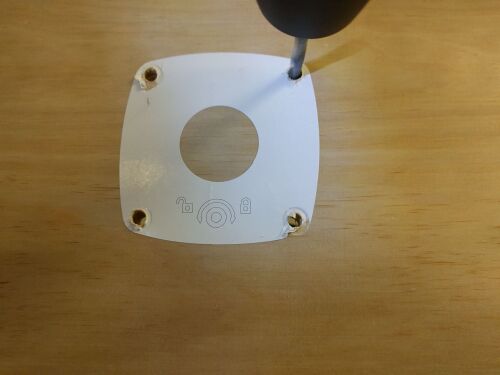
3. Use the stencil to make the appropriate sized drill out. Please use the same size drill bit as the tip of the plastic plugs supplied with the install kit.
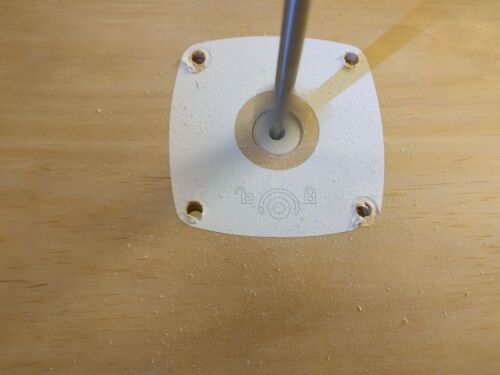
4. Now use the larger bit from step 1 to drill out a hole for cables in the appropriate area.
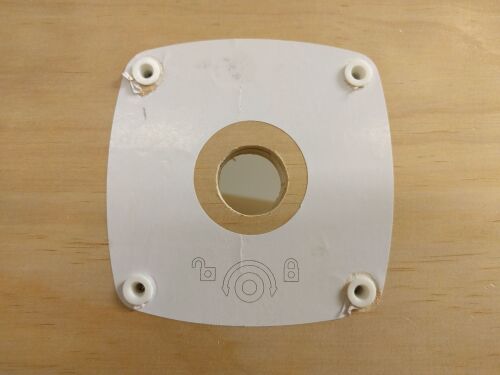
5. Now insert the plastic plugs with a hammer, you should not have to use much force to push them through.
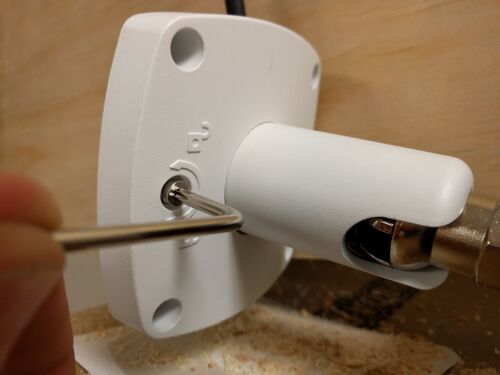
6. Now unlock your camera using the supplied security key so you can clear room for your drill or screw driver.
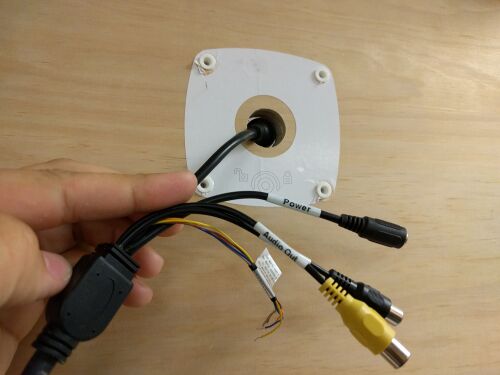
7. Connect your cables, then push in your cables starting with the biggest one (typically your ethernet plug or BNC plug)
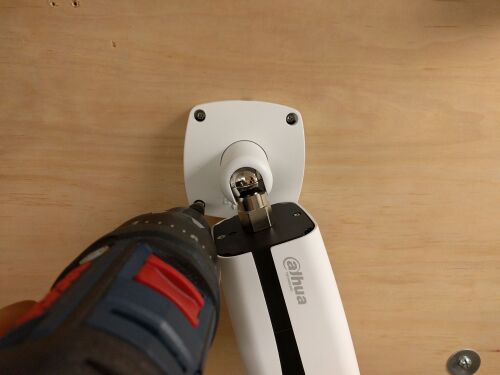
8. Now use a drill or screwdriver to install the screws into the plastic plugs.
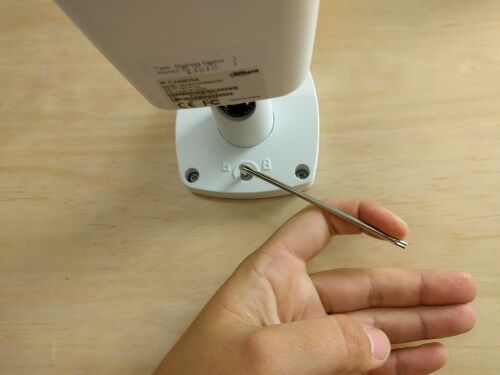
9. Now position the camera into the appropriate position, and use the lock key to lock it down into position. If you are using a dome camera lock down the dome cap.
