PFM900 How To Scan Network
How to Scan Network with PFM900
Prerequisites
- PFM900
- Ethernet cable connected to network
Scanning Network with PFM900 Instructions
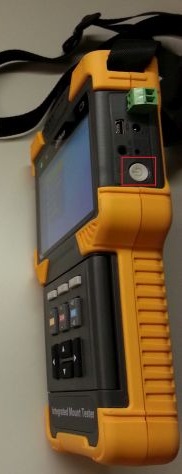
1. Power on your PFM900 Device, if it does not power on check How to Charge the PFM900
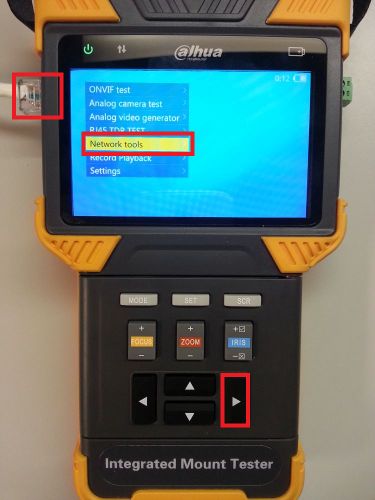
2. Connect the Ethernet cable to the PFM900 and select "Network tools" with the arrow buttons, enter the menu with the right arrow button
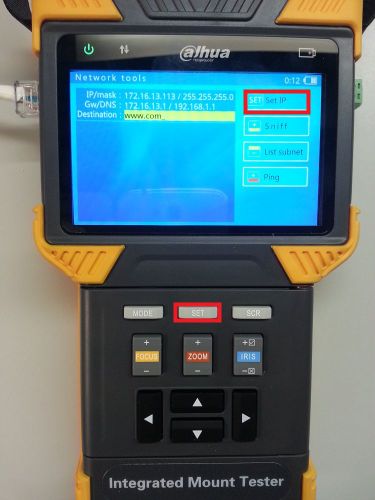
3. Now press the "SET" button to setup your connection to the network
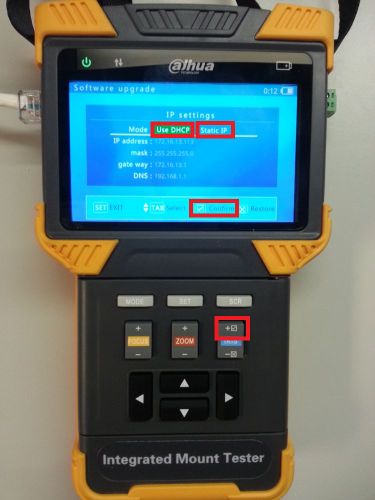
4. For easy setup let the device Use DHCP, otherwise select static IP and configure your PFM's IP Adress, Mask, gateway, DNS settings, and then press the "+ IRIS" button to confirm settings or the "SET" button to exit out.
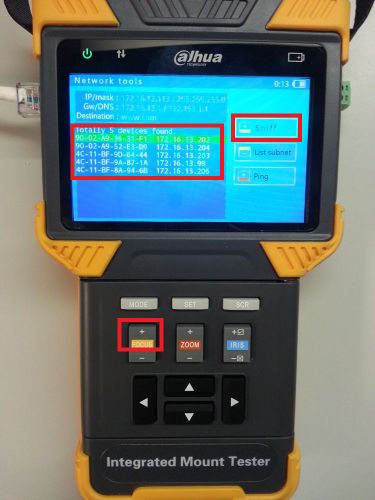
5. Now press the "+ FOCUS" button to perform a network Sniff test, this test will locate all public IP addresses on your immediate network via your devices settings.
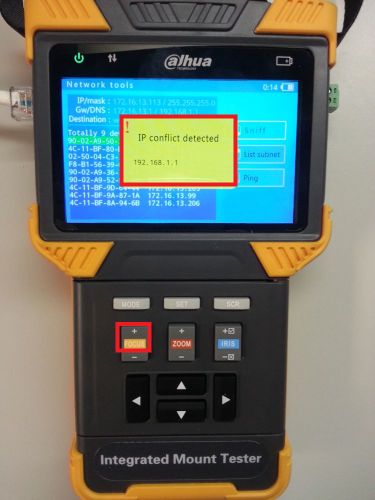
6. The PFM900 will even detect multiple IP addresses on your network! Press the "+ FOCUS" button when finished.
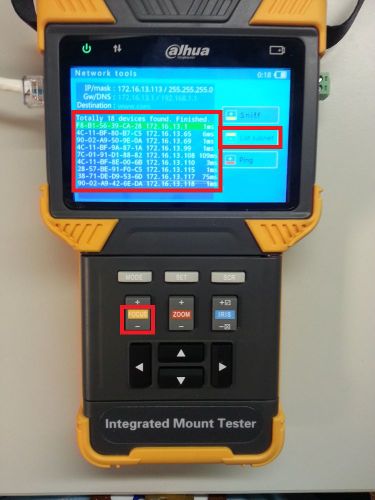
7. To list the subnet IP's and the latency (ping in milliseconds) to them press "- FOCUS" and the PFM900 will do an active search on your network. once finished press "- FOCUS" again.
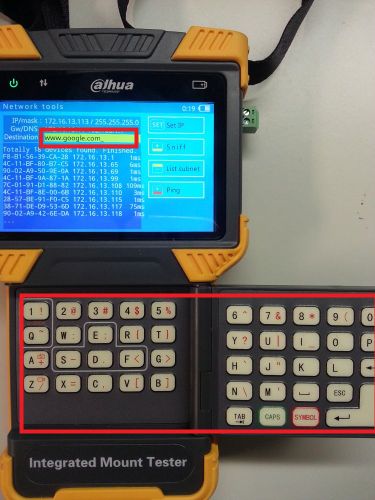
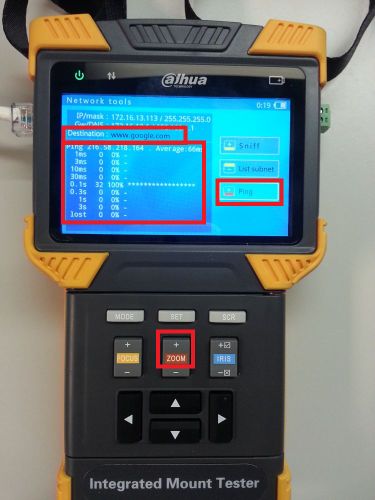
8. To ping an external website such as "www.google.com" from the PFM900 on your network please open your keyboard and type out the url
9. After typing in the URL close the keyboard and press the "+ ZOOM" key to ping the website. This screen should show you how long it takes for the device to connect to the specified website.
