PFM900 How To Test Cable
How to Test CAT5 Cable and Determine Cable Length with PFM900
Prerequisites
- PFM900
- Ethernet cable for testing (working or broken)
PFM900 to Ethernet Cable Test Instructions
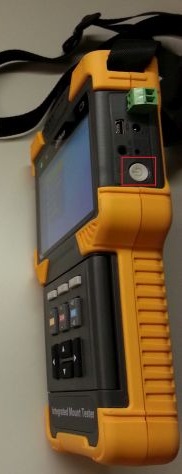
1. Power on your PFM900 Device, if it does not power on check How to Charge the PFM900
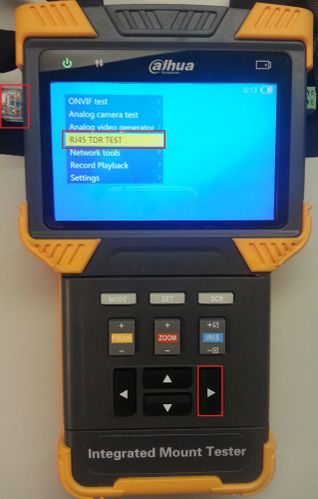
2. Plug your ethernet cable into one of the ports and select "RJ45 TDR TEST" at the home screen and press the right arrow key
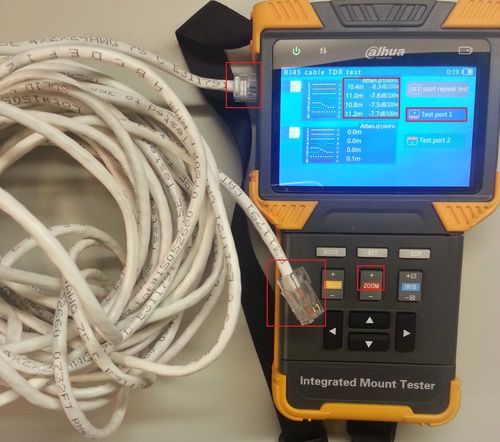
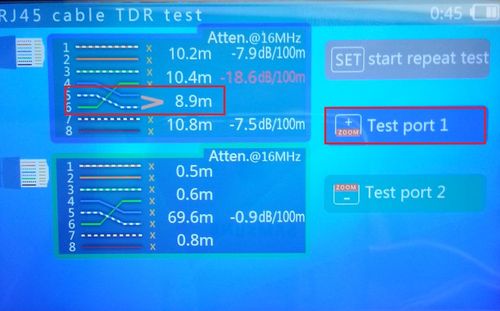
3. Make sure the other end of your Ethernet cord is left unplugged, now press the "+ Zoom" button to test the length of the cable on port 1. This test uses TDR (Time Domain Reflection) analysis to determine the state of the cable. After the tape measure flashes on the screen the approximate length of the cable will populate on the middle of the screen.
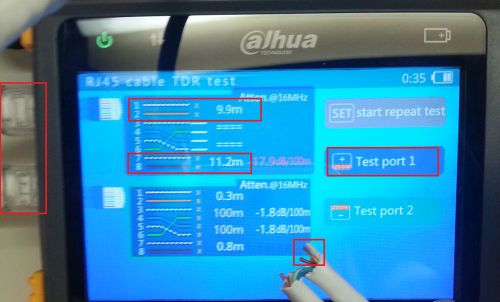
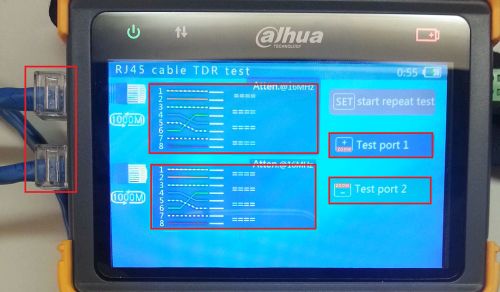
4. To test the Ethernet cable for continuity (connected, open, and short) you will need to plug in each end of the cable to the PFM 900 and press the "+ ZOOM" button, and after the first test then the "- ZOOM" button. You can also press the "SET" button to repeatedly do this test however your results will vary, and the cable length read might not be entirely accurate. The picture below shows that 4 cables are connected and in the red boxes 4 cables are open:
5. Also if you see this symbol on your screen during this test, then the ">" symbol means there is a short between the two wires on the screen.
6. Conducting a continuity test on a working cable should give you this "-" symbol meaning that the cables are properly connected.
