Difference between revisions of "Doorbell/DB11/Initial Setup"
| Line 32: | Line 32: | ||
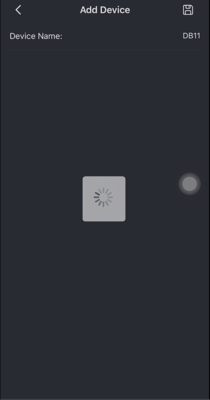
8. Enter the user-defined Device Name. In the example, we use "DB11".<br> | 8. Enter the user-defined Device Name. In the example, we use "DB11".<br> | ||
| − | [[File:8._Enter_Device_Name.PNG]] | + | [[File:8._Enter_Device_Name.PNG|400x400px]] |
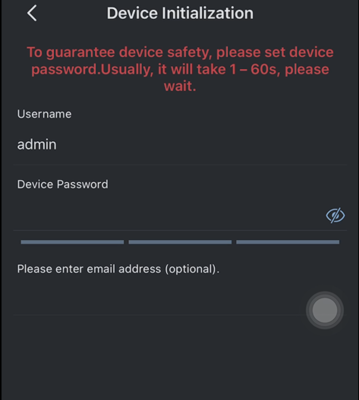
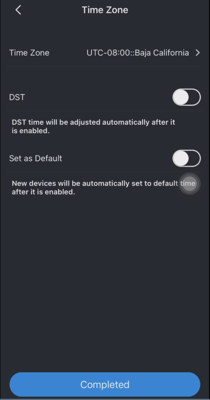
9. Finalize the settings to complete the setup.<br> | 9. Finalize the settings to complete the setup.<br> | ||
[[File:9._Finalize_The_Settings.PNG|400x400px]] | [[File:9._Finalize_The_Settings.PNG|400x400px]] | ||
Revision as of 19:12, 12 November 2019
Contents
DB11 Initial Setup
Description
Prerequisites
Video Instructions
Step by Step Instructions
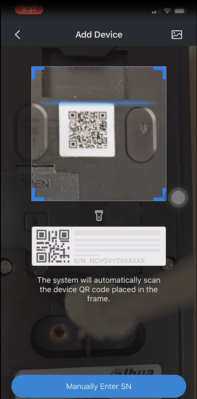
1. Open iDMSS or gDMSS then scan the QR code on the DB11.
2. If the iDMSS or gDMSS are not logged, it is required to do so before proceeding to adding the device.
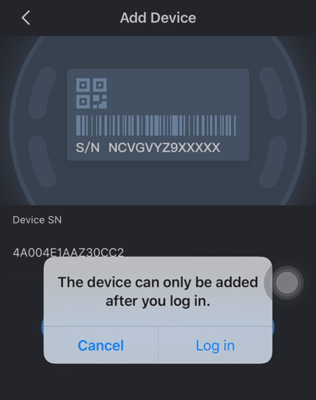
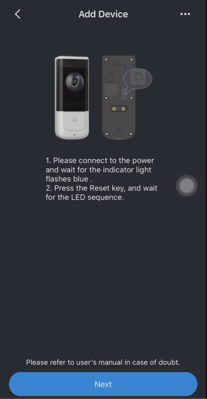
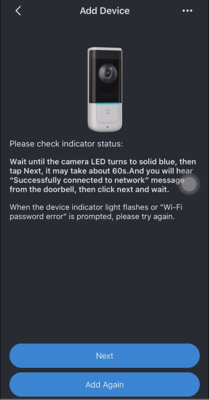
3. Follow the on-screen instructions and wait for the status light before pressing button located on the back of the DB11 device. After the device is pressed, a vocal message will be heard.
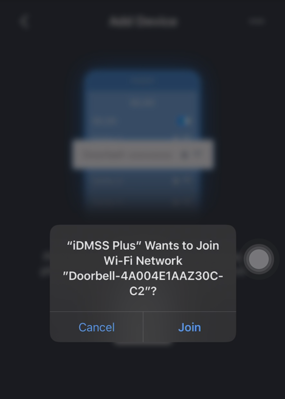
4. When a prompt comes up, press "Join" to continue.
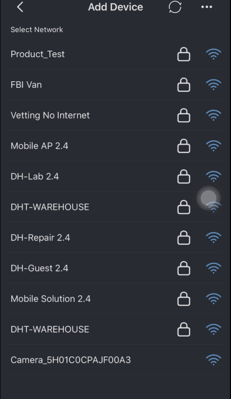
6. Choose the WIFI network the DB11 will be connecting to.
7. Follow the on-screen instructions to continue with the setup.
8. Enter the user-defined Device Name. In the example, we use "DB11".
