Difference between revisions of "Thermal/Temperature Monitoring/Stand Alone Camera Setup"
(→Step by Step Instructions) |
(→Step by Step Instructions) |
||
| Line 35: | Line 35: | ||
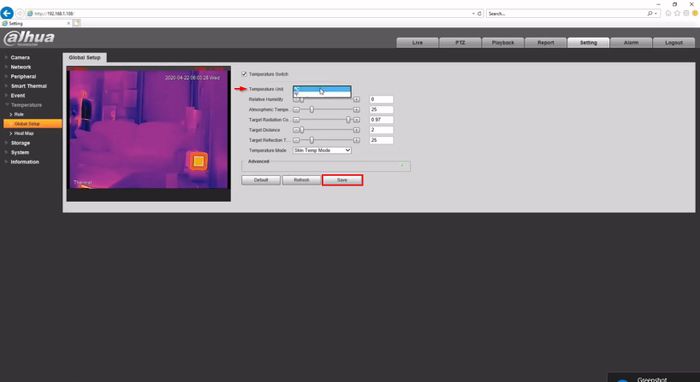
[[File:Temperature_Monitoring_-_Stand_Alone_Setup_-_5.jpg|700px]] | [[File:Temperature_Monitoring_-_Stand_Alone_Setup_-_5.jpg|700px]] | ||
| + | |||
| + | [[File:Temperature_Monitoring_-_Stand_Alone_Setup_-_6.jpg|700px]] | ||
| + | |||
| + | [[File:Temperature_Monitoring_-_Stand_Alone_Setup_-_7.jpg|700px]] | ||
| + | |||
| + | [[File:Temperature_Monitoring_-_Stand_Alone_Setup_-_8.jpg|700px]] | ||
Revision as of 22:38, 28 April 2020
Temperature Monitoring Solution Stand Alone Camera Setup
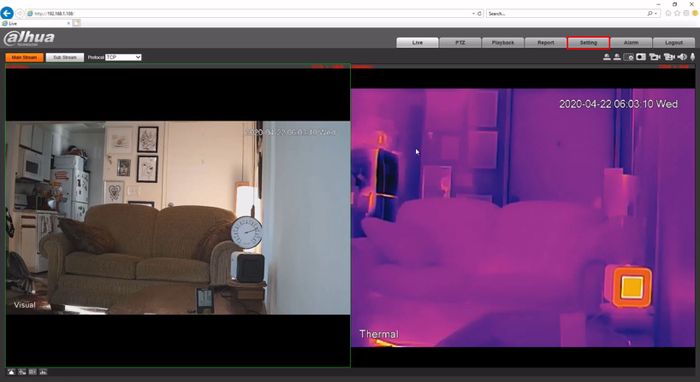
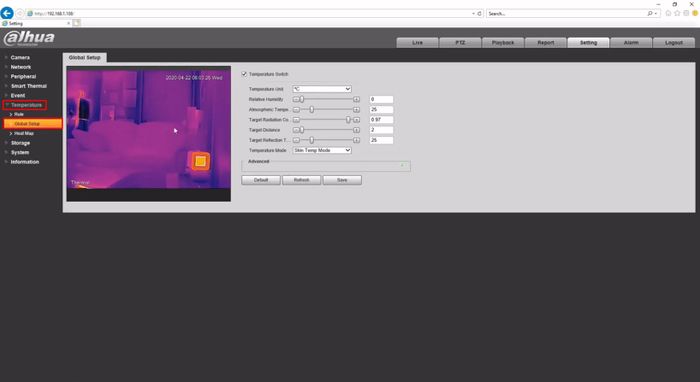
This guide will cover the initial camera setup and Blackbody Configuration for the Thermal Temperature Monitoring Solution for a camera connected to LAN.
If you're using a camera connected to the NVR, follow the steps to set up Thermal Monitoring solution with NVR
Prerequisites
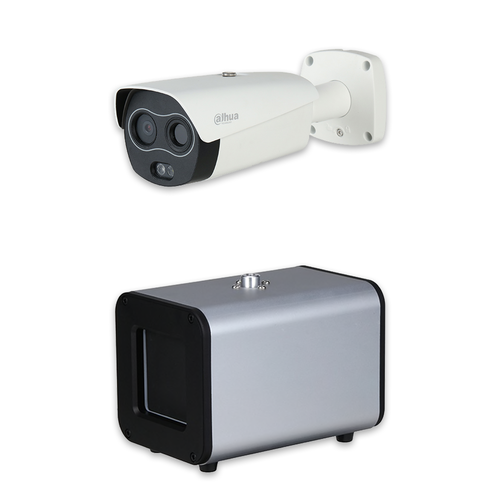
- DH-TPC-BF3221-T or DH-TPC-BF5421-T Thermal Hybrid Network Camera
- JQ-D70Z Blackbody
- Temperature Monitoring Physical Setup guide followed
- Thermal camera updated to latest firmware - How To Update TPC-BF5421-T Firmware
Video Instructions
Step by Step Instructions
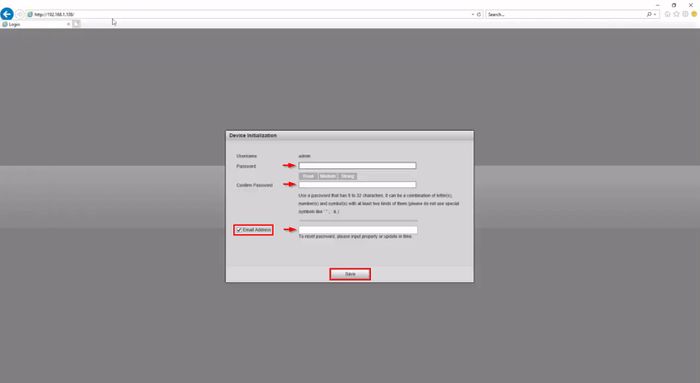
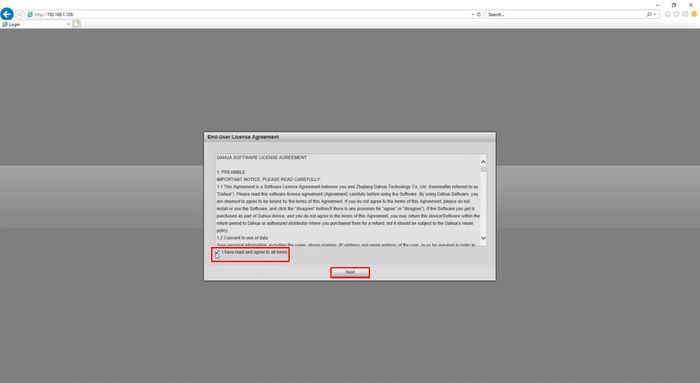
Camera Initialization
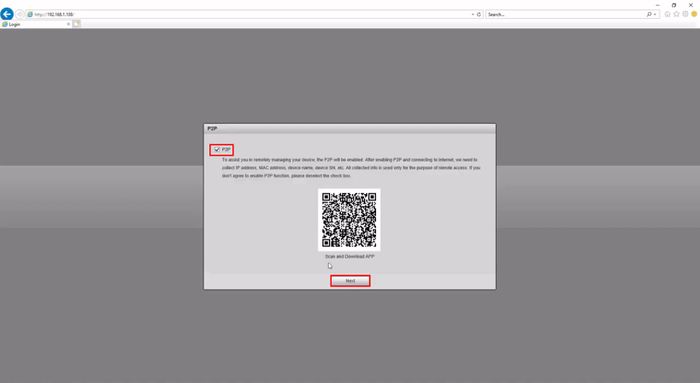
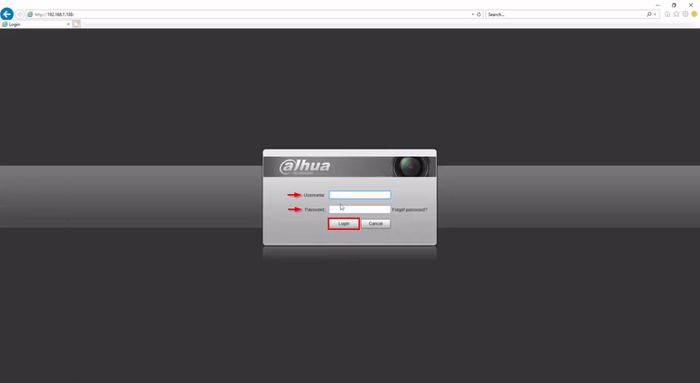
Initialize the Camera over the network using a local computer
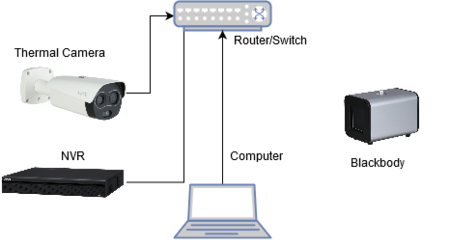
- Plug the Thermal camera into the LAN
- Connect the NVR to a router/switch on LAN
- Connect computer to router/switch on LAN
