Difference between revisions of "DSS/V8/DSS Pro/Instruction/Net Disk Configuration"
(→Prerequisites) |
(→Step by Step Instructions) |
||
| Line 15: | Line 15: | ||
==Step by Step Instructions== | ==Step by Step Instructions== | ||
| − | |||
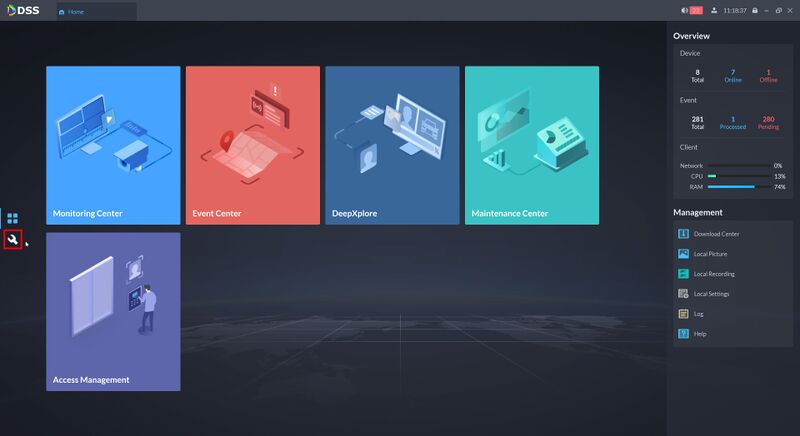
1.Login to DSS Pro Client and then go to Configurations > Device menu. | 1.Login to DSS Pro Client and then go to Configurations > Device menu. | ||
| Line 21: | Line 20: | ||
[[File:DSS_Pro_Client_Home_Configurations.jpg|800px]] | [[File:DSS_Pro_Client_Home_Configurations.jpg|800px]] | ||
| + | |||
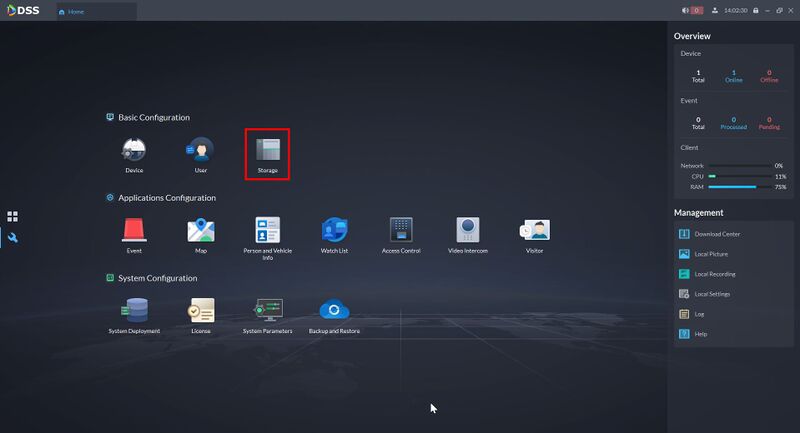
| + | 2. Click on '''Storage''' | ||
| + | |||
| + | [[File:DSS_Pro_Local_Disk_Configuration_-_1.jpg|800px]] | ||
Revision as of 21:25, 9 August 2021
Description
This guide will show how to setup and configure a Net Disk for DSS Pro.
Prerequisites
- DSS Pro V8 Server and Client
- Net disk - in this guide the EVS will be used
It is recommended to setup/configure EVS first before adding as a Net Disk to DSS
Click here for instructions on how to setup the EVS as a Net Disk
- Use Ethernet cable to connect DSS (Port 3/4) and EVS (Port 1)
- If you need to configure RAID, you should configure it on EVS first
- The IP address of the EVS device network port and the IP of the DSS device network port should be in the same network segment (for example 192.168.1.x)
Step by Step Instructions
1.Login to DSS Pro Client and then go to Configurations > Device menu.
From Home Select the Configuration menu
2. Click on Storage

